|
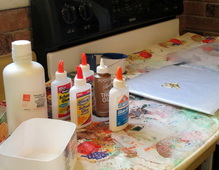
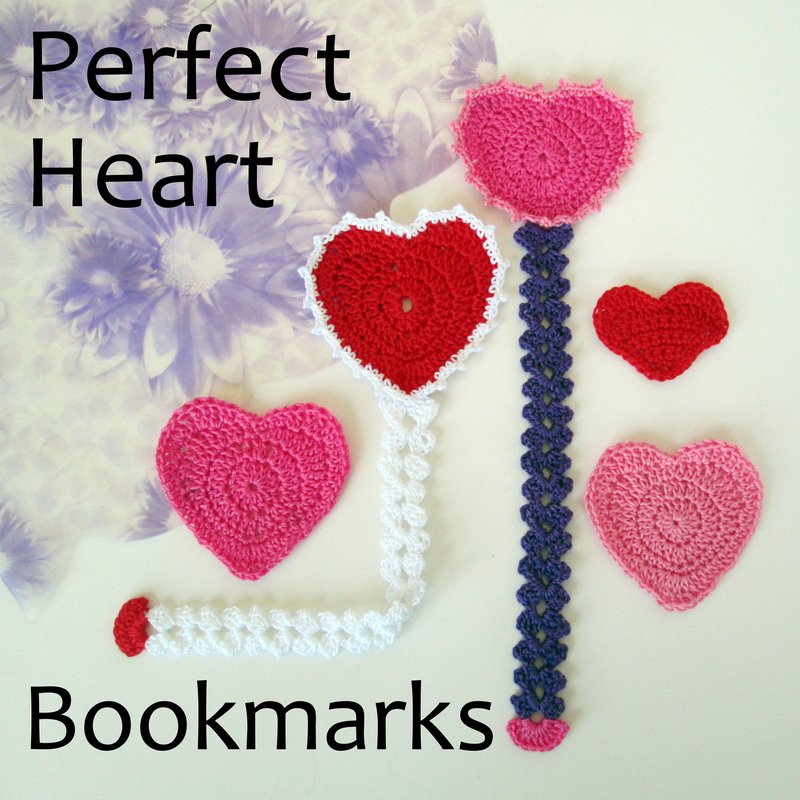
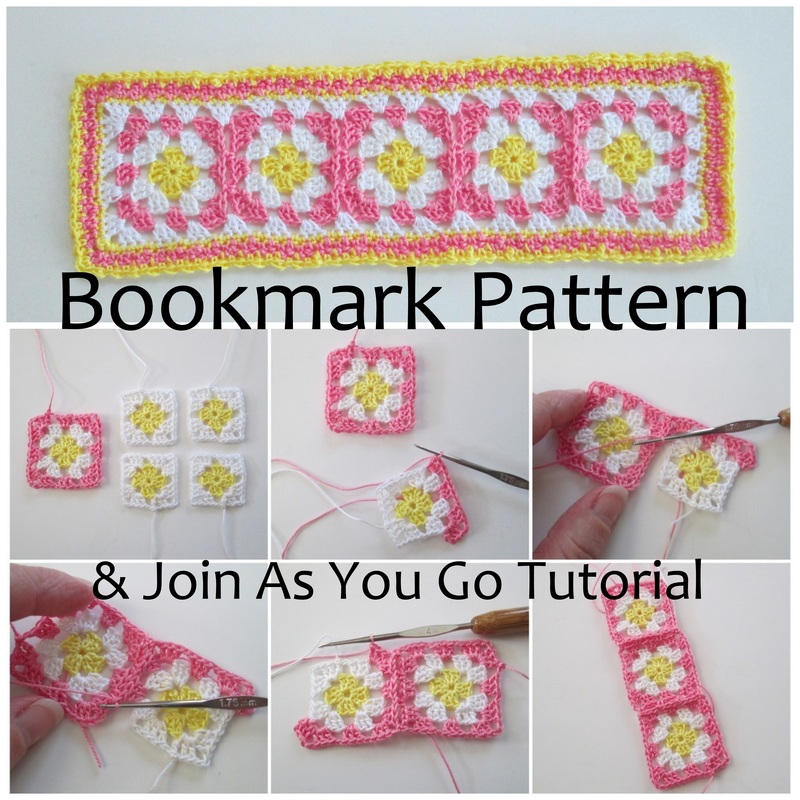
Hello, I'm so glad you're here! In an effort to keep cool this summer I've been making thread crochet bookmarks using a pattern called Graceful Gothic Cross. It's fairly easy (you need to be comfortable with joining thread as each point is worked individually off the center square) and works up quickly. They're lovely in any color and I'm planning on giving them away this holiday season. In anticipation of making Christmas ornaments and decorations, I decided it was time to experiment with stiffening lace. There are a variety of ways to turn your lace from flimsy to firm. Options include: purchasing spray or liquid starch (the kind for laundry); buying a product like Stiffen Stuff or Stiffen Quick (on line or at the craft store); boiling sugar and water together to make a sticky sweet home stiffener; or another homemade option mix together plain old white glue and water, from the tap, no cooking required. Of course you know which one I picked! I gathered together all of the white glue I could find. I also came across a big bottle of Magic Mend Liquid Plastic Adhesive. What?! It's used for repairing book bindings. We don't use it anymore at work so I brought it home (2 months ago?) thinking I might be able to do something with it. I checked it out on line since it does have warnings on the label and I didn't want my lace to disintegrate. No problem. It's PVC free, won't discolor the book pages, is archive quality and dries clear and flexible. Very cool.
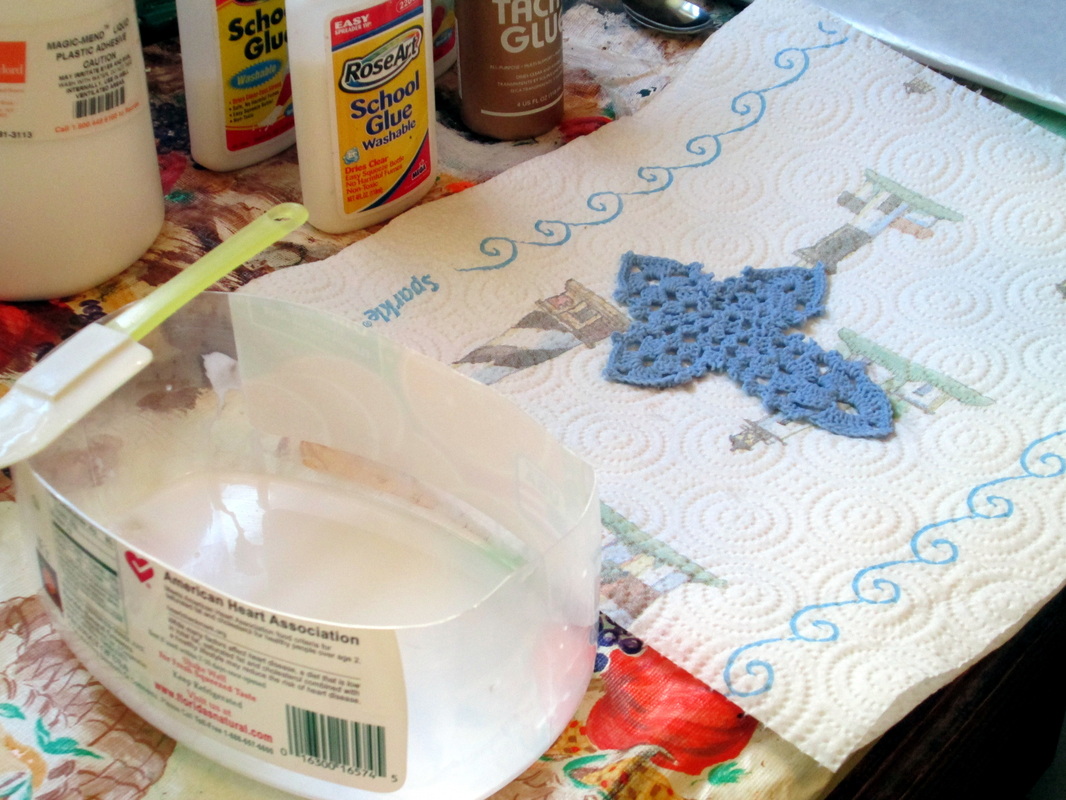
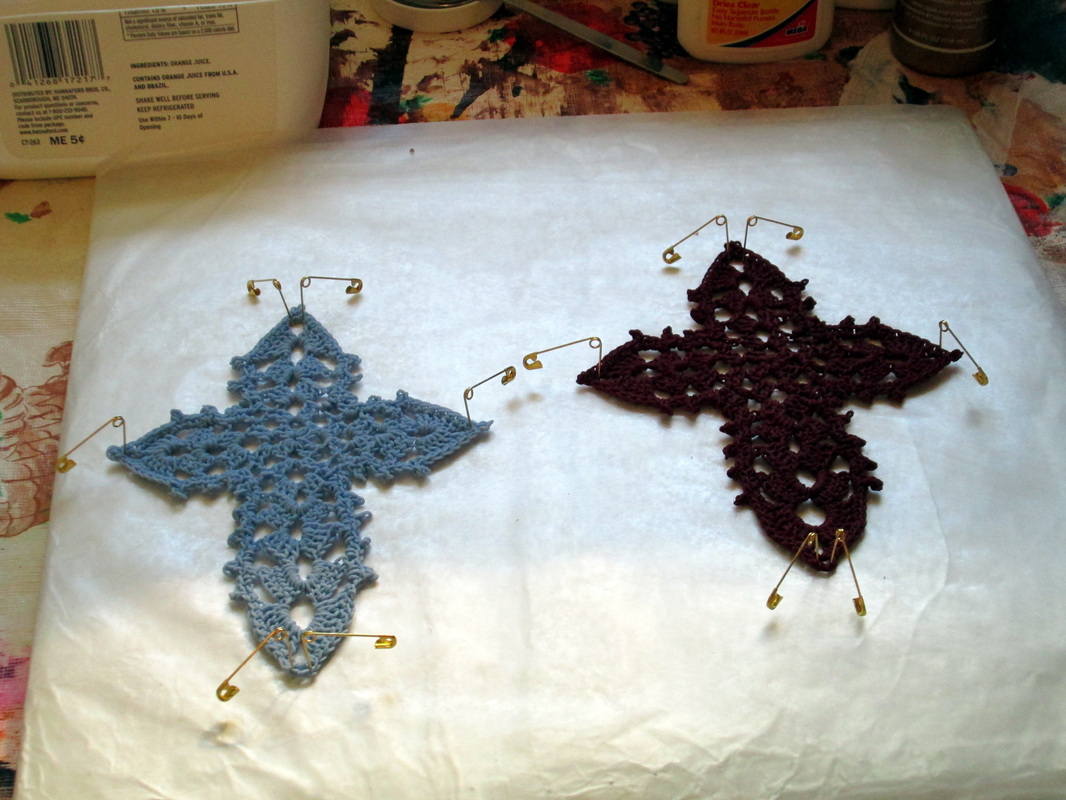
Before I got started I covered my work area with an old table cloth. I cut the bottoms off old orange juice containers to make disposable bowls. I covered a piece of cardboard with tin foil and wax paper to make a disposable blocking board and I had my pins ready. I also had my mixing utensils handy and paper towels laid out. Age and experience has taught me that I will make a mess, and it's better to be prepared than have to clean unnecessarily!
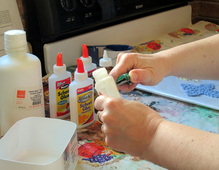
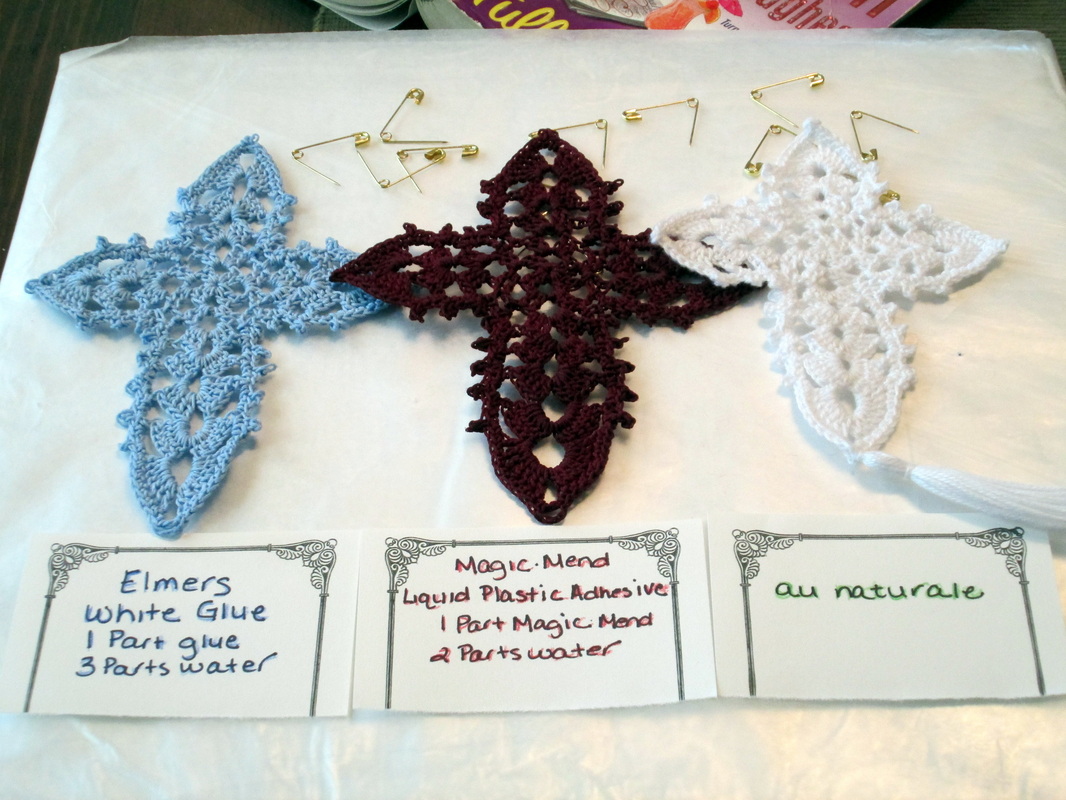
I started with the white glue. I used 1 part glue to 3 parts hot water. They blended easily and the mixture was very thin. I thought about adding more glue, but I decided to see what happens with this ratio. I laid the bookmark in and let it soak for 3 or 4 minutes.
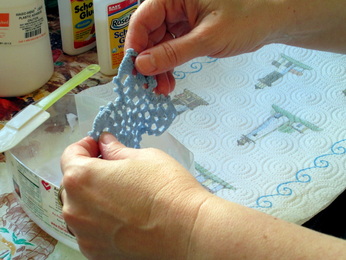
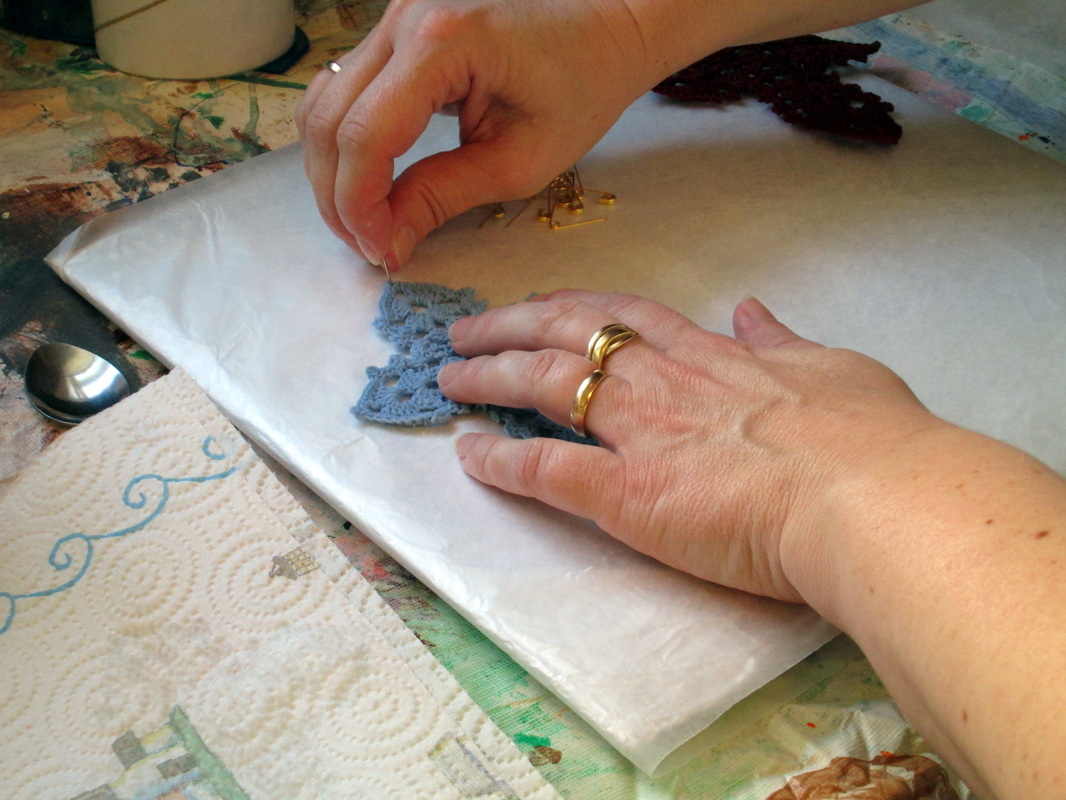
I blotted the excess moisture with paper towels and pinned it into shape. It was easy to work with. It didn't stick to my fingers and I wasn't worried about it drying out on me before I was done pinning.
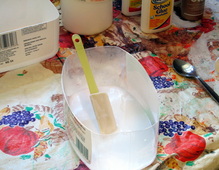
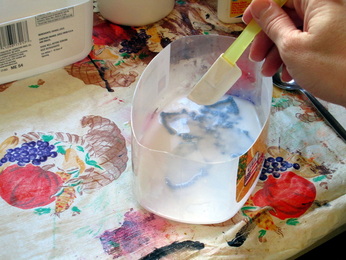
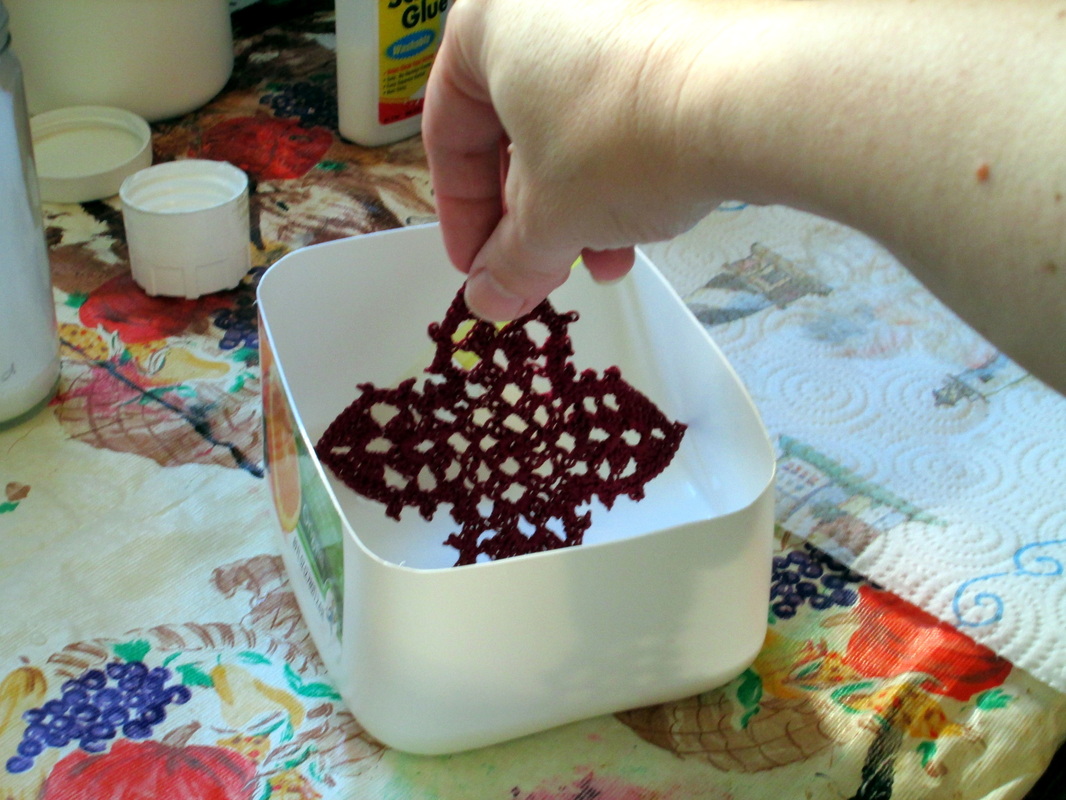
Next up is the Magic Mend, which smells just like white glue and isn't offensive at all despite the warning label! I used 1 part MM and 2 parts warm water. It blended easily and produced a much thicker mixture. I followed the same steps as the first bookmark. It was much sticker than the glue, and a little harder to work with. I felt it getting tacky and starting to harden by the time I was done pinning.
Once they were secured in the proper shape, I set them in the air conditioning to dry. 8 hours later they were done.
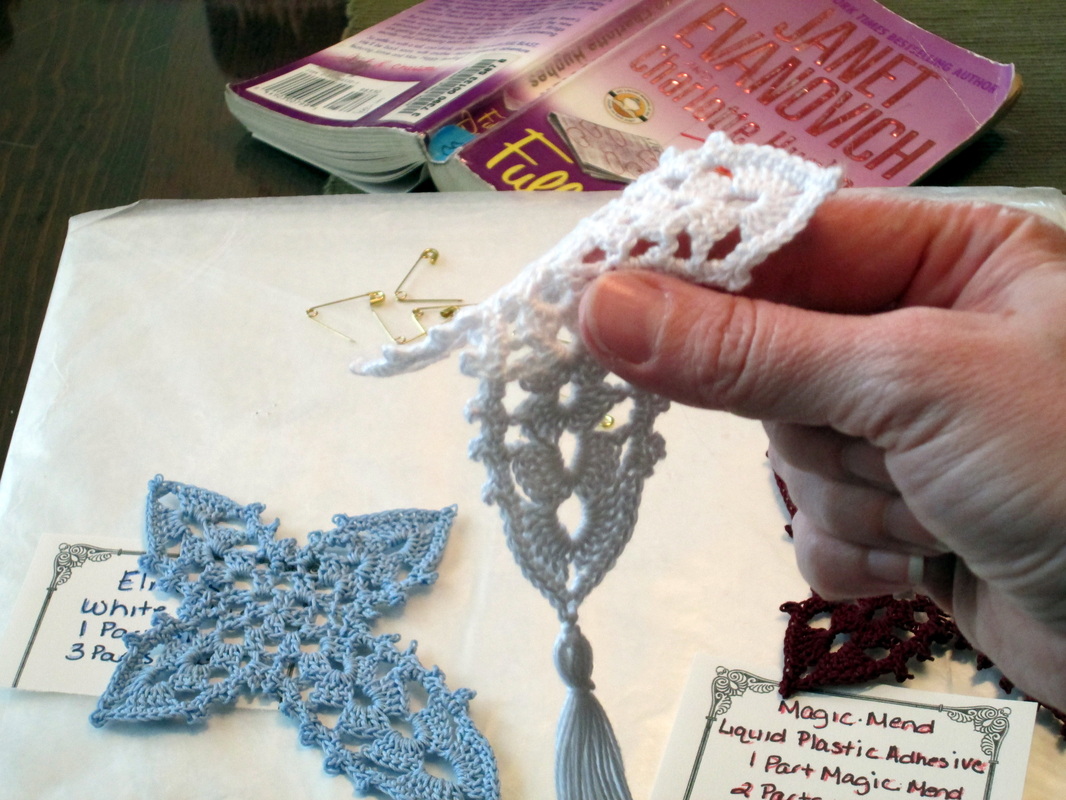
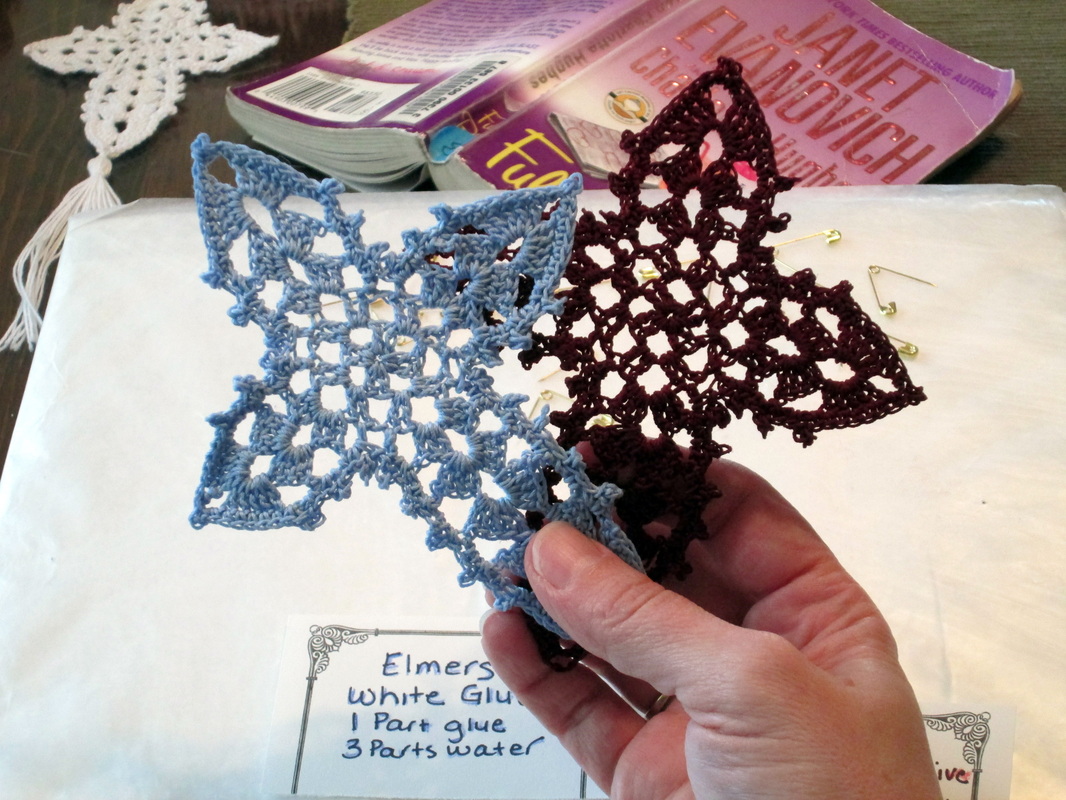
This is the au naturale bookmark, which is lovely but flimsy. And the stiffened bookmarks, which stand firmly on their own. I was worried that the white glue solution was too weak, but for a first try it's just fine. Next time I'll use less water, and see what happens. I'm pleased with the Magic Mend. It's very sturdy, but not brittle. I think it's a good option for use in the future. Both mixtures did darken the thread slightly, and stiffening brings out and defines the stitches very nicely. 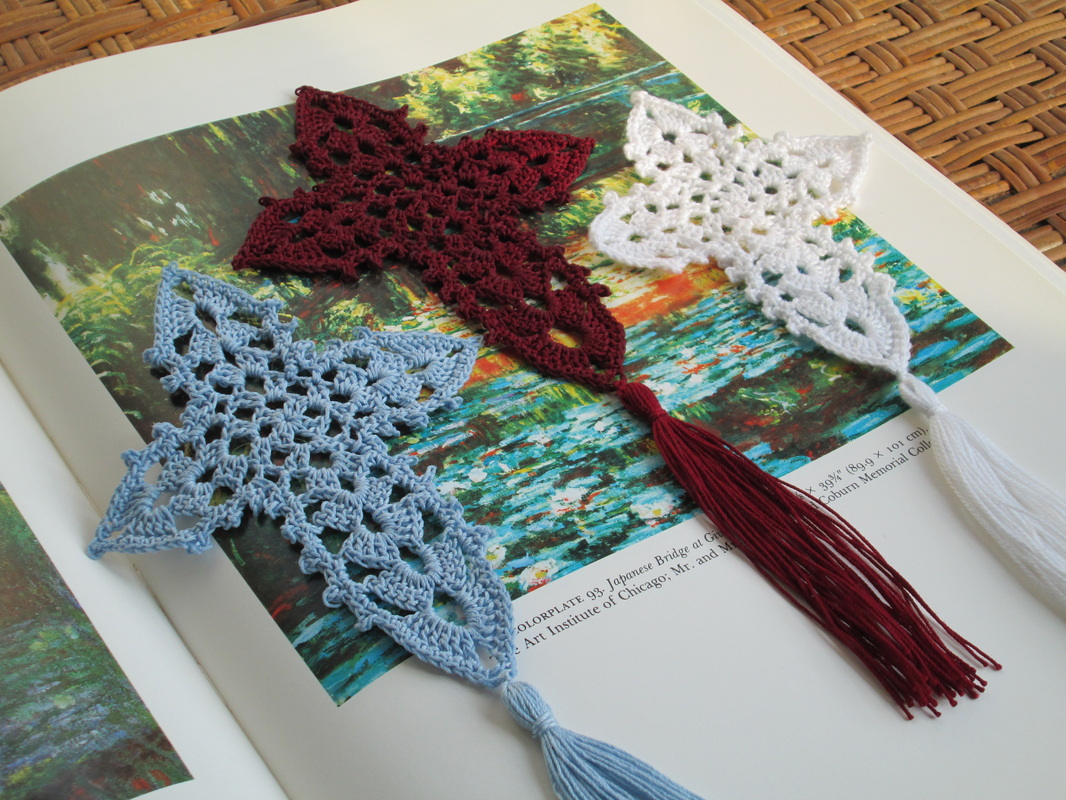
I love learning new things and sharing my experiences with you! Now that I've done this I have no reason to avoid projects that require stiffening. I also like that I was able to use things that I have on hand. I know not everyone has Magic Mend, but I bet you have a bottle of two of white glue hanging around! Well friends, another busy week is drawing to a close, and isn't it amazing how much we've done? I'll be linking up with these creative bloggers and sharing my accomplishments. I sure hope you'll come with me and see what everyone else is up to!
This week I'm also joining in with Tricia and her Stash Bash. Click over for a look!
Thanks so much for stopping by. I had a great time, and I hope you did too! Until next time, Be blessed and stitch & read with love!
21 Comments
Meadow
8/3/2012 09:10:15 am
Lovely! 8/3/2012 10:52:38 am
Those turned out great! Thanks for the wonderful photo tutorial too.
Hi There! 8/3/2012 08:06:47 pm
Wow thanks for that, very informative & really useful! Love the bookmarks! 8/4/2012 07:53:29 am
I haven't stiffened a crochet project for a long time! Your tutorial is very thorough, and I love how it worked out. I've used the glue method successfully. MM is definitely worth a try. 8/6/2012 04:16:42 am
Wow, thanks so much for sharing! I love the pictures and the recipes. I've been thinking of making some snowflake ornaments this year, and your stiffening research will be a big help! 8/6/2012 05:25:57 am
Good one to keep in mind for Christmas. I'm wanting to do ornaments. 8/29/2012 06:14:25 am
Brilliant! I have tried the glue method but will use this for the snowflakes I would like to make into a garland for Christmas! Thanks! 9/3/2012 01:16:06 pm
Those crosses are just beautiful, and the perfect thing to keep you cool in the summer when it seems so weird to crochet an afghan! I like your stiffening tutorial and I'm sure I'll use it sometime! Thanks for linking up at Hookin On Hump Day! http://www.mymerrymessylife.com/2012/08/hookin-on-hump-day-12-link-party-for.html
maxine
3/3/2013 03:12:02 am
Thanks so much, what a great idea.
Elayne
10/8/2013 12:24:00 am
Thanks for sharing, I was using a heavy duty starch but it does seem to be flimsy over a short time. Reading ur post is very helpful to me n thanks again.
Teresa Ann
12/30/2015 01:59:46 pm
Great tutorial. Thank you. Would you be willing to share your cross pattern? I would like to make them for my support and grief group. Thank you.
Michelle Pap
11/27/2016 07:09:33 pm
Thank you. Very helpful
Maw
9/15/2022 05:09:58 pm
Love it!! Have an old tattered quilt that I want to make Xmas ornaments out of this year. Thank you so much for sharing, and for the options!! Leave a Reply. |
I'm Robin and this is  
Click to see what's new on the Craftsy Crochet Blog!
Follow Along
 Tutorials and Patterns


On Instagram 
Look for me, I'm RobinBrz


Places I Post

 Archives
July 2015
Categories
All
 
Thank you for visiting!
My name is Robin. I am a wife, mother and strong believer in the power of faith. I'm a maker, a crafter and an artist. I love exploring new mediums and sharing my adventures with you. Did you enjoy your visit? Let me know by leaving a comment. I love knowing you dropped by, and hope to see you again soon! Be Blessed and Stitch & Read with Love! 
|