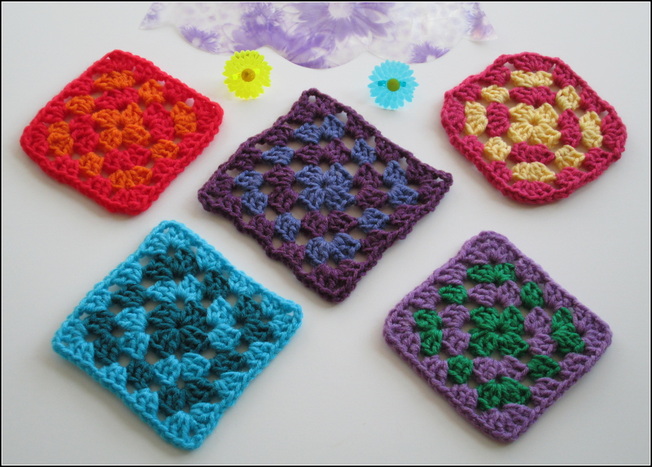
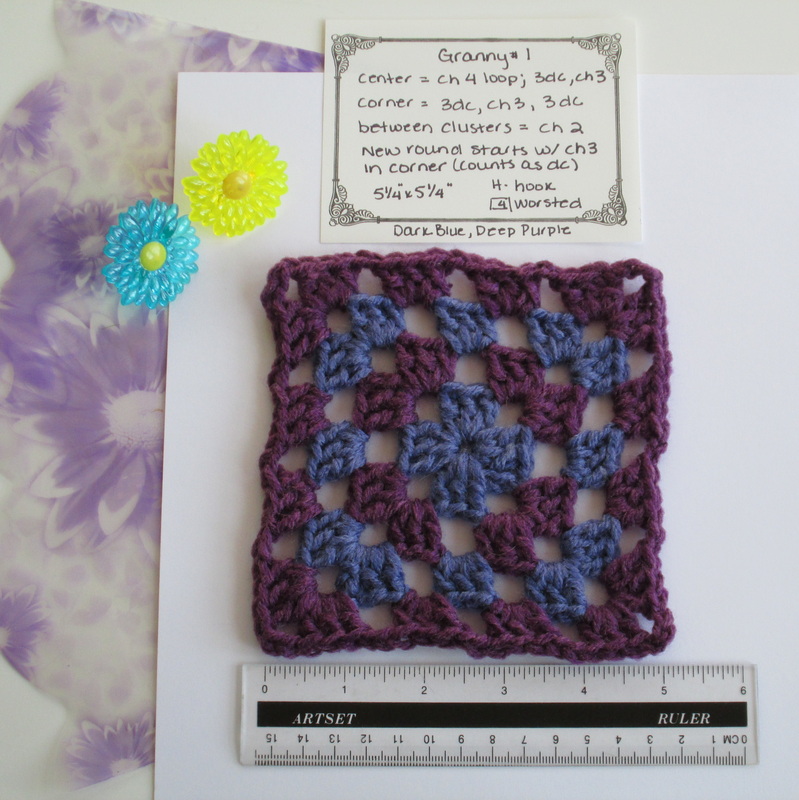
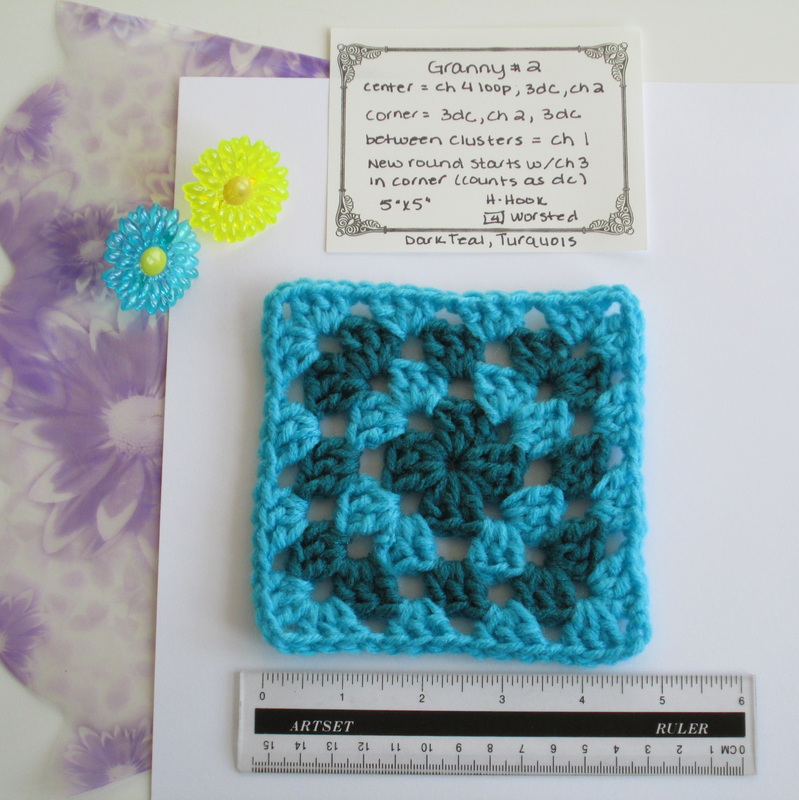
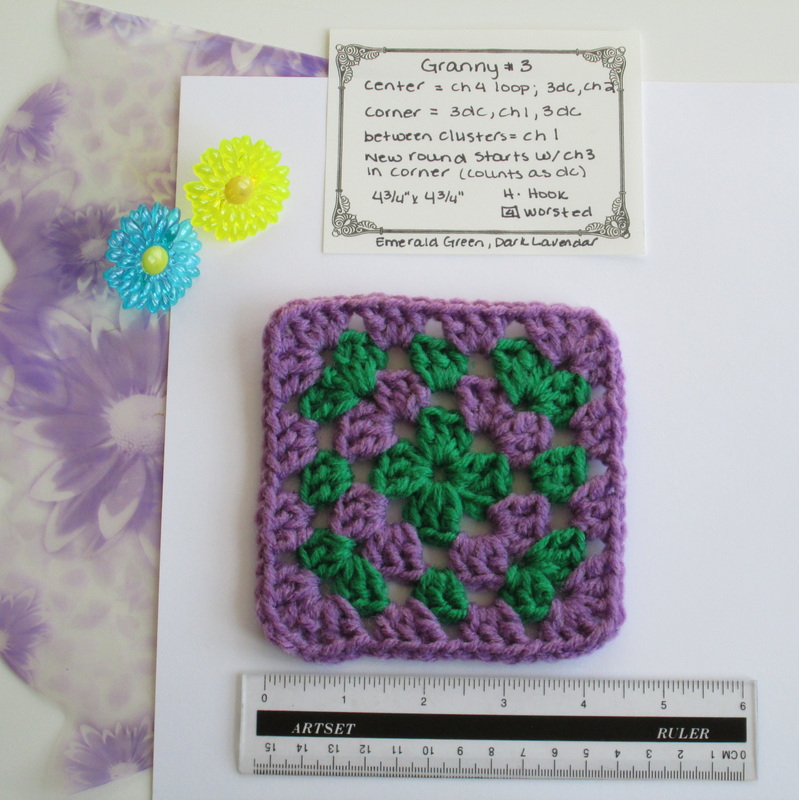
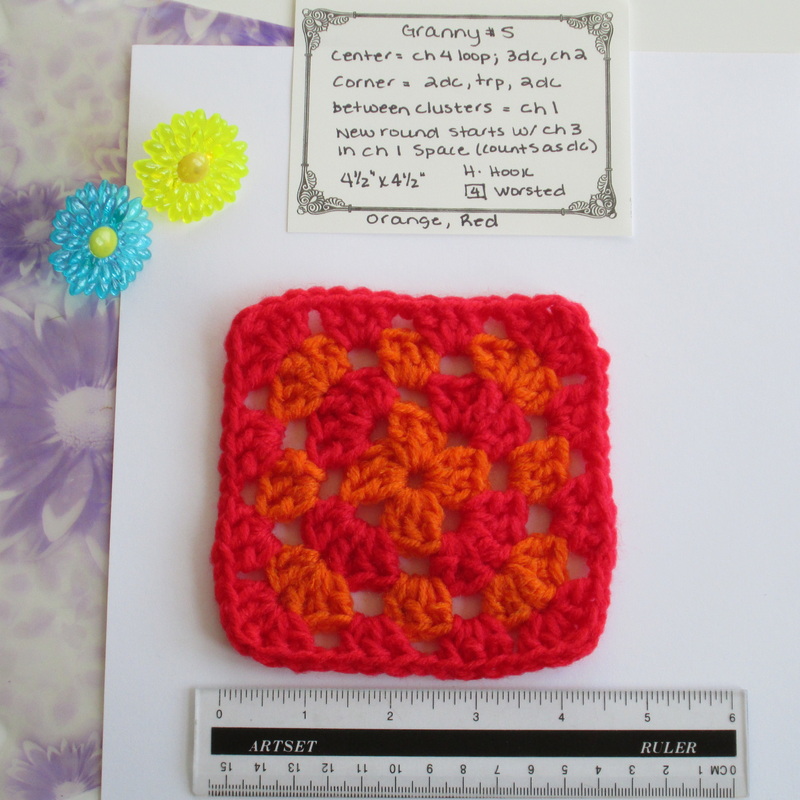
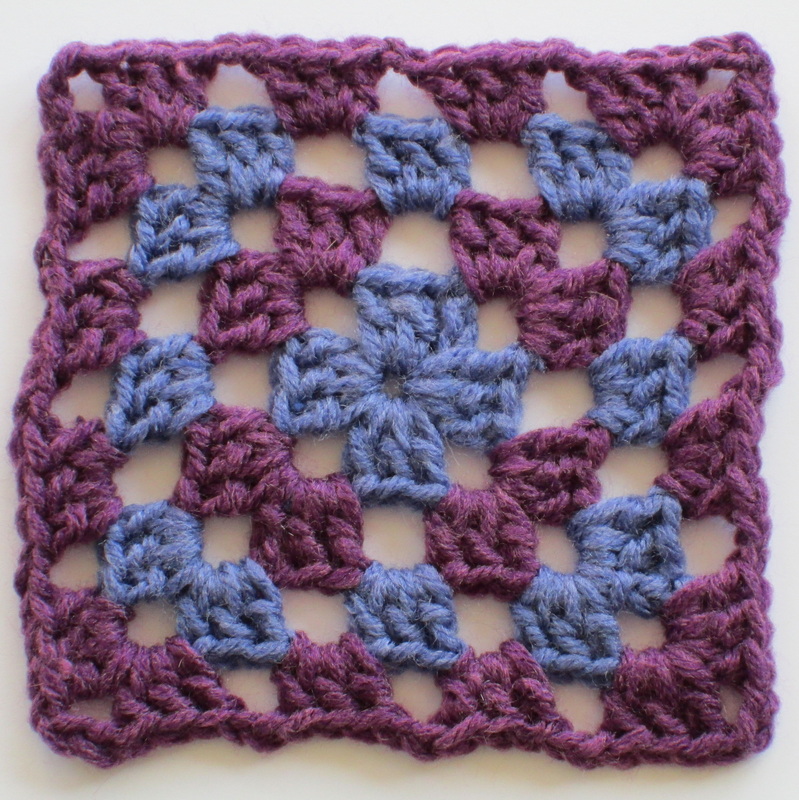
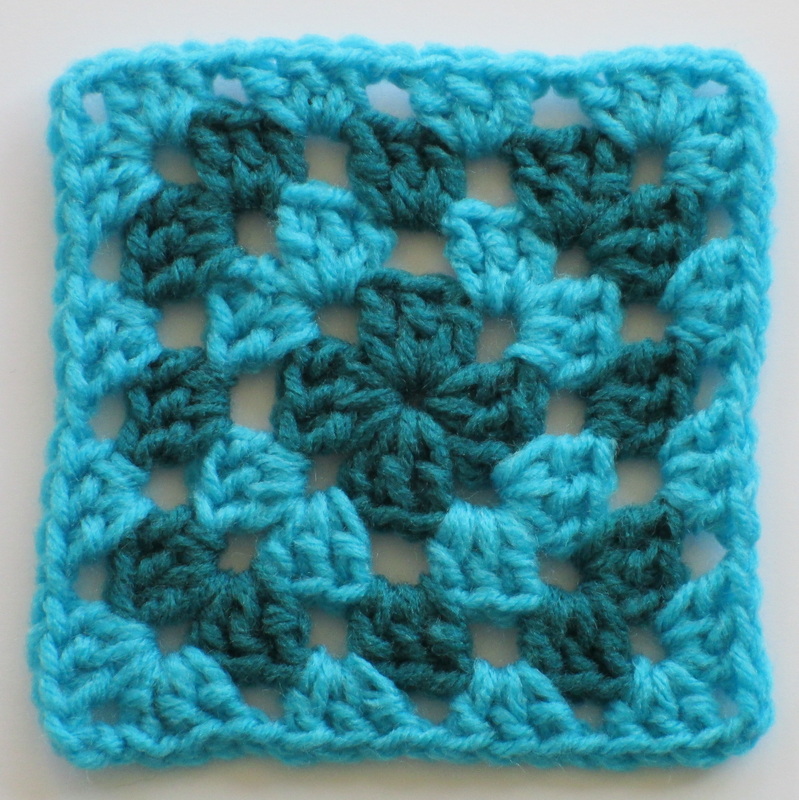
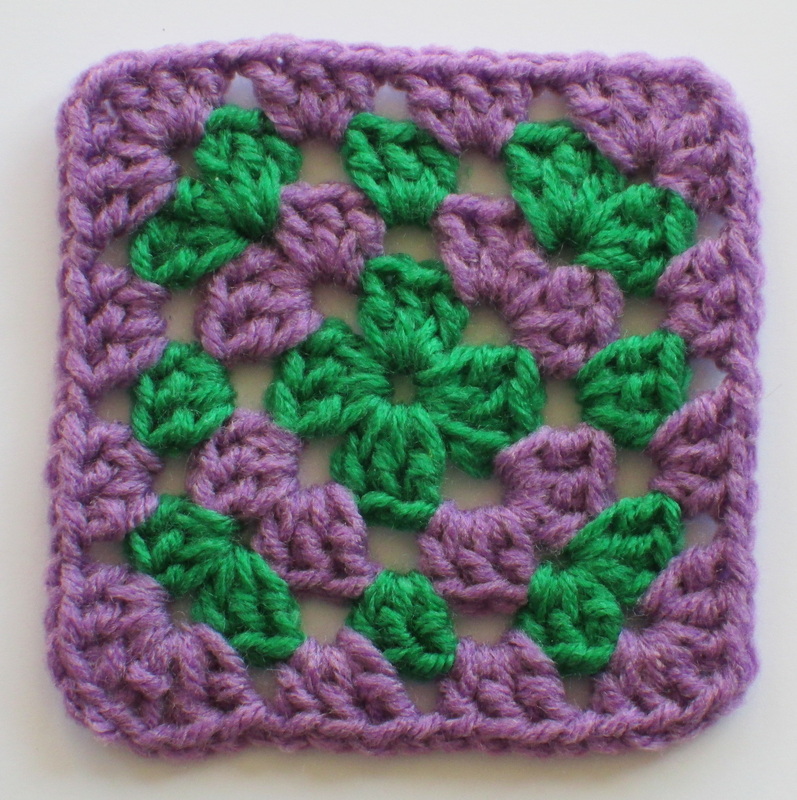
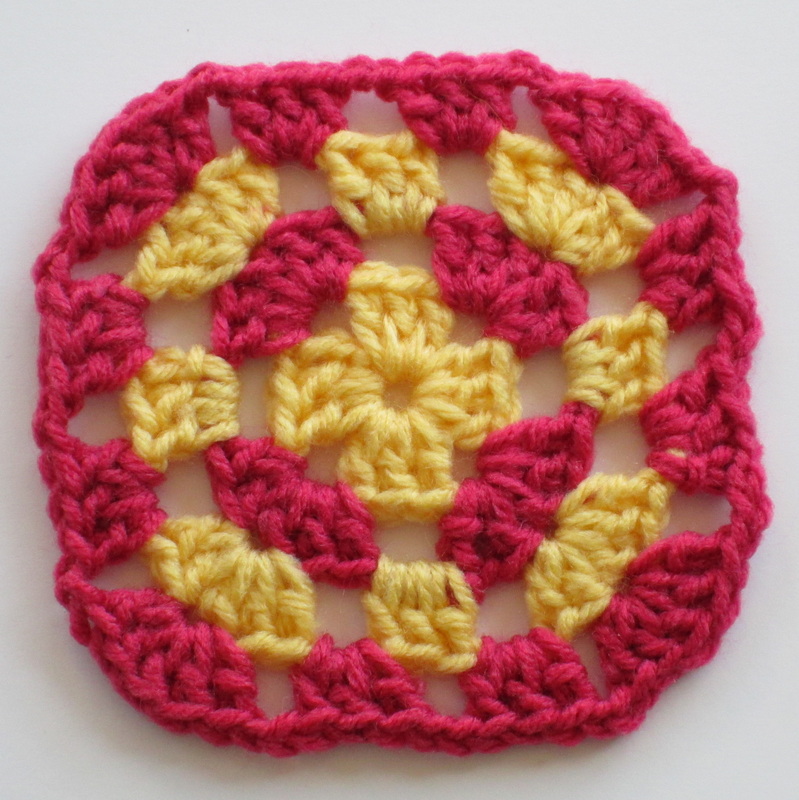
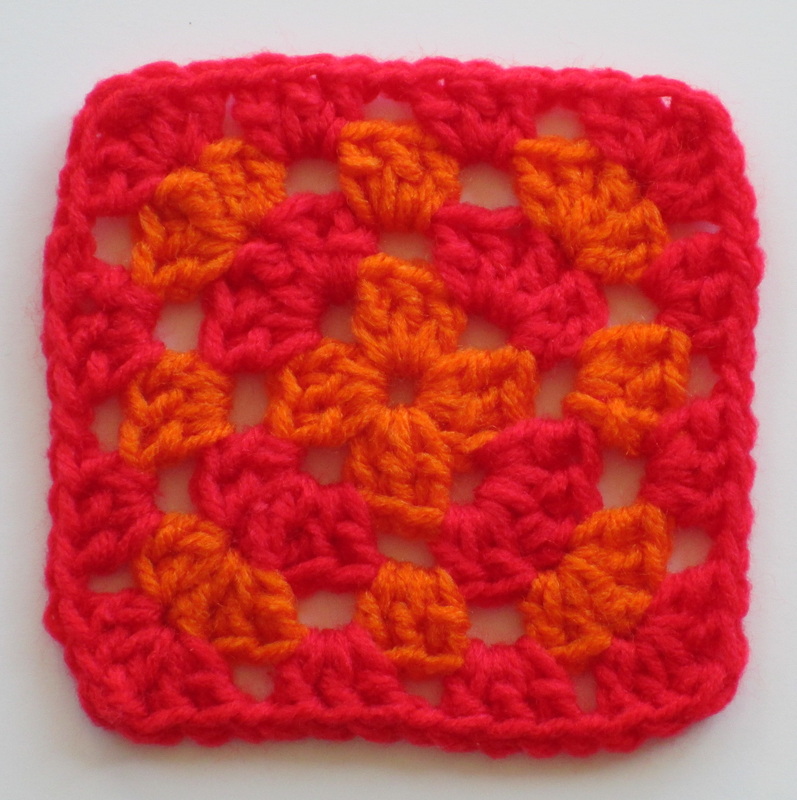
Defining Granny I began with a look into granny's history. Now, it's time to find out more about her. The classic, the traditional, the one that started it all! There are many definitions, but it all comes down to this: A granny square is a crochet motif worked in the round from a center circle. Clusters of stitches are worked into the center and connected by chains. A square is formed when a group of stitches are worked into the connecting chains (chain spaces). I know that it seems crazy, but it works! Continue adding rounds of clusters and chains and the square grows and grows! If you search "Granny Square" in Google you get more that 3 million results. There are tutorials, blog posts, YouTube how to's and pictures galore. But there's not a standard pattern. 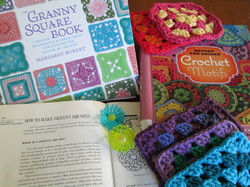 In the three books that I'm using today, they all agree that a classic granny is made using three stitches: Chain Stitch (ch); Double Crochet (dc); and the Slip Stitch (ss), and that a beginner who is comfortable with these stitches and working in the round will easily be able to master the square. That's about all they agree on. Each shows the classic worked in a different number of rounds (3.4 or 5), using a variation of the elements that define a granny. Since I am a novice when it comes to making squares of any kind, and my mission is to learn, explore and share what I find, the easiest way to get started is jump right in. I set to making a classic granny following Margaret Hubert's pattern from the Granny Square Book. I'm happy to say that success was achieved and Granny #1 was born. But I still didn't understand why there isn't one, standard pattern. I decided to see what happens when I try my own variations. Add a chain, use a different corner you get the idea. I wonder, how much will changing one little element effect the overall look of granny? The Experiment I made 5 grannies. For each of them I used the same H-hook, Herrschners #4 worsted acrylic yarn, and I worked them in 4 rounds. Take a look... (Click on the picture on the left to see the pattern details.) The results - A stitch really does make a difference! Of course you can see the similarities, but the differences are fairly substantial. It's all comes down to preference. You can choose your pattern depending on the look and feel you're after in your project. What Does it all Mean? It means a few things. I understand why there are so many different patterns, and even definitions for granny. I always thought of it as one thing. The Granny Square. But that's not right. It is a technique or maybe a genera. The granny square is as unique as the person who is making it, and there is no right or wrong way to make it. Something as grand as granny can not be limited to only one pattern. It's like saying there is only one way to make chocolate cake. We all have a favorite recipe. Maybe one that was handed down through the generations. But no matter which recipe you follow, chocolate cake is good. It's the same with the granny square. Open and airy, tight with crisp corners, full and slightly rounded - the way that it looks is only limited by your imagination and willingness to experiment. With such a great capacity for change and individual style it's no wonder that the granny square is as popular as ever.  I hope that you enjoyed Part II of The Granny Square Project. This series is part of A Year of Projects, a group that I'm taking part in on Ravelry. Please check it out to see the amazing work being done by other fiber enthusiasts. Join me next time for Part III. I'll be taking a look at color and the impact it has on granny. The books that I used to help put together this post are: The Granny Square Book by Margaret Hubert, Beyond the Square Crochet Motifs by Edie Eckman and The Woman's Day Book of Granny Squares and Other Carry-Along Crochet from Fawcett Publications, 1975. Thanks so much for stopping by. Before you go, do you have a go-to granny pattern? Who taught you how to make granny squares? I'd love to hear your favorite pattern story! Until next time friends, Be blessed and stitch & read with love! In case you missed it, here's a link to The Granny Square Project - Part I: Born of Necessity, Raised to an Icon
19 Comments
8/13/2012 10:01:05 am
Great post! My go to granny starts with a ch 4. I do a ch 1 between the groups of 3 dc and my corner is 3 dc, ch 2, 3 dc. I learned from this awesome Julie Bolduc/JPF Club pattern: http://www.jpfun.com/patterns/free/granny_squares/f101001basicgranny.shtml in the early 2000s...
Reply
Ruth
8/13/2012 11:35:05 am
Really loved the post and found it so interesting.
Reply
8/13/2012 01:22:25 pm
Hi! Thanks so much for doing this in-depth series, it's awesome! You'll be interested to hear that my next *tattoo* is going to be...wait for it...A GRANNY SQUARE. That is, a *diagram* of a granny square! I promise to let you know when I get it done!
Reply
I'm so glad you're enjoying the series. I wasn't sure how it was going to work out, but it's been a lot of fun and I'm learning so much!
Reply
Thanks for the supplying the tutorial. It is interesting how at a quick glance, granny squares all look the same...I never checked out the small detail differences that you have outlined..now I know what to focus on..cuz, like you, I always thought that a traditional granny square, was a traditional cookie cutter square and never realized the subtle differences..
Reply
Lucie
8/14/2012 02:35:33 am
I was taught pattern #2 for my granny squares, thanks for showing us the variations :)
Reply
8/14/2012 07:39:40 am
love the colors! I always thought the Granny was a standard thing!
Reply
8/15/2012 01:56:39 am
Great background research all for the granny square! I learned a lot. You just can't go wrong with one, can you? They make such beautiful projects, and I love the colors in your square. Thanks for linking up at Hookin On Hump Day!
Reply
Fascinating stuff. I think the cake analogy is spot on - we all make chocolate cake and they all taste like chocolate cake, but they can be so completely different.
Reply
Wow, I'm really loving this series! My basic granny is: chain 9, then chain 3 between the groups of 3 dc, and the corners are also chain 3. It's the fact that it's always 3 of something that makes it easy enough for me to do whitout really looking at what I'm doing, so I can do them while I'm watching tv...
Reply
8/26/2012 06:48:48 pm
Your squares are perfect...love your colors too....and yes I am learning right with you...thanks for the book recommendations....and this project...very, very useful...nicely done!
Reply
Leave a Reply. |
I'm Robin and this is Click to see what's new on the Craftsy Crochet Blog!
Follow Along
Tutorials and Patterns
On InstagramPlaces I Post
Archives
July 2015
Categories
All
Thank you for visiting!
My name is Robin. I am a wife, mother and strong believer in the power of faith. I'm a maker, a crafter and an artist. I love exploring new mediums and sharing my adventures with you. Did you enjoy your visit? Let me know by leaving a comment. I love knowing you dropped by, and hope to see you again soon! Be Blessed and Stitch & Read with Love! |
