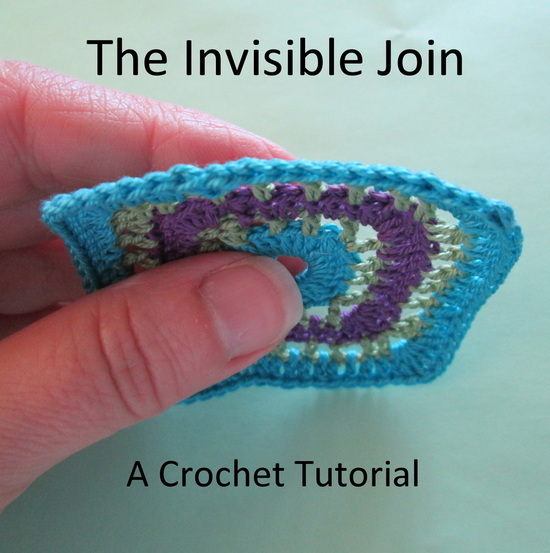
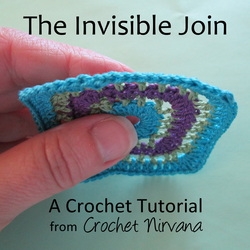
The invisible join is an easy to master technique that will give your crochet pieces the smooth finish they deserve. I'll admit that I avoided it for a long time. I thought, why bother with threading the needle and "sewing" my stitches together when a slip stitch/finish off does the job quickly and efficiently? I finally decided to give it a try last year when I was doing a lot of thread crochet. After working so hard to create even, perfect squares I was frustrated by the obvious lump the slip stitch left behind. Like everything, it takes a bit of practice, but once you've done it a few times you'll wonder why you procrastinated for so long! I don't always use the invisible join. When I'm making grannies I only use it on the last round, since you don't see the others. I've found it works well with most yarns and is ideal with thread. Along with being smooth and well, invisible on finishing rounds, the other place I like to use it is when you have to count stitches to make a border come out right. There's no fudging or trying to cram the hook into the joining stitch. To help you on your way I created this tutorial. Lots of the instructions I've seen try to show you in two or three steps. While that may be ok for some folks I prefer to see how-to in as much detail as possible. Including how to weave in the end to ensure a secure join. (That's the part no one shows you!!) Are you ready? Here's How You Do It 
That's all there is to it! While it's not necessary for every join, it's nice to have an alternative that gives your crochet project a smooth, even finish. Enjoy!!
Thanks so much for stopping by and spending a bit of your day with me! Until next time friends, Be blessed and stitch & read with love!
26 Comments
5/30/2013 08:00:35 am
Hi,
Kathryn Paulson
5/30/2013 08:37:08 am
I will try this...I like it :) thank you for sharing 5/31/2013 02:49:46 am
Wonderful technique. And easy reading tutorial as well. Thank you very much. You're welcome! When I started I struggled so much with how to weave in my ends!! It's one of those things that all the directions tell you to do, but no one actually tells you HOW to do it!! I worried so much that it would come loose or look messy! I still have a hard time on open, lacy work, but granny's are easy (once you know how!)
Minerva
6/26/2013 06:56:01 am
Thank you so much for sharing, you have done a beautiful job. I most certainly will try it. You also have a blessed day.
Osaraña
8/2/2013 05:35:14 pm
Thank youuuu!! loved this, sooo very helpful!!
Jess
8/9/2013 12:57:09 pm
Thanks for this! I Bavarian crochet a lot, and don't like the bumps from finishing off before starting a new color. Will definitely use this technique in the future!
Rhonda E.
10/10/2013 01:25:37 am
Awesome technique thanks
LorzFromOz
1/25/2014 11:16:03 pm
Thank you for this tutorial. I have been knitting and crocheting for many years and after seeing this have started using this technique. It is great.
Evelenna
4/20/2014 11:30:14 pm
THANK YOU .I love it.
Cathleen Reese
6/25/2014 11:16:27 am
Thank you for this tutorial and your hard work! I am using this from now on!!
Cherie Shirey
7/11/2014 04:40:18 pm
I have been pinning all sorts of crochet patterns (and some knit one, too) and I came across this tutorial. I had never heard of this before.
Elspeth. Mullen
7/25/2015 06:14:21 pm
love Tutuiorls I am left handed so I like vedios best
Sharon Ishika Ghose
11/9/2015 11:31:39 pm
Excellent! THank you so much for sharing and teaching. Will definitely use
marta quant
1/9/2017 01:35:26 pm
i loved the explanation and the pictures were easy to follow. your tutorial made learning something new easy. i like to have options. 9/12/2019 05:33:49 am
Bus back or side panel advertising in Chennai is usually done in all MTC & Tamilnadu buses where ads are placed all sides of buses. 11/9/2020 02:15:48 am
Best SEO Company in Chennai significant role in uplifting your business requirements. Achievement of any trade is directly depends with the presence of the website in the search engine results. Growth your internet visibility & sales with the best SEO Services in Chennai, India who uses numerous Digital marketing technologies such as SEO, SEM & SMM. SEO is the noticeable method of On-Page & Off-Page SEO where keywords are processed for growing the visibility of the website in search engine page results (SERP). SEO agency in Chennai is an organic way of optimization where the keywords a vibrant role in building the strategy for position in the list of search results. 11/24/2020 07:24:59 am
Vibrant furnishing provides quality supplier of carpets & rugs in Chennai. Vibrant furnishing gives you a luxury feeling, Wall to wall Carpets, Flooring Carets, etc… Leave a Reply. |
I'm Robin and this is  
Click to see what's new on the Craftsy Crochet Blog!
Follow Along
 Tutorials and Patterns


On Instagram 
Look for me, I'm RobinBrz


Places I Post

 
 Archives
July 2015
Categories
All
 
Thank you for visiting!
My name is Robin. I am a wife, mother and strong believer in the power of faith. I'm a maker, a crafter and an artist. I love exploring new mediums and sharing my adventures with you. Did you enjoy your visit? Let me know by leaving a comment. I love knowing you dropped by, and hope to see you again soon! Be Blessed and Stitch & Read with Love! 
|

