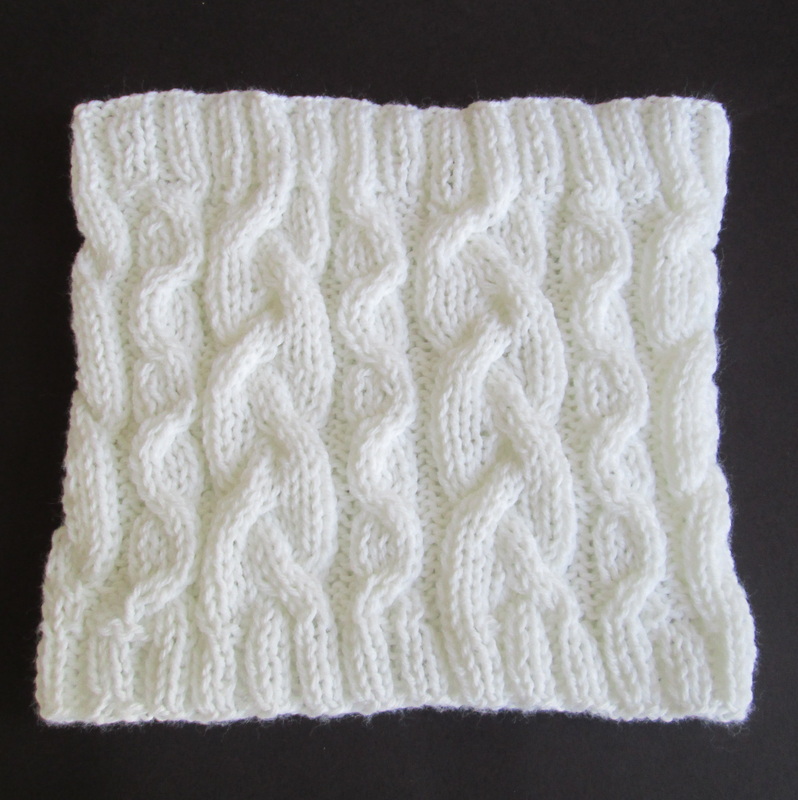
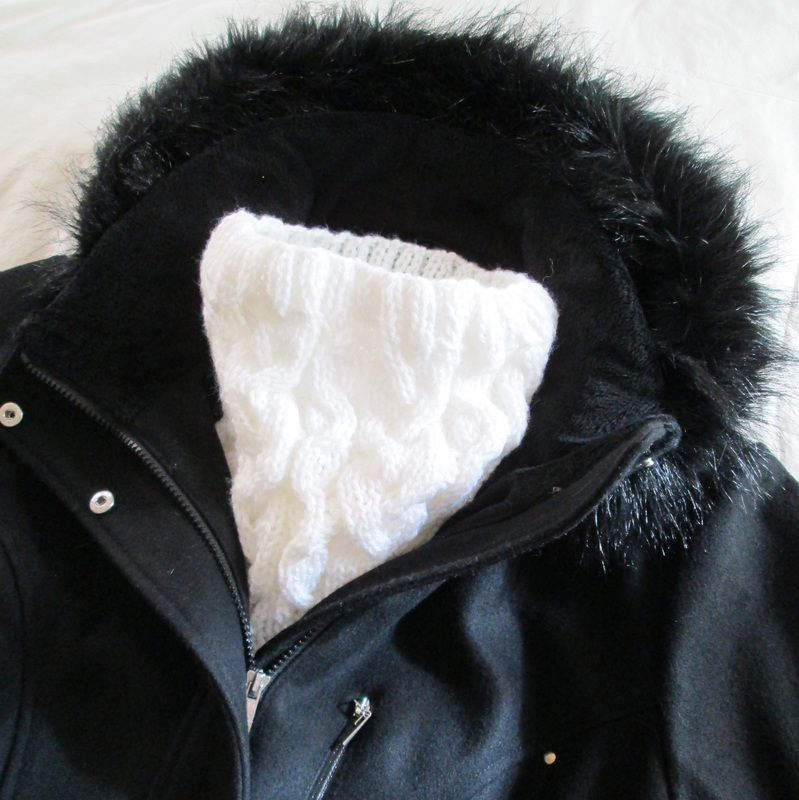
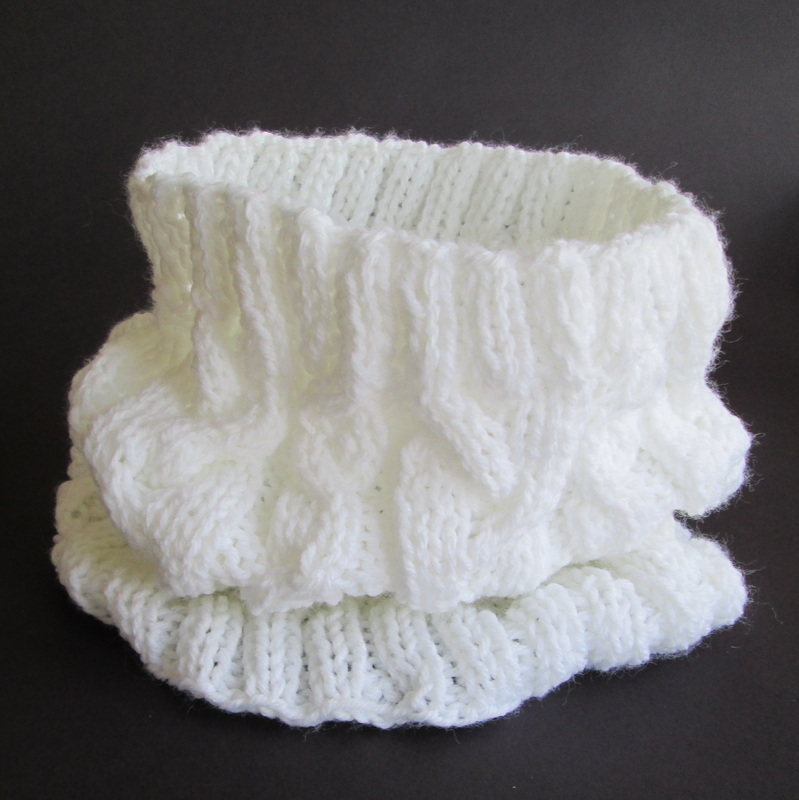
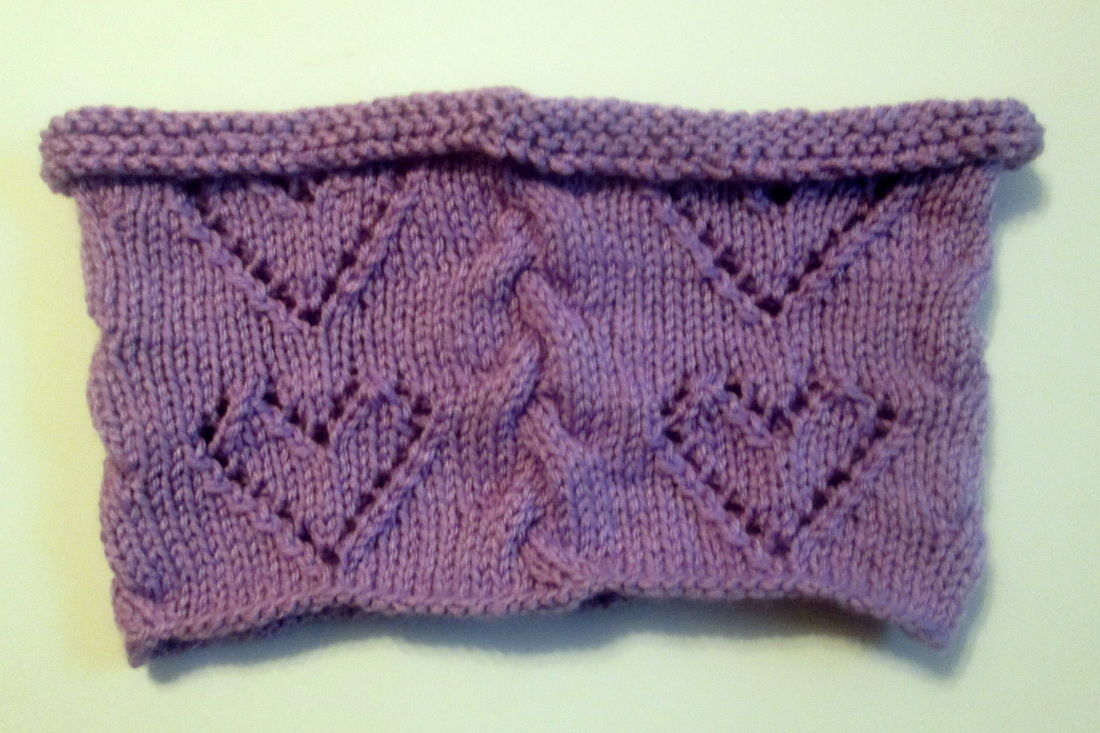
 Hmmmm.... I can tell that it has potential but things just didn't work out the way that I planned! Greetings Friends! Usually I like to write about good things, you know - projects that have worked out well. Pretty things that I've made or tips that I've figured out to help make things easier for us. I don't often write about - or read about - projects that have gone wrong! In fact, when I was planning my posts this one was supposed to be about a super cute hearts and cables cowl. It still is about the cowl - just not the super cute part... Let me tell you what happened: I have been knitting for less than a year - I cast on my first swatch last February 21, 2013. (I only know that because of the blog - before I looked I thought it had been a few years!) Anyway, in that time I have done a lot of knitting, and I really like it! Most everything that I've made has come out nicely, and I'm continuing to stretch myself and try new things. So after making a very lovely cowl for my mother-in-law for Christmas I decided to do a little (more) pattern modification. I guess I was feeling pretty confident. In my mind I could see a Valentine cowl with cables & hearts - that look like X's & O's. For this new project I took the basic size (cast on 100 stitches) and the hearts repeating 4 times around then added the cables, a sewn bind off, and a crocheted trim around the bottom. Unfortunately, things didn't turn out the way I planned. I'm not sure if it's my inexperience or if it's just the nature of knitting, but I'm never really sure exactly what is going to happen when I bind off. Seeing the project off the needles for the first time is always a surprise - and after all that work, the last thing that I want is to be disappointed - which seems to happen most when working in the round. This cowl is the perfect example of thinking that everything was going along splendidly only to find out that it wasn't! It doesn't look too bad in the picture, but in real life the bottom is a good 2 inches smaller than the top and the top edge rolls down hiding the pretty hearts and cables. I didn't even bother with the bottom trim because I knew it never was going to be what I had hoped! 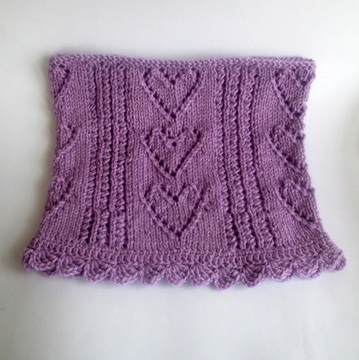 My version of the Sweetheart Lacy Cowl by Cheryl Murray. My version of the Sweetheart Lacy Cowl by Cheryl Murray. Take a look at the first cowl. It's the Sweetheart Lacy Cowl by Cheryl Murray from the book 50 knitted gifts for year-round giving. It's beautiful right? I followed the pattern for main body, but changed the top to the sewn bind off. I also decided to crochet the bottom edge instead of knit the edging and then sew it on as the pattern indicated. The main difference between this one and "mine" with the cables is well - the cables. I also only did two repeats of the hearts and included a few more rows between them to space them out a bit.
So what have I learned and what comes next? I've learned that knitting in the round allows you to avoid seaming, but prevents you from getting a good look at the real size of the item. That I need to practice binding off - so that one day my tops and bottoms will be close to the same size. And I've learned that even small changes to a project - like a few extra rows here or there can sometimes end with unexpected results! I've also learned that I don't run into these kind of challenges when I crochet. If I start with 100 stitches in the round and end with 100 stitches I'm certain that my bottom and top will be the same size. I also don't have to worry about what the project really looks like - because you can see the whole thing. Does this mean that I'm going to stop knitting? No way! I love knitting and I really do love a challenge! So far I've tried the traditional bind off and the sewn. I know that there are still more out there - and eventually it will all come together! In the mean time - adding crochet edging helps - and so does using a little clear elastic to firm up an unruly top! Will I keep making changes to the patterns? Of course I will. It's a way to express my creativity and continue to grow as a fiber artist. When I first started crocheting I never would have dreamed of doing something different from what the pattern said - now I use them as a guide. As a framework to help be build and shape new projects. What will become of the cables and hearts? I think that they look good together and that there is potential. Maybe a scarf? Ribbing is always an option to give stability to the body of the cowl and stop the top from rolling down. And finally I'm thinking that I should just let it rest while I work on something else! We all need a little space one in a while - especially after things go wrong! Thanks so much for stopping by and spending a bit of your day with me. Until next time friends, Be Blessed and Stitch & Read with Love!
2 Comments
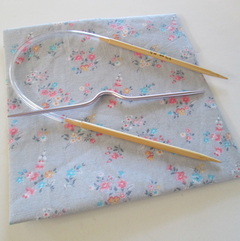 Which one makes cables easier? Which one makes cables easier? Greetings Friends! Are you afraid to try knitting cables? You love the way they look - the texture and motion they give to garments, but the idea of adding another needle into the mix is more than you're willing to attempt? Fear no more!! For I was once like you! Timid and leery of a third needle for stitches to slip off of. Because really, how would I possibly fix that kind of mistake when it takes every once of concentration to pick up a dropped stitch in a simple knit row? The skills required to make cables are basic. It's no more than slipping stitches and knitting (and sometimes purling). The tricky part is wielding that third needle. It's typically a three step process: 1) Slip the stitches onto the cable needle and hold it in back (or in front) of the body of the project. 2) Knit the required number of stitches (according to the pattern) using the main set of needles (making sure the slipped stitches on the cable needle stay in back or in front of the project). 3) Knit the slipped stitches from the cable needle to the main needle. That's it. Piece of cake right? I know you may not believe me yet, but I promise you can do it. The two biggest challenges I have with cables are making sure the stitches don't slid off, and actually knitting from the cable needle. While working on this cowl I had an ah-ha moment. I was looking through my supplies for a larger cable needle (I have several that were given to me when I started knitting) and I came across my 12 inch circular bamboo needles. Honestly these needles haven't been good for a whole lot (they're too small for most projects and the short needles are tedious to work with). But I thought why not use it instead of the short slippery metal cable needle? Ah-ha! 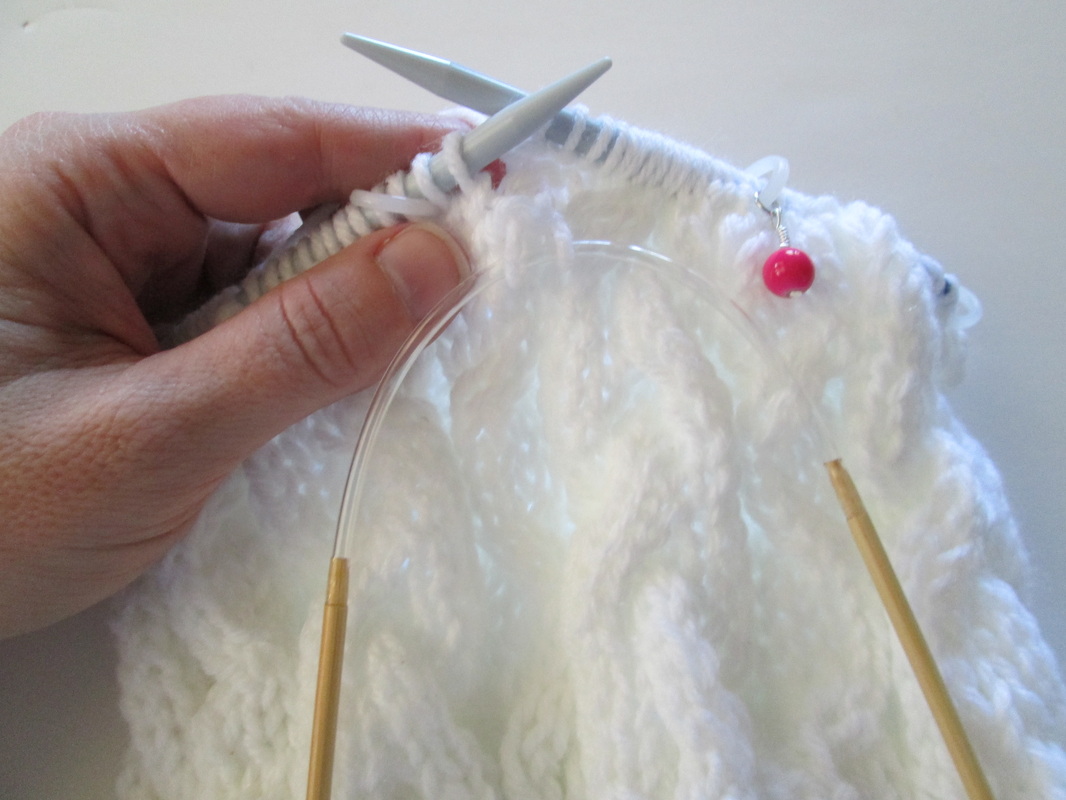 Here my stitches happily hang! Here my stitches happily hang! Right away I knew I was onto something. Once you slip the stitches onto the circular needle you can just let it hang in back or in front of your project. No more worrying about dropping stitches! When you're ready to knit the slipped stitches just slide them up to the tip of the needle and you're in business. I find that it really works like a dream. There was some concern that the hanging circs. would get in the way, and I imagine if you don't have a short stubby pair of 12 inchers that could be a problem. For me the piece of mind that I get from not worrying about dropping stitches is worth it. Don't have circular needles? I've been told that using a bamboo double pointed needle is a much better option than a slippery metal cable needle.  Here I'm working C6B using my 12 inch circular bamboo needles instead of a traditional cable needle. The other part of cables that took me some time to master is the language. Cable abbreviations seem confusing. The first time I saw C6F and C6B I was stumped. Now that I understand the construction of cables it makes perfect sense. Here's what I learned. Basic cables are formed when you work stitches in front and in back of other stitches. The C tells you you're making cables, the number is how many stitches you'll be using in total and F or B lets you know where to hold your slipped stitches. So C6F is a Cable worked over a total of 6 stitches, holding slipped stitches in Front. That means that you will slip 3 stitches onto your cable needle and let it hang in front of your main body of work. Knit 3 from your main needles, then knit the 3 slipped stitches. C6B is a Cable worked over a total of 6 stitches, holding slipped stitches in Back. So that means you slip 3 stitches and let them hang in back of your main body of work. Knit 3 from your main needles, then knit the 3 slipped stitches.
Like everything in knitting, cables come in many shapes and sizes. They can be classically simple or wonderfully complex. Personally they are one of my favorite fabrics. I love the texture and movement they bring to any garment. My desire to create cables is one of the reasons that I learned to knit! Using the short circular needles instead of a standard cable needle has really been a breakthrough! I still have plenty to learn, but understanding the language and how they're made makes me feel like I can tackle more complicated patterns with much more confidence! So what do you think? Are you ready to give cables a try? I hope you do. And for my knitting friends who are well versed in the ways of the cable, I would love to hear from you! What kind of cable needle do you use? Do you have any tricks or tips to share? One last thing, I'm looking for my next cable project and welcome any pattern suggestions you might have. Thanks so much for stopping by and spending a bit of your day with me! Until next time friends, Be Blessed and Stitch & Read with Love! |
I'm Robin and this is  
Click to see what's new on the Craftsy Crochet Blog!
Follow Along
 Tutorials and Patterns


On Instagram 
Look for me, I'm RobinBrz


Places I Post

 
 Archives
July 2015
Categories
All
 
Thank you for visiting!
My name is Robin. I am a wife, mother and strong believer in the power of faith. I'm a maker, a crafter and an artist. I love exploring new mediums and sharing my adventures with you. Did you enjoy your visit? Let me know by leaving a comment. I love knowing you dropped by, and hope to see you again soon! Be Blessed and Stitch & Read with Love! 
|