|
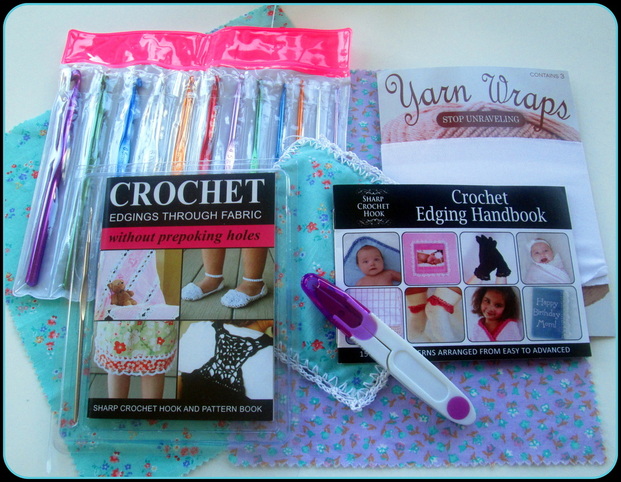
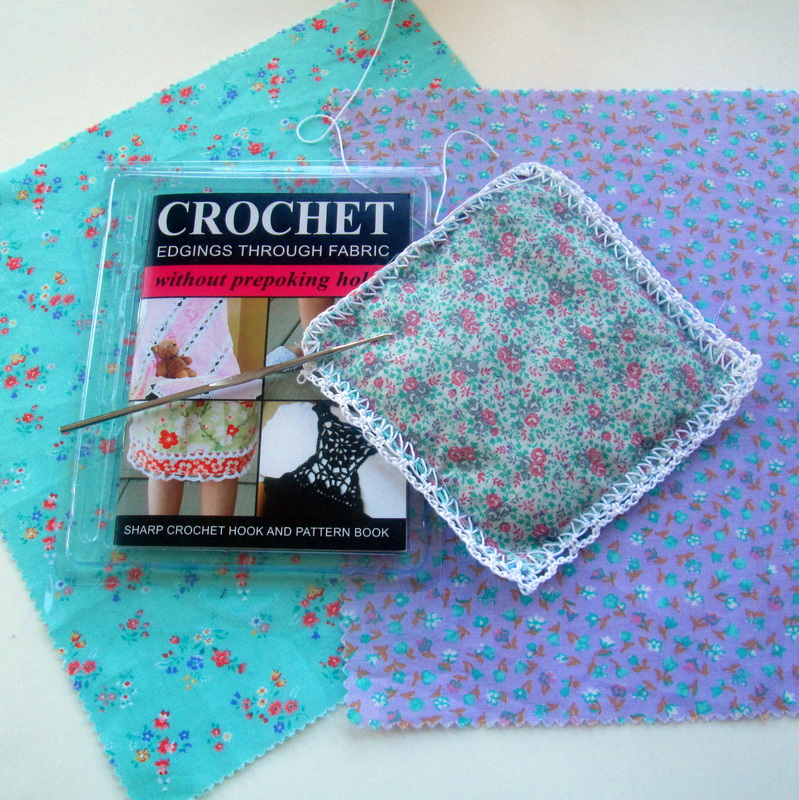
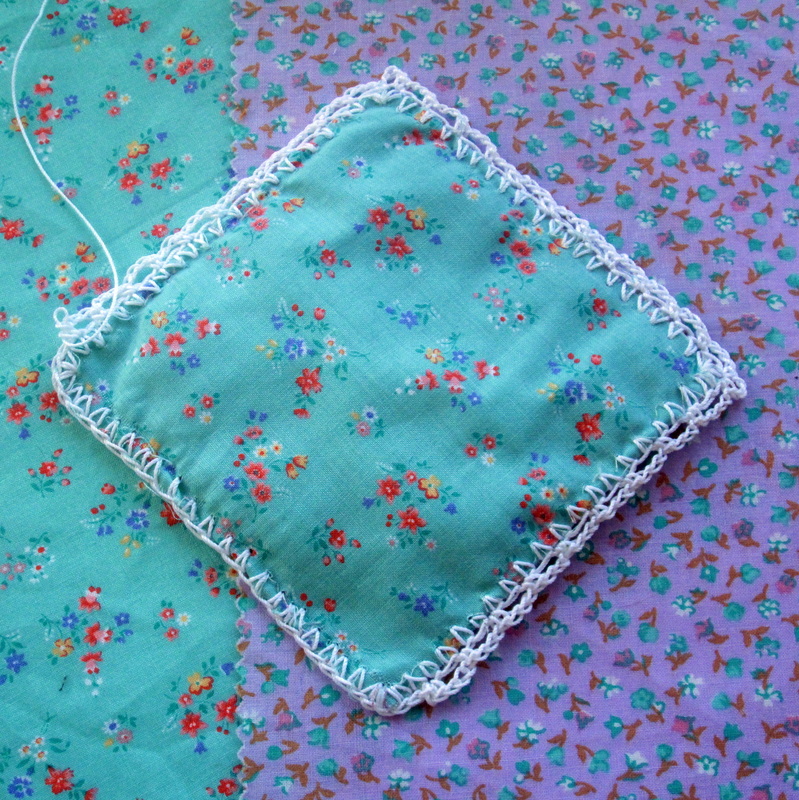
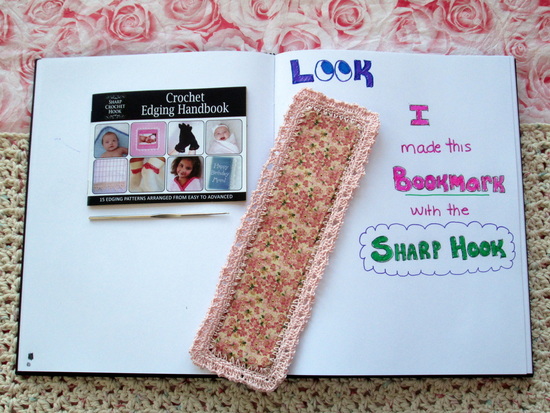
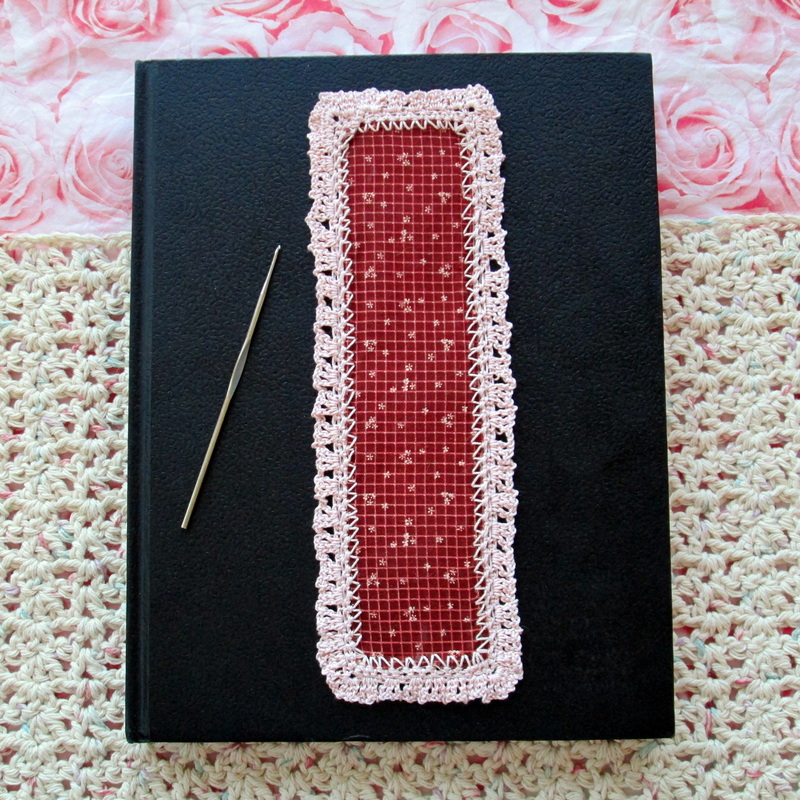
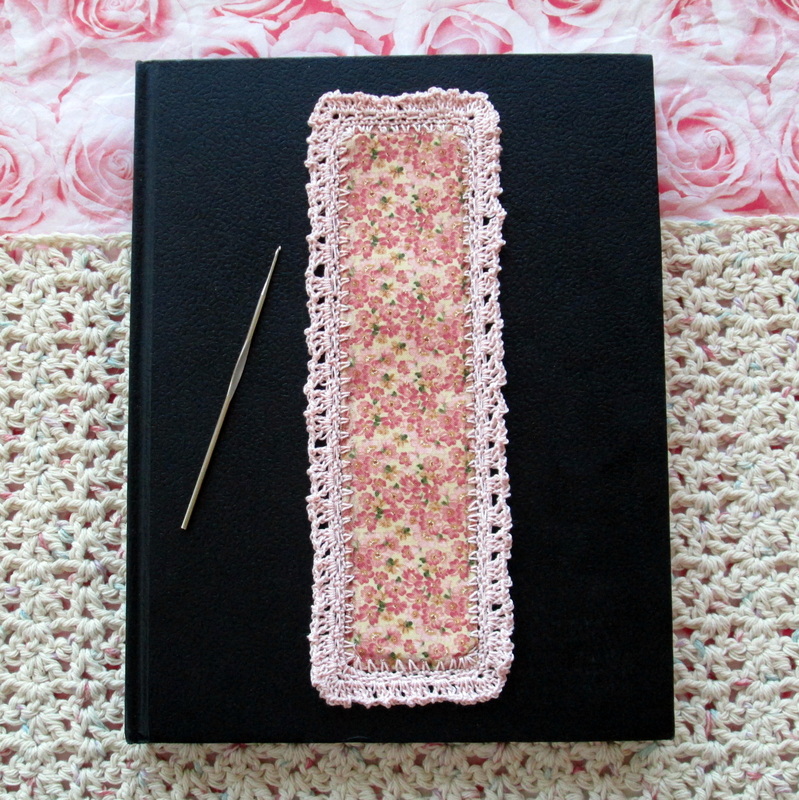
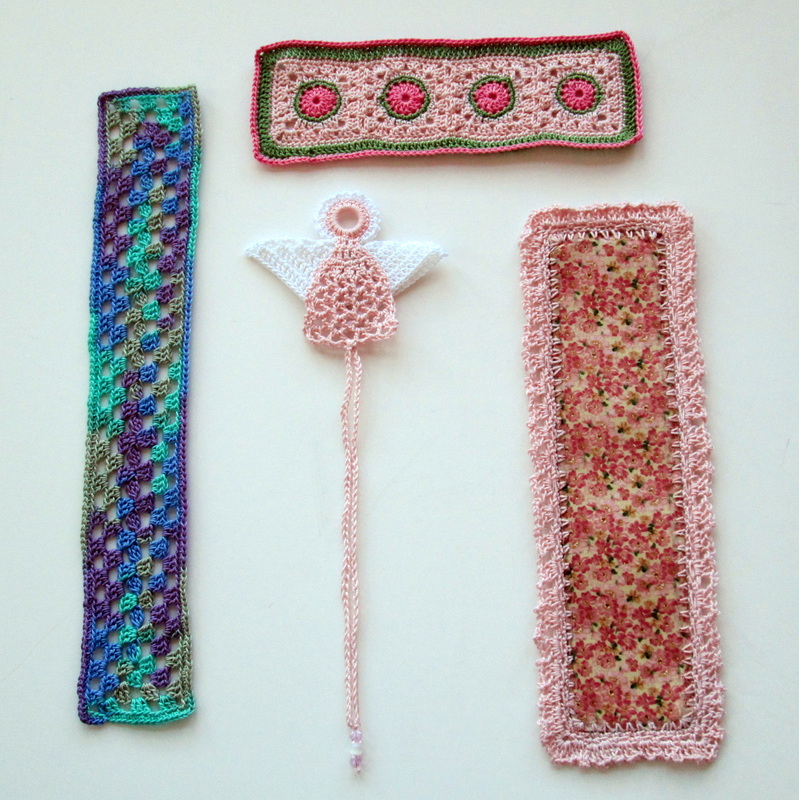
Greetings friends and Welcome! I feel like it's been ages since we've gotten together. I've been working hard on holiday projects and as much as I love celebrating with family and friends I'm looking forward to settling down in the new year and getting back to a regular blogging schedule. Today I have something cool to tell you about - it's called the Sharp Crochet Hook. A handy little hook that makes adding crochet edging to fabric a breeze. It allows you to work on the fly without pre-poking holes or sewing a round of the blanket stitch onto your fabric. I've been working with thread a lot lately, but I had never tried to add lace trim to a piece of fabric. That is until Jessica Taufer got in touch and asked me to give her product a try. Jessica sent me the Starter Pack. It arrived in a simple white envelope shortly after our conversation. The picture above shows what I received. The packaging is professional and it's clear that a lot of thought was given to the layout and design of the printed materials. The Pattern Book has 18 different projects for apparel, accessories and items for babies & kids. The Edging Handbook contains 15 trim patterns that range in complexity from easy to advanced. I was a bit surprised that neither book provided a section on how to use the sharp hook. All of the patterns seem to start with "SC around the fabric". While that is pretty self explanatory, as a newbie to edging I was hoping for a bit of guidance. Especially when it comes to determining how many stitches I would need to make a particular pattern repeat work. (More about that in a minute.) As for the rest of the items, there is the hook itself. It's a steel hook that does indeed have a more significant point than any of the ones I have, but not so much that it feels dangerous. I'm not sure what size hook it is as it doesn't have anything stamped on it. In the booklet it says, "Always use the Sharp Crochet Hook to crochet through fabric and paper, then switch to a size 3 (2.1 mm) crochet hook and continue using size 3 crochet thread, which is used throughout this book, or switch to a larger hook and use the yarn of your choice to complete the project." I used size 10 thread and switched to a size 4 hook for my projects with no problems. There is a set of 12 crochet hooks that range in size from 2.00 mm to 8.00 mm. The common US letter sizes are not indicated, but I don't think that should be a problem since most patterns list both the letter and the mm size. The hooks seem to be good quality and make a nice collection for a beginner (or starter) who want to have a selection of sizes to choose from. I'm quite taken with the sewing snips and dropped them into my travel bag straight away. Scissors with a cap are a plus in my book. The Yarn Wraps are a nice way to round out the kit. They're just stretchy fabric sewed in loops, but they do the trick and I haven't had to worry about my balls of thread coming undone when I carry them back and forth to work. Overall I am pleased with the entire presentation. I'd like to see greater detail in the instructions, but that can be remedied easily enough with a simple flyer about "Getting Started". I found that Jessica's web site provides additional information in the form of FAQs. The most important question though is how did it work? The answer is really well, once I decided what I was going to make! To start with I made a coaster. I had a bunch of cotton fabric hanging around so I cut a few squares. I started at the edge and worked the single crochet across. It was so easy that I thought, I wonder if I can crochet two pieces of fabric together to make a thicker coaster? I grabbed two pieces and gave it try. Imagine my surprise when I was easily able to poke through both layers at the same time! I worked the single crochet along one edge. I went back and counted my stitches and then worked that many on each of the three remaining sides. I ended up selecting my trim pattern from the book Around the Corner by Edie Eckman. Mainly because in Edie's book she tells you how many multiples the patterns are worked in so it was easy to pick one that would fit. Once I completed the coaster I was ready to give something else a try. I've been working on bookmarks and thought one made of fabric would be a great idea. Turns out I was right and it wasn't hard at all. I cut two pieces of fabric the same size. Then I cut a piece of cardboard from a cereal box a little smaller than the fabric rectangles. After I pressed the fabric I used a glue stick to hold the fabric and cardboard sandwich together. Using the sharp hook I worked a single crochet all the way around using the same number of stitches on the short ends and the long sides. For the lace edging I worked (3dc in the same sc, ch 2, skip next sc) along each side and 5 dc in each corner. Voila! A nifty double sided bookmark to go along with all the others I've been making! 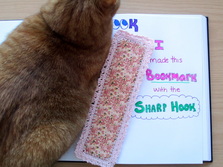 Whether you are a seasoned thread crocheter looking to add trim to fabric, or you are a beginner interested in learning this beautiful and timeless technique the Sharp Hook is easy to use and makes a great addition to your crochet tool box. I already have plans for adding trim to a vintage hanky, a denim jacket, and an apron. With just a little time and effort you can easily turn a plain item into an one of a kind heirloom. For more information you can visit Jessica on the Web and check out her full line of products. I couldn't resist including this picture of our kitty getting in on the action. She always has to be the center of attention! Thanks so much for stopping by and spending a bit of your day with me. I hope that you'll come back and see the awesome projects I've been working on. There's lots of thread crochet, hats, gloves, and accessories for the home. I'll share patterns I designed and finally finish up the Granny Square Project. In the mean time, I hope your holidays are wonderful! Until next time friends, Be blessed and stitch & read with love!
6 Comments
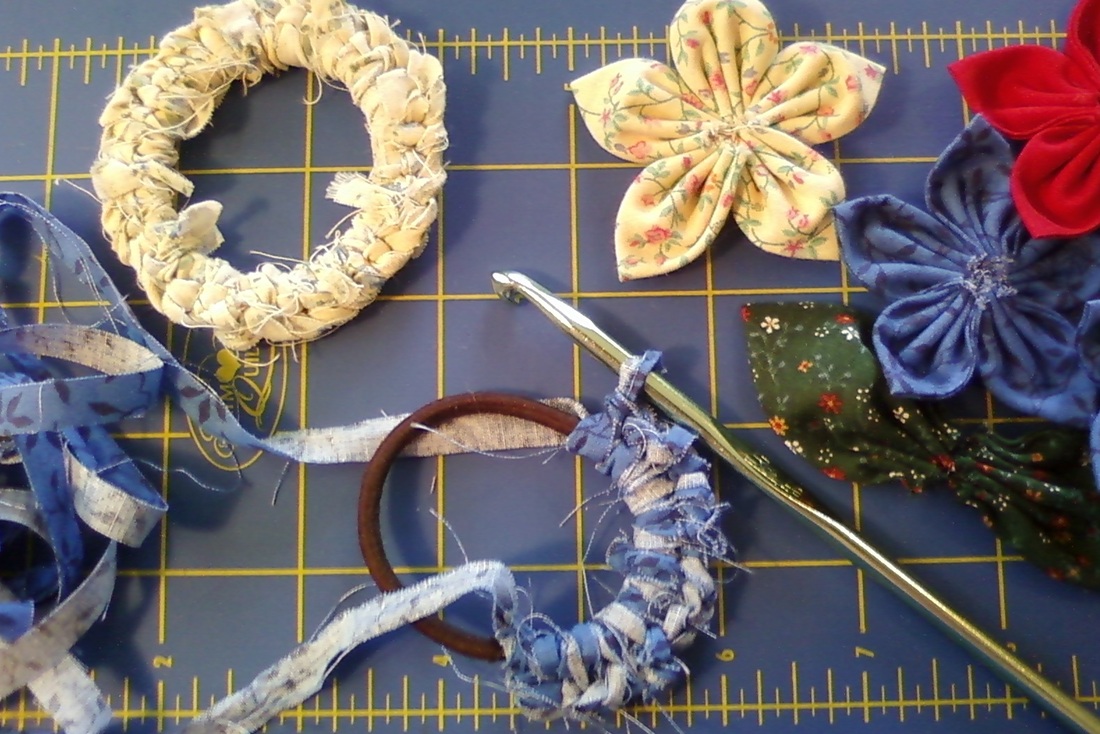
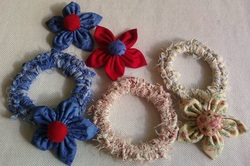
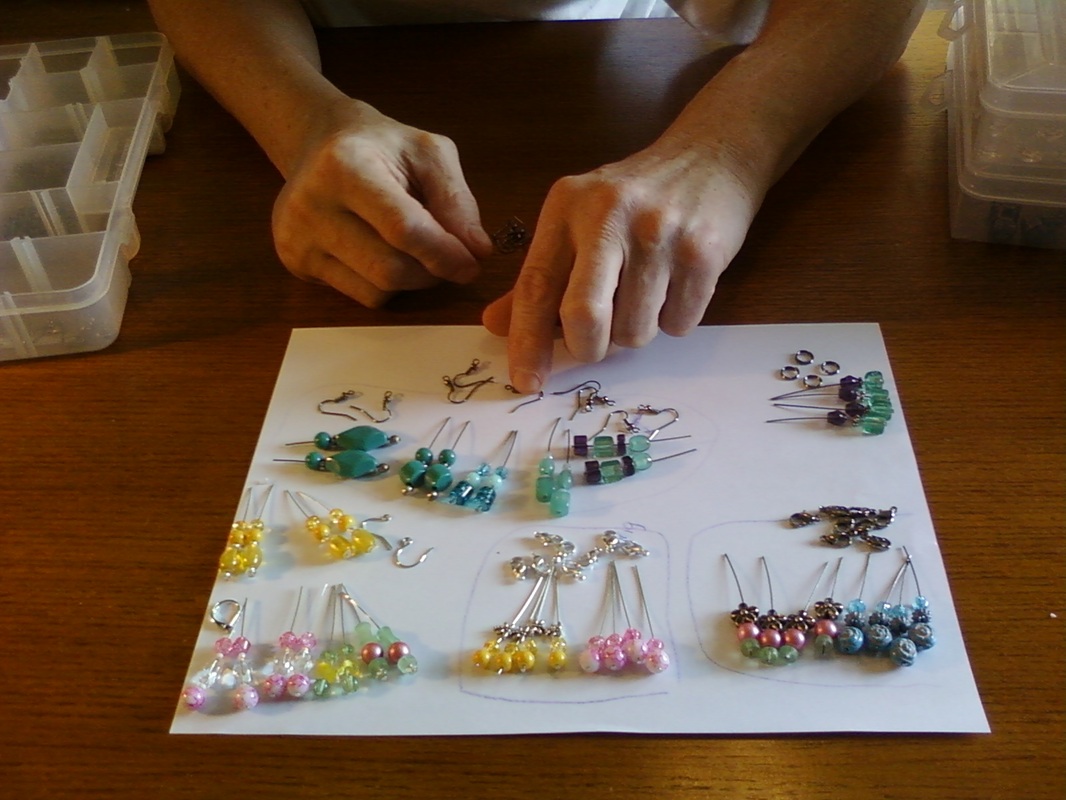
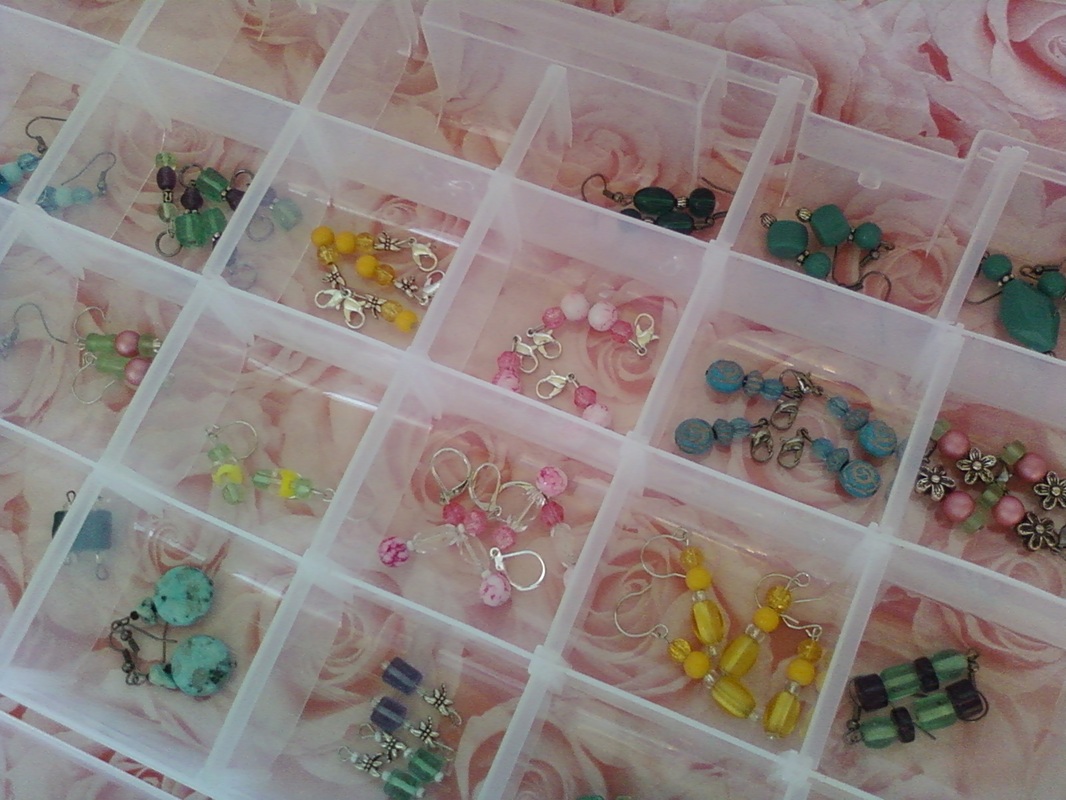
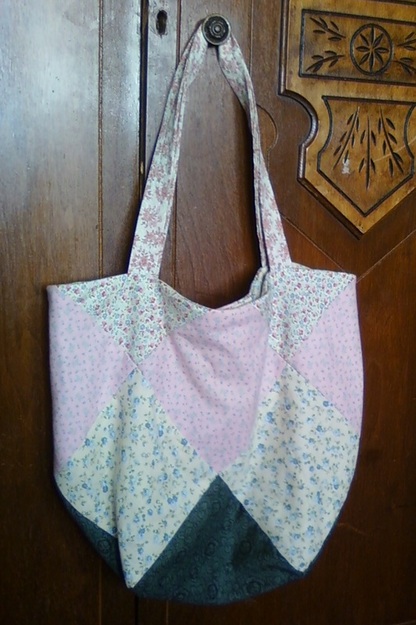
It's been a fabulously productive week. As I began pulling things together for today's post I was surprised by all that I (we) accomplished, and with the variety of mediums that I've been using. Fabric and sewing have been prominent. I figured out a way to combine cloth and crochet and used it to make these handy hair ties/elastics. I'm always looking for something pretty and unique to keep my mop of hair out of my face. These hit the mark and are easy to whip up. I've been having a blast making flowers. Along with attaching them to barrettes, I wanted to make them into pins. I know you can buy the pin backs, but I decided to upcycle and pulled apart an old promotional pin and stitched the pin part to one of my flowers. Now it's ready for my denim jacket! Stitch markers and earrings were on the agenda yesterday. It's been a while since John and I have done this. Like anything creative I have to be in the right mood to want to do it - and for it to be successful. Let me tell you, I was in the zone! I know the pictures don't show them off, but they were coming together so easily! I've had days that no matter what combinations I tried, nothing looked right. Yesterday I could do no wrong! In about an hour and a half I had laid out at least 8 sets of markers and maybe 10 pairs of earrings. John is finishing up the last of them as I'm write this! The sewing seed was planted a few weeks ago, when a class to make a tote bag was held at the library. I couldn't attend because I had to work, but Jean set my up with a tasty stack of fabric squares and the pattern. I keep my sewing machine in the corner of the dining room for easy access. Truthfully, I haven't used it since I hemmed a pair of pants for John last winter, but it was ready to go. I chose 4 complimentary prints and had at it! You begin by making 4 strips of 4 squares (easy). Then you lay them out in a kind of windmill pattern and sew them together (still pretty easy). Now the fun begins because you have to somehow sew the sides together in the right order to create a very awkward looking bag (not easy anymore). I did alright for the first three, then managed to sew the top together instead of side three to four. That's why I have seam rippers! I made the lining (really easy) and pressed and pinned it all together. I had to reattach the handles a couple of times to get them to end up between the lining and the main part of the bag, and because once I pinned it so the handles would have ended up sewn into the lining! All things considered, it was a lot of fun and now I have this adorable little tote!  In addition to my fiber offerings on Friday, I like to participate in Five Minute Friday over at Lisa-Jo Bakers place. It's writing in the raw and if you've never done why don't you give it a try? It's really easy - you just: 1. Write for 5 minutes flat on this week's prompt: “Story” with no editing, no over thinking, no backtracking - then post it just as it is! 2. Link back here and invite others to join in. 3. And then absolutely, no ifs, ands or buts about it, you need to visit the person who linked up before you & encourage them in their comments. Seriously. That is, like, the rule. And the fun. And the heart of this community.. Here's what happened when I spent five minutes writing on the prompt "Story" Fact, fiction, fantasy, fable there are so many stories out there. And I want to read them all! When I think about stories I begin with the story of my life. As interesting as that may be, it’s not where I want to spend my time – after all I’m here every day! I’d much rather hear a good story about something I know nothing about. Mermaids, knights in shining armor, being a wealthy celebrity, the possibilities are endless! I suppose that’s why I love the library. Because it’s a building bursting with stories. Every kind imaginable. I can loose myself in the stacks. Pulling book after book, looking at the cover and wondering what it holds inside. Will I be transported to Italy or maybe to the desert of New Mexico. I travel and meet new people. I learn and explore and immerse myself in the world the author creates for me. I remember reading stories to my son – every night until he was too old to let me. And then, once in a while he would allow me to snuggle with his near pre-teen self and share an adventure before bed. Those were magic stories. Perhaps not my most inspired five minutes. I honestly contemplated not posting it. Only for a secondthough. Because it's about giving yourself an opportunity for free flowing thoughts, and letting them be just as they are. And how often to do you let yourself do that? On Friday's there's always lots to do. I'll be heading out to visit my linky friends to see and be inspired by the wonderful things you all are working on this weekend. I'd love it if you came along. Thanks for stopping by and enjoy your weekend.
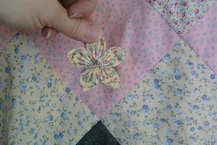
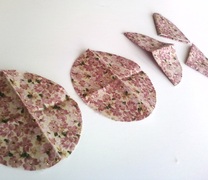
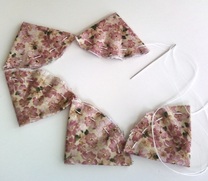
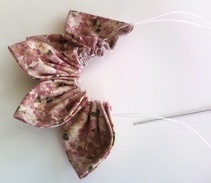
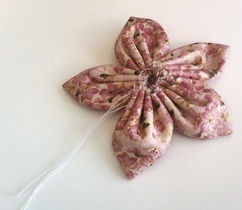
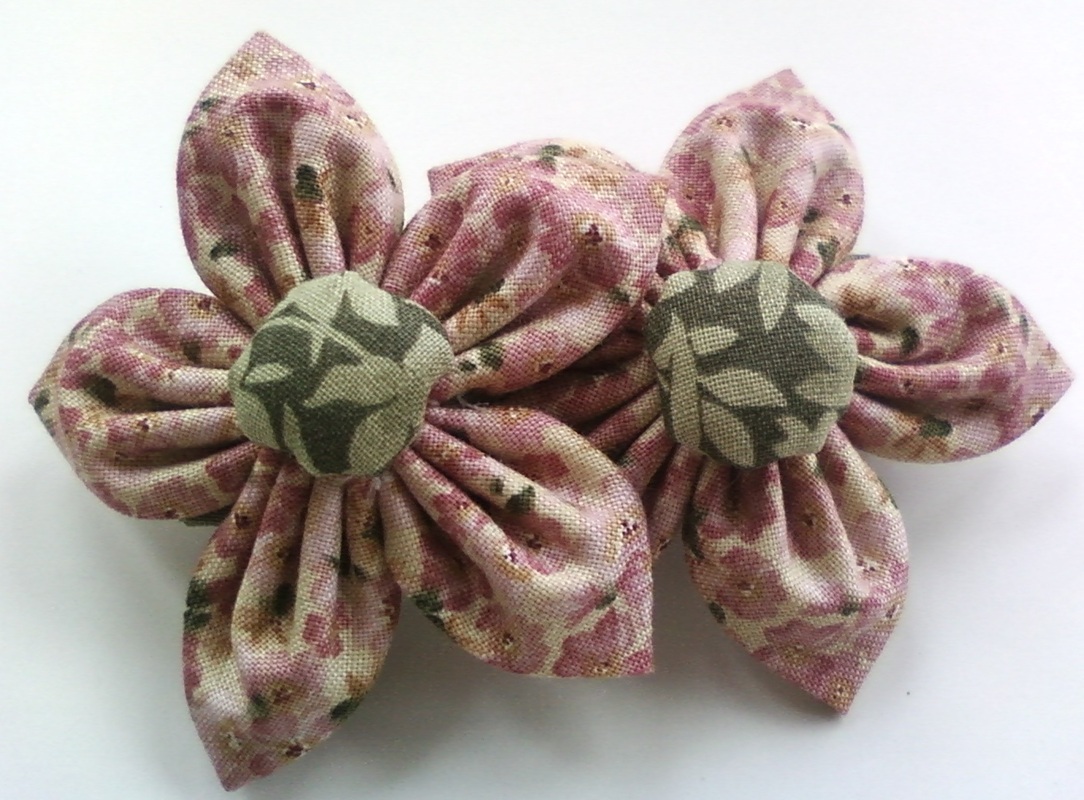
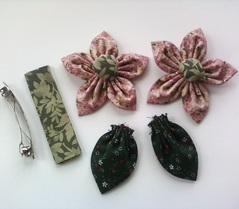
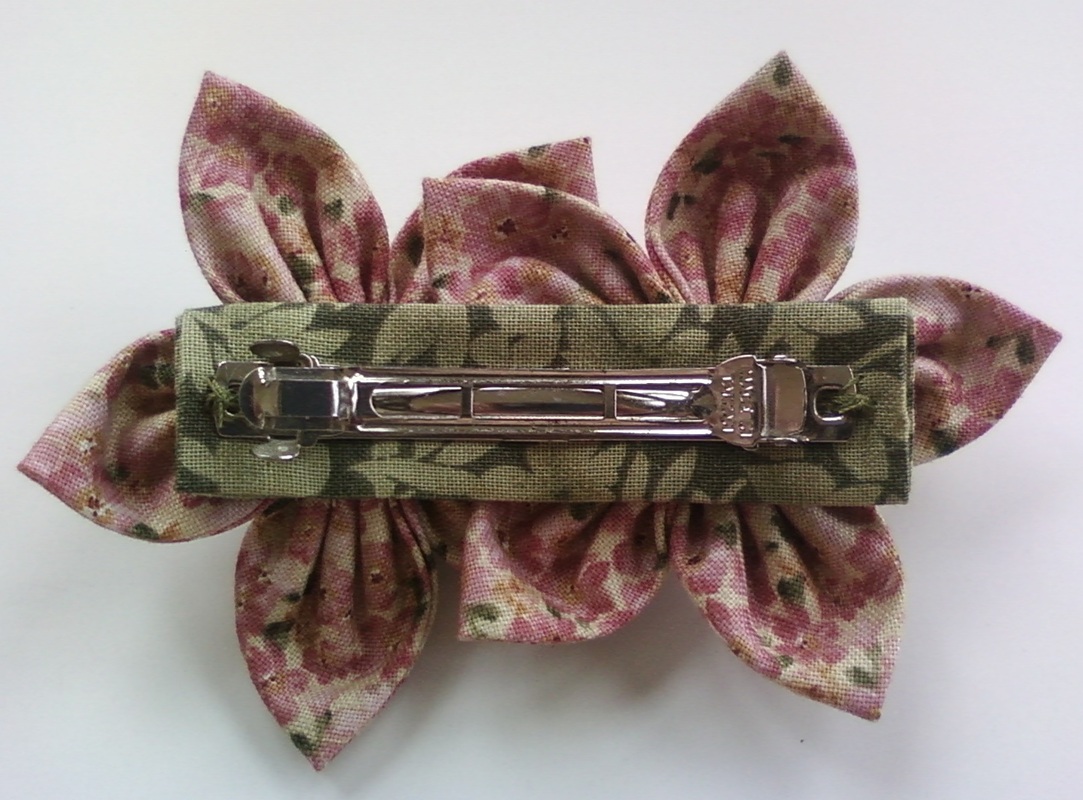
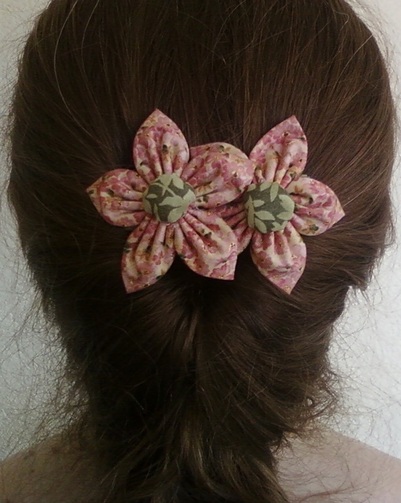
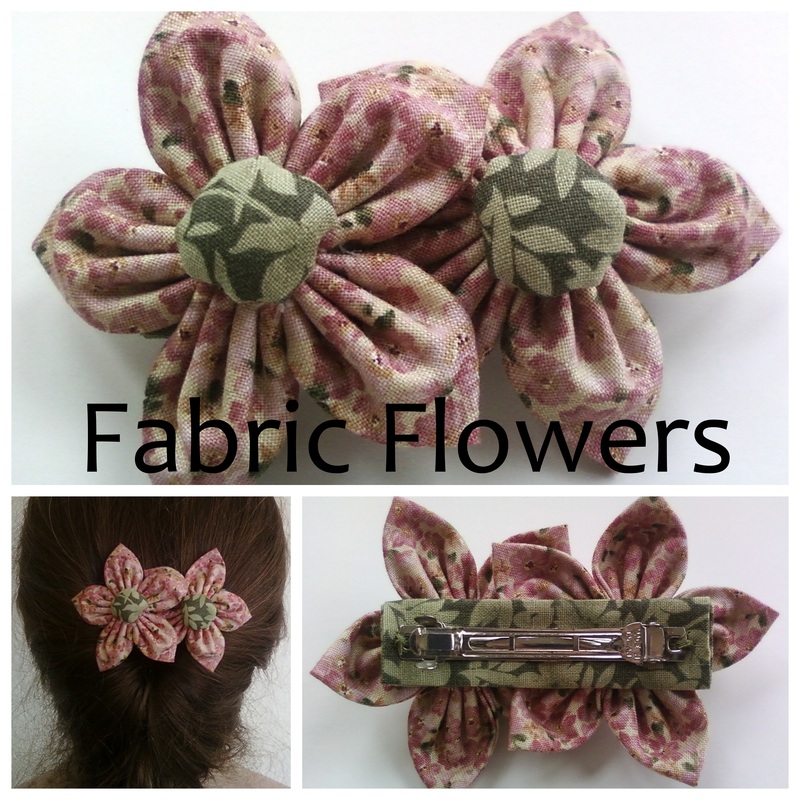
Until next time friends, Be blesses and stitch & read with love! I've been inspired by fabric this week. Today I'm finishing up a tote bag and yesterday in just a few hours I made this sweet barrette. I owe thanks to Libby (Truly Myrtle) who showed me how in her pincushion tutorial. I knew when I saw it that I'd be wearing flowers in my hair! Here's what I did:
 I know that this doesn't really "go" with my flowers, but I'd like to share it with you just the same. Only recently I discovered SoCS. A weekly prompt for five minutes of writing in the raw (like Five Minute Friday). I've been doing them both, but it feels awkward since they're only a few days apart and so similar. It turns out that I don't have to worry about it anymore because Fadra, our host has decided after two years it's time to move on and today is the last SoCS. I wish her well as I've enjoyed the Sundays we've spent together. There is a bit of serendipity at work here because I was facing another Sunday conflict. I've decided to participate in the Ravelry Group - Come Blog-A-Long. The Second Year of Projects kicks off today, July 1 and weekly updates are posted on - you guessed it - Sunday! With SocS ending I don't have to choose where I want to do my weekly writing exercise or worry about overextending myself on Sundays! I love it when things just fall into place like that. So without further ado, here is my five minutes of writing on today's prompt: What does it mean to reinvent yourself? Recently I reinvented myself – well not entirely. I think it’s more like I found my true self and I’m letting her out. I used to worry about fitting in, what people think, keeping up with the Jonses all that kind of stuff, and then a few years ago after some very bad things happened I decided it was time to let go and move on. To find out who I really am and to be true to her I had to do a lot of soul searching and praying and meditating and simply letting go of all the old ways that were not working. I started to believe in myself. I began to do things just for me. Because I wanted to and because I need to take care of myself. I stopped trying to control everything and everybody in my life. It has been so liberating! So freeing. I think differently and respond differently and I’m happy. I face difficult situations with faith and optimism that I can and will get through. I enjoy my life. I appreciate little things and little events. I work on being in the moment and being happy now. There’s no reason to wait for the big long list of things to be done and then be happy when I can just do it now. I hope you enjoy the small things that make up your day! I'll be linking up this week with the lovely Nicole and her family on the farm at Frontier Dreams: Keep Calm and Craft On. There are always lots of wonderful works to see. Why don't you join me? Until next time friends,
Be blessed and stitch & read with love! |
I'm Robin and this is Click to see what's new on the Craftsy Crochet Blog!
Follow Along
Tutorials and Patterns
On InstagramPlaces I Post
Archives
July 2015
Categories
All
Thank you for visiting!
My name is Robin. I am a wife, mother and strong believer in the power of faith. I'm a maker, a crafter and an artist. I love exploring new mediums and sharing my adventures with you. Did you enjoy your visit? Let me know by leaving a comment. I love knowing you dropped by, and hope to see you again soon! Be Blessed and Stitch & Read with Love! |
