|
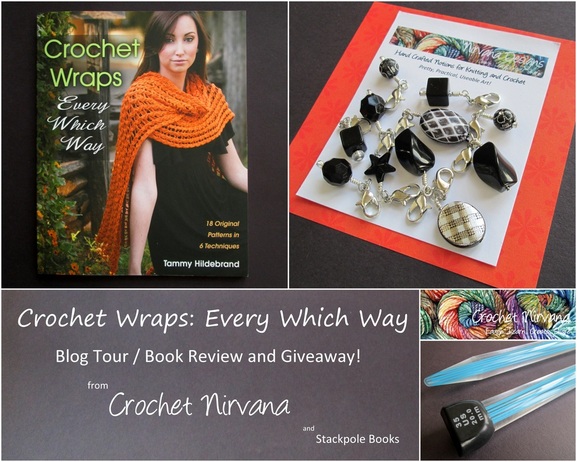
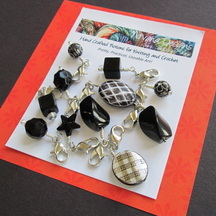
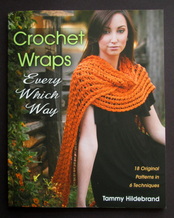
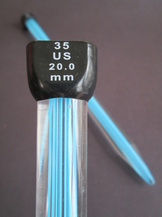
Greetings Friends! I live in Massachusetts. It's cold here. Not all the time, but right now in the middle of winter we're seeing some pretty low numbers! Add in the wind chill and we're talking negative numbers! And as much as I'd love to stay hunkered down in the house with a hot steamy cuppa and my latest project, the need to eat, which necessitates the need to work, means that I have to brave the elements. The best way to combat the wintery winds? Layers. And the final layer before the coat? The Wrap. Don't get me wrong - I love a good scarf, but The Wrap is what I reach for when I'm dressing for the weather. I have wraps in all shapes, sizes, colors and materials - I love each one and I will never have too many! As if their powers of warmth weren't enough, wraps are so stylish and versatile that they simply beg to be worn anytime and anywhere you need to keep a little (or big) chill off your shoulders and neck. Wraps are a wardrobe staple that can see you through every season and any kind of day - from work to weekend, casual to formal there is a wrap for every occasion! So when Tammy Hildebrand's new book Crochet Wraps: Every Which Way landed on my doorstep, I knew that I was in for a treat. Not only is it about my favorite accessory, it showcases 18 patterns and SIX different techniques! How perfect for someone (me me me) who is always looking to try something new?! Tammy has put together 3 patterns (easy, intermediate and advanced) for each method: Traditional Crochet; Motifs; Broomstick Lace; Hairpin Lace; Tunisian; and Double Ended! Wow! With so much to choose from, it's hard to know where to start! The Introduction and Tips & Hints at the beginning of the book are quite uplifting and inspirational. It's easy to see that crochet brings Tammy great happiness and she wants us to enjoy it just as much as she does. She offers lots of encouragement to experiment with new colors and not to be afraid to tweak the patterns to suit your personal taste. Because there are six techniques, Tammy's advice to seek out on-line video tutorials and practice along with them is a great idea. The book does have a How-To section with step-by-step instructions and clear photography to help you, but sometimes you need a little more guidance - especially when learning something new. 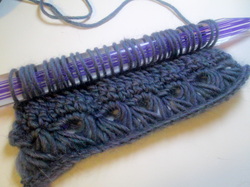 My first attempt at broomstick lace. My first attempt at broomstick lace. I have lots of projects on my hooks and needles at the moment, so I wasn't able to commit to a new wrap that I would finish by the time my stop on the blog tour came around. I did however recently have the opportunity to purchase two pairs of giant (US 35/20 mm) knitting needles - perfect for making broomstick lace. It must have been fate! I'd been admiring the look of the "peacock" design you see in typical broomstick work, but had no idea when I'd ever get my hands on those huge needles. I decided when I saw them that I'd keep one pair to give it a try - and give the second pair away as part of the blog tour prize package! Wielding the large needle feels pretty awkward. I had more trouble getting the loops on than working them off. I'm sure that with practice it gets easier, just like everything in crochet! I don't know that I'll be jumping right into a big broomstick project, but I can see it looking great as trim on a scarf, table runner or place mats. Since I didn't actually make anything from the book I'm not able to comment on the accuracy or clarity of the instructions. However, each project is beautifully photographed with many shots showing different ways to wear the wraps, as well as the stitch details. In reading through the patterns things look complete and I wasn't thrown my any unfamiliar abbreviations or wording. Plus, I was able to figure out how to do the basic broomstick lace by following the pictures. Tammy has put together a lot of kick in a little book! It's rare to see so many different techniques all in the same place, and I think using the wrap to showcase the variety of stitches is a brilliant idea! Although there are patterns that are "easy" a true beginner may be overwhelmed. I'd say a confident beginner who is familiar with the basics and is looking for a challenge or the intermediate crocheter who is ready for something new will be very happy with Crochet Wraps. Also, to complete most of the projects specialized tools are required. In addition to the "big" knitting needle for the broomstick lace, you need a loom for the hairpin lace, an extra long hook for the Tunisian crochet and a double ended hook for the double ended crochet. All of these tools are available on-line, but chances are they're not part of your everyday tool box. And finally, my personal pet peeve about craft book bindings. Like most paperback craft and pattern books this one has a traditional glued binding. While in most instances this is just fine, in craft books it's a bit frustrating because they don't easily stay open while sitting in your lap. You can press the pages open and it will sort of do the trick, but it's hard on the spine, and after a while the book flops open to the page you've used the most. I'm always much happier when my pattern books have a spiral binding! That said, it's certainly not the kind of thing that stops me from buying a book - it's just my personal preference! (I'll be getting of my soap box now and moving on to the fun stuff!) The folks at Stackpole Books have generously offered a copy of Tammy's book for me to share with you. To spice it up a little I'm including a set of hand crafted stitch markers from Nirvana Designs and a pair of US 35/ 20 mm knitting needles to get you started on your broomstick lace! The contest will run for a week, is free and open to US residents. Win: A Selection of Goodies to Add to Your Library & Tool Box! Thanks so much for stopping by and spending a bit of your day with me!
I hope you enjoyed the review and will take a moment to enter the contest. Until next time friends, Be Blessed and Stitch & Read with Love!
57 Comments
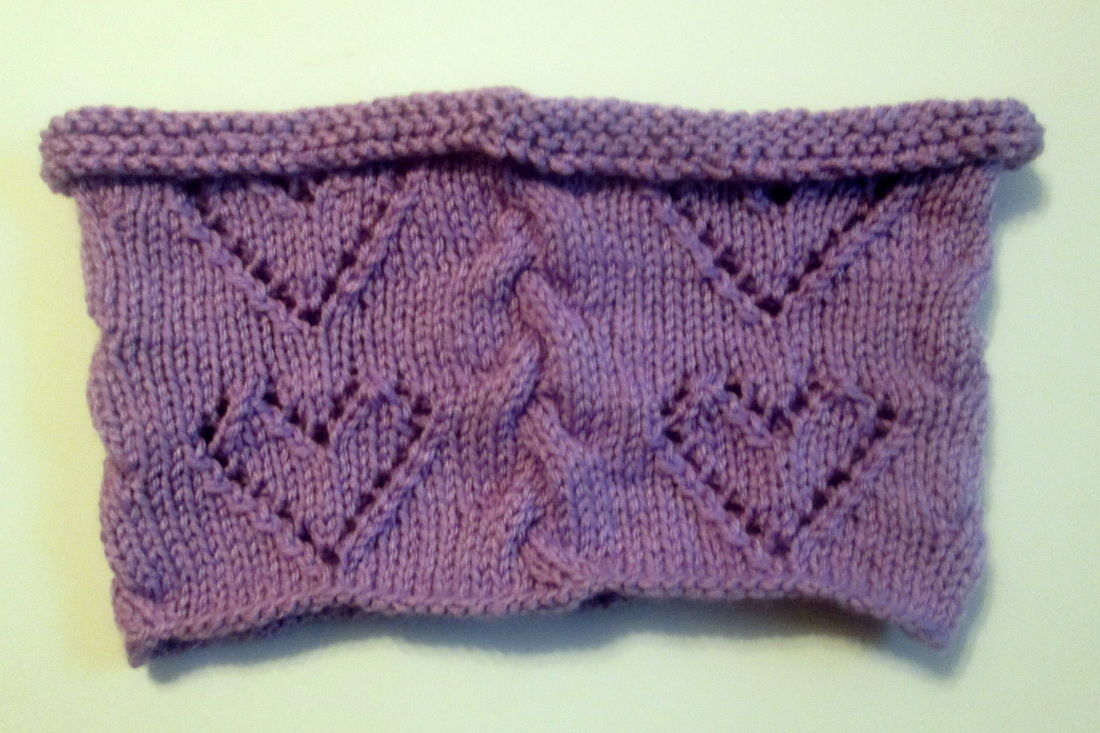
Greetings Friends! Usually I like to write about good things, you know - projects that have worked out well. Pretty things that I've made or tips that I've figured out to help make things easier for us. I don't often write about - or read about - projects that have gone wrong! In fact, when I was planning my posts this one was supposed to be about a super cute hearts and cables cowl. It still is about the cowl - just not the super cute part... Let me tell you what happened: I have been knitting for less than a year - I cast on my first swatch last February 21, 2013. (I only know that because of the blog - before I looked I thought it had been a few years!) Anyway, in that time I have done a lot of knitting, and I really like it! Most everything that I've made has come out nicely, and I'm continuing to stretch myself and try new things. So after making a very lovely cowl for my mother-in-law for Christmas I decided to do a little (more) pattern modification. I guess I was feeling pretty confident. In my mind I could see a Valentine cowl with cables & hearts - that look like X's & O's. For this new project I took the basic size (cast on 100 stitches) and the hearts repeating 4 times around then added the cables, a sewn bind off, and a crocheted trim around the bottom. Unfortunately, things didn't turn out the way I planned. I'm not sure if it's my inexperience or if it's just the nature of knitting, but I'm never really sure exactly what is going to happen when I bind off. Seeing the project off the needles for the first time is always a surprise - and after all that work, the last thing that I want is to be disappointed - which seems to happen most when working in the round. This cowl is the perfect example of thinking that everything was going along splendidly only to find out that it wasn't! It doesn't look too bad in the picture, but in real life the bottom is a good 2 inches smaller than the top and the top edge rolls down hiding the pretty hearts and cables. I didn't even bother with the bottom trim because I knew it never was going to be what I had hoped! 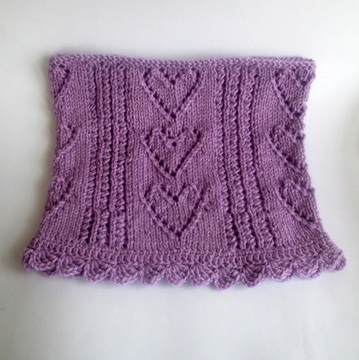 My version of the Sweetheart Lacy Cowl by Cheryl Murray. My version of the Sweetheart Lacy Cowl by Cheryl Murray. Take a look at the first cowl. It's the Sweetheart Lacy Cowl by Cheryl Murray from the book 50 knitted gifts for year-round giving. It's beautiful right? I followed the pattern for main body, but changed the top to the sewn bind off. I also decided to crochet the bottom edge instead of knit the edging and then sew it on as the pattern indicated. The main difference between this one and "mine" with the cables is well - the cables. I also only did two repeats of the hearts and included a few more rows between them to space them out a bit. So what have I learned and what comes next? I've learned that knitting in the round allows you to avoid seaming, but prevents you from getting a good look at the real size of the item. That I need to practice binding off - so that one day my tops and bottoms will be close to the same size. And I've learned that even small changes to a project - like a few extra rows here or there can sometimes end with unexpected results! I've also learned that I don't run into these kind of challenges when I crochet. If I start with 100 stitches in the round and end with 100 stitches I'm certain that my bottom and top will be the same size. I also don't have to worry about what the project really looks like - because you can see the whole thing. Does this mean that I'm going to stop knitting? No way! I love knitting and I really do love a challenge! So far I've tried the traditional bind off and the sewn. I know that there are still more out there - and eventually it will all come together! In the mean time - adding crochet edging helps - and so does using a little clear elastic to firm up an unruly top! Will I keep making changes to the patterns? Of course I will. It's a way to express my creativity and continue to grow as a fiber artist. When I first started crocheting I never would have dreamed of doing something different from what the pattern said - now I use them as a guide. As a framework to help be build and shape new projects. What will become of the cables and hearts? I think that they look good together and that there is potential. Maybe a scarf? Ribbing is always an option to give stability to the body of the cowl and stop the top from rolling down. And finally I'm thinking that I should just let it rest while I work on something else! We all need a little space one in a while - especially after things go wrong! Thanks so much for stopping by and spending a bit of your day with me. Until next time friends, Be Blessed and Stitch & Read with Love! |
I'm Robin and this is Click to see what's new on the Craftsy Crochet Blog!
Follow Along
Tutorials and Patterns
On InstagramPlaces I Post
Archives
July 2015
Categories
All
Thank you for visiting!
My name is Robin. I am a wife, mother and strong believer in the power of faith. I'm a maker, a crafter and an artist. I love exploring new mediums and sharing my adventures with you. Did you enjoy your visit? Let me know by leaving a comment. I love knowing you dropped by, and hope to see you again soon! Be Blessed and Stitch & Read with Love! |
