|
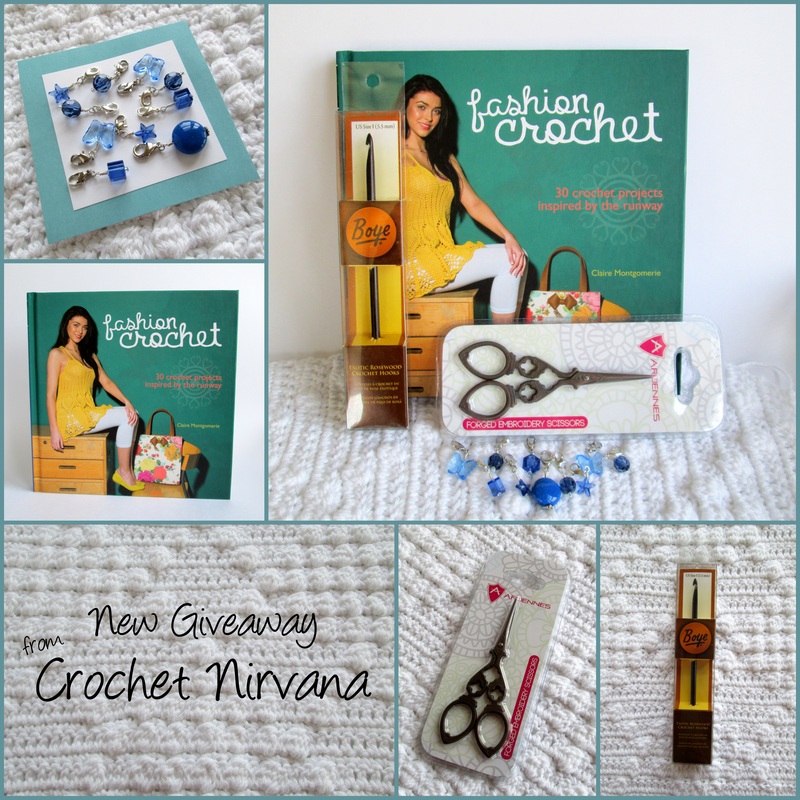
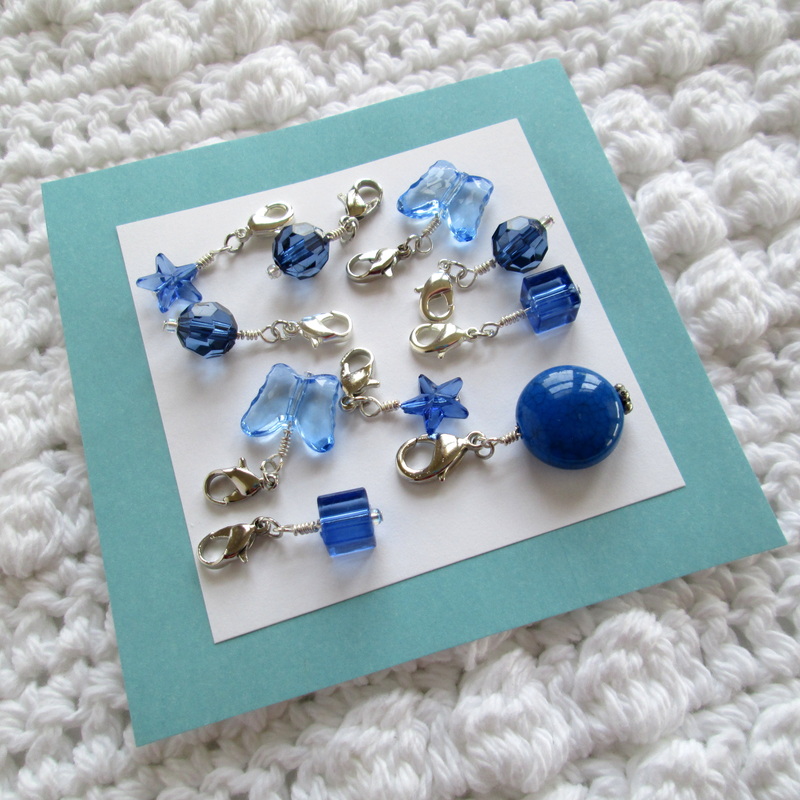
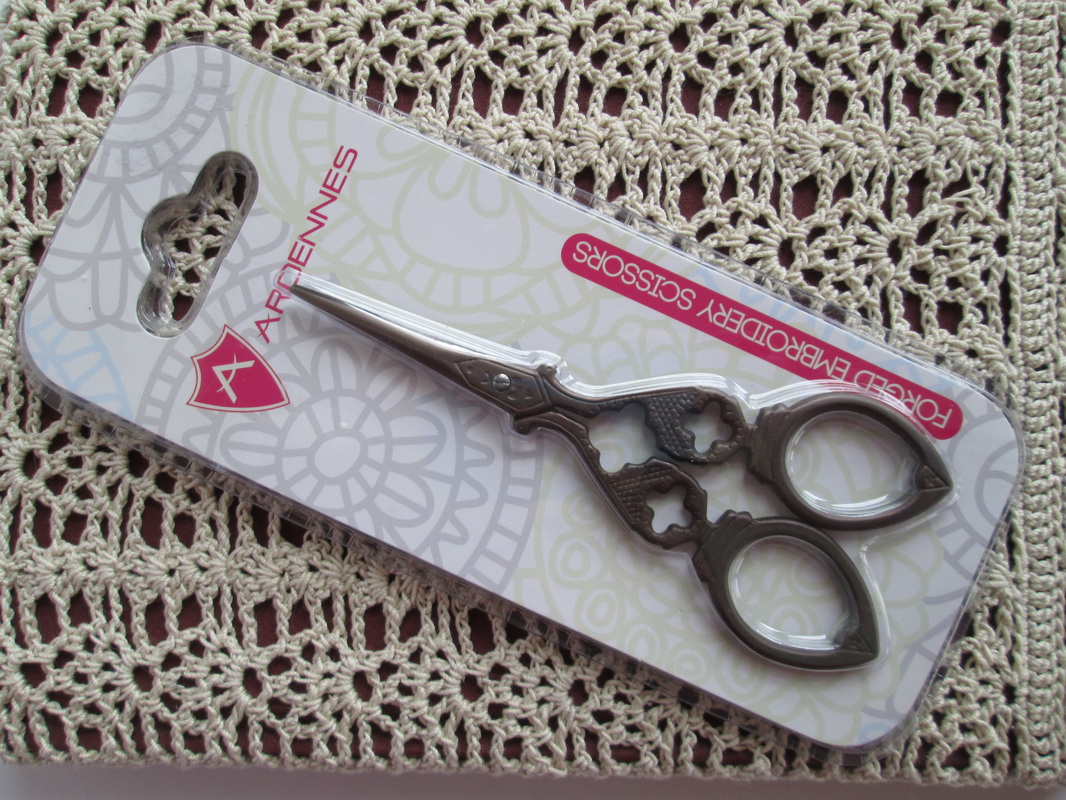
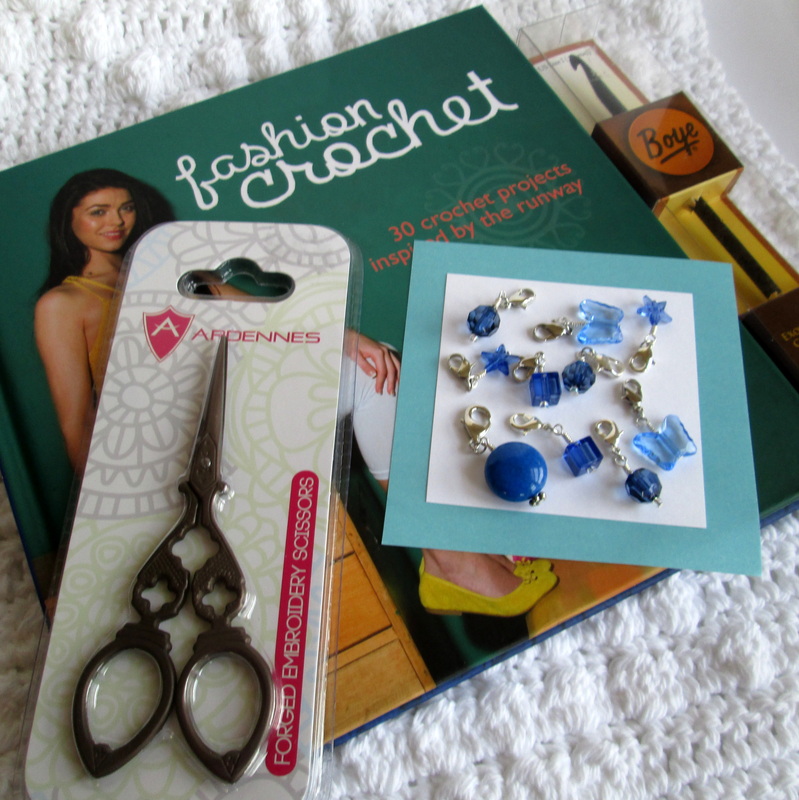
Hello Friends and Welcome! I'm so glad you're here. Today I have a fresh and exciting new book to tell you about, plus a prize package of crochet goodies to get you hooking in style! So lets get right down to it!! Fashion Crochet: 30 crochet projects inspired by the runway by Claire Montgomerie Carlton Books, (reprint) September 3, 2013 Hardcover, 173 Pages When Katie from Sterling Publishing contacted me about this new book I almost said no thank you. Why you ask? Well, the hard truth is I am about as far away from fashion conscious as you can possibly be while still wearing clothes, and my only experience with the runaway occurs when I happen to pass by Project Runway on my way to National Geographic. I changed my mind when I realized that it might be interesting to try something new and step outside of my crochet box. I' d be lying if I didn't say I was nervous about what I'd find. When my copy arrived I anxiously flipped from back to front to see what secrets it may hold. I was quite pleased to find a very friendly union between fashion forward and traditional patterns. The book is set out in sections that include: Practicalities, Wraps & Scarves, Accessories, Dresses, Skirts & Shorts, Tops & Jumpers. Plus the usual intro, resources, index and acknowledgements. What sets this one apart from so many others is you can actually see the pieces that inspired the patterns. The work of fashion icons (that even I've heard of) like Stella McCartney and Marc Jacobs become accessible to all of us. You also get to see the originals in action with some of entertainments most trendy names (Angelina Jolie and Sienna Miller). There are lots of photographs and whimsical water colors of the designs that give it the feel of a coffee table book. There are written instructions as well as charts where appropriate. There's a real variety of styles allowing something for everyone. The Granny Square Cowl is an updated take on the classic motif. The Chain Shoulder Bag is a great blend of function meeting fashion. And the Little Black Dress is a classic beauty with its yoke and sleeves done in an open floral stitch set against the solid form fitting body. Wow! I've never seem crochet look as grown up and sophisticated as it does in this book. I think that's one of the reasons why I found myself enjoying these patterns. While I don't necessarily see myself wearing any of the skirts or shorts it features, it's nice to know I have the means to make them should I want to. And while they might not all be my style I definitely can see myself carrying the Bobble Bag that I decided on. If it's looks good on Angelina imagine what it will do for me! I was hoping to have it finished to share with you, but it's not quite there. The pattern and extra large chart are easy to follow - although I did get confused for a moment when I started. For some reason I failed to realize that the patterns are all written in UK terms. Once I replaced my tr with dc I was fine! I'm done with the first side and about 10 rows for the top of the second. The geometric pattern has great texture and is an excellent photo backdrop for the goodies in my giveaway. All in all I think Fashion Crochet is a unique and trendy collection that will add variety and style to your library. Most of the patterns are in the intermediate level so a good foundation of basic skills will be helpful. We often fall back on things that are comfortable and easy. This book moves beyond the ordinary and reminds us to push the envelope and take risks. The world of crochet is a big and wonderful place. There's plenty of room for chevron afghans, cozy hats and lacy shawls as well as sleek tunic dresses, beach shorts and pineapple halter tops! Now it's your turn to try something new. The folks at Sterling have given me a copy Fashion Crochet to share with you, and I've put together a selection of some of my favorite crochet notions. The giveaway is free, easy and open to residents of the US. Log in to the Rafflecopter widget below for your chance(s) to win this awesome prize package. Step outside of your crochet box and take a chance on something new! Thanks so much for stopping by and spending a bit of your day with me!
Until next time friends, Be blessed and stitch & read with love!
108 Comments
Greetings Friends! I am so excited to announce that our Etsy shop is now officially open! If you've been reading the blog then you know that we've been working on this for a while. And let me tell you it's been work! I really had no idea what is involved in opening up a shop. It's a lot like when I started the blog. Learn as you go. Be patient and flexible. If somethings works - keep doing it and if it doesn't, change it! Our shop is called Nirvana Designs and it's development has been a somewhat organic process. I learned how to crochet, started writing about it and the blog was born. I took up knitting and wrote about that. As I learn things I like to share them with you. It's a way for me to record my experiences and hopefully lend a hand to you along the way. My husband ties flies for fishing. It's small, precise work. One day I admired the beaded earrings a patron at the library was wearing. It turns out her daughter made them. I thought we can do that! And so we did. With John's amazing dexterity and my creative motivation we began making earrings. Then came stitch markers. And more jewelry. It's fun and a terrific way for us to share a hobby. We didn't set out to sell anything, but since we've pretty much saturated our friends and family with gifts and we're not ready to stop making things a Etsy shopped sounds like the obvious next step. For nearly a year we have been refining our techniques, searching for raw materials and slowly building our inventory. The past month I've been doing product photography and learning about Etsy. Believe me there is a lot to learn! Thankfully there are plenty of books available and more importantly, the site is designed for people just like us.
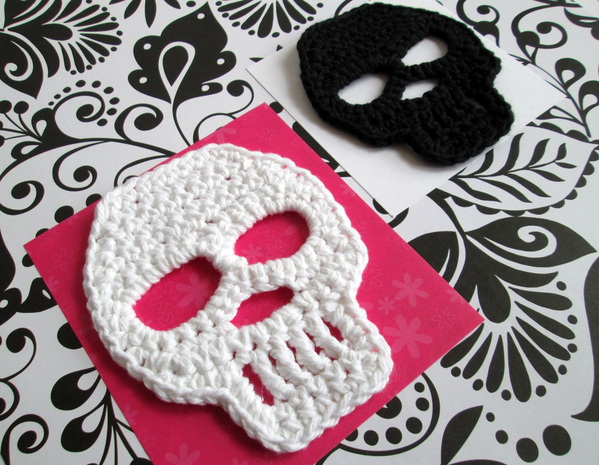
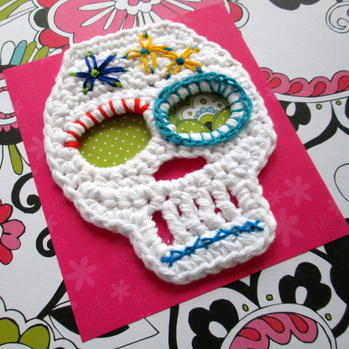
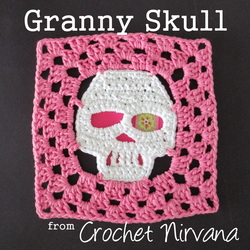
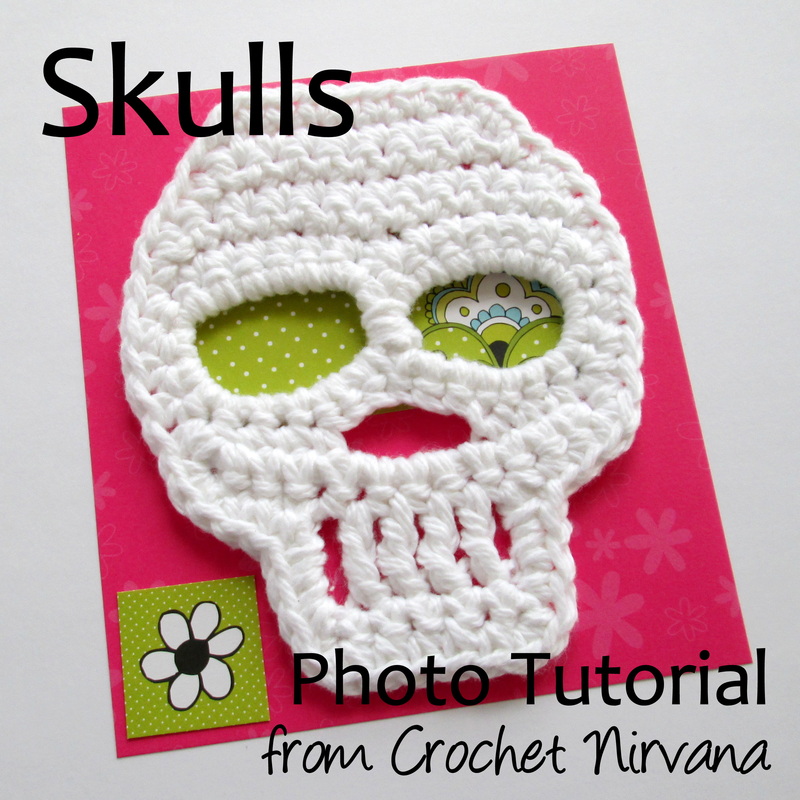
Now after more that 1000 pictures and many hours on the computer we are happy to welcome you to our grand opening. We're hopeful that you'll take a look at what we've been busy making. To break the ice, we're offering 50% off your first purchase. Use the coupon code: WELCOME at checkout. Initially we're only listing our stitch markers. The jewelery collection is coming next and eventually I hope to offer a selection of knit and crochet pieces. We're having a great time with our new project and we're looking forward to learning, growing and finding our place in the world of Etsy boutiques! Drop in for a browse and maybe even treat yourself to a little something! Thanks so much for stopping by and sharing a bit of your day with me. Until next time friends, Be blessed and stitch & read with love!  Join the Love Affair with Yarn! Guest Post by Author and Yarn Enthusiast Betty Hectman A lot of people are going to be celebrating I Love Yarn Day on October 11. According to the Craft Yarn Council there are over 50 million people of all ages who knit, crochet or otherwise work with yarn. And it’s no wonder. It’s not just the destination of getting a scarf or sweater; the journey is full of benefits. Knitting and crocheting are great anxiety busters, offer something productive to do while waiting and can be a social outlet when done with a group. Want to Join in? Getting Started It’s great if you have a friend or family member to teach you, but if not, there are other options. Check out your local yarn store. According to Lisa Garcia of the Close Knit Circle yarn shop in Tarzana California, for a nominal fee they will teach someone to knit or crochet. In addition with a yarn purchase comes the invitation to hang out at the group table in the store and get help on a project. Some of the craft stores like Michael’s or Jo-Ann’s offer group lessons. Try your local community college. Pierce College in Woodland Hills, California offers yarn craft classes as part of their extension program. *Your local library is another spot to check out. Many have groups that welcome sharing their skill and experience with new members. If you’re more of a do it yourselfer, it is possible to learn on your own. There are numerous books on the market, but Betty Hechtman, author of two yarn related mysteries series suggests doing what she did and trying a kids’ kit. “I found that the instructions were broken down into easy to follow steps with lots of illustrations. And if the instructions would work for a ten-year-old, I figured they would work for me. I learned how to crochet granny squares with a kit meant for kids and it changed my life.” First Projects Don’t defeat yourself by choosing something too complicated for a first project. Also, it is best to stick with easy to work with yarn like basic worsted weight. A scarf is a great project to start with using either this free knitting pattern or this free crochet pattern. Both use only the most basic techniques. The Beauty of Handmade Every knit or crocheted item has its own story. The experience of picking the yarn, making the project and what was going on in your life are all woven into the stitches. Remember that what makes handmade items special is they look like real hands made them. That means there might be a wiggly stitch here and there, but just look at it as part of the tale. About Betty Hechtman Betty Hechtman is the author of “Yarn to Go,” the first book in the Berkley Prime Crime Yarn Retreat mystery series, as well as the author of the best-selling Berkley Prime Crime Crochet mystery series. The eighth book, “For Better or Worsted,” comes out in November. She has also written newspaper and magazine pieces, short stories and screenplays as well as a children’s culinary mystery. She has a bachelor of fine arts degree and has been active in handicrafts since she was a small child. Hechtman divides her time between Los Angeles and Chicago. I hope you enjoyed Betty's post! I couldn't agree with her more. In fact, I learned how to crochet by checking out children's books from our library. And when I needed more help I turned to our resident experts - The Knit Wits, who have been meeting on Wednesdays at the library for years! The comment following the * is mine. I had to mention the library, not just because I work there, but because they're such a great resource in so many communities Thanks so much for stopping by and spending a bit of your day with me. Until next time friends, Be Blessed and Stitch & Read with Love! Greeting Friends! It's October already! Wow! For so many reasons this is my favorite time of year. New England foliage and the brisk, refreshing weather rank at the top of the list, but so do the bounty of holidays: Halloween, Day of the Dead, I Love Yarn Day, and my birthday! I try to come up with an October project that embraces all of these favorite things. Last year I filled our house with little pumpkins. (Check out the post, and the link to the super easy pattern!) This year's inspiration comes with a story. Last year I signed up for an account with Stumble Upon. As instructed, I selected several categories I was interested in (crochet, knitting, photography, nature etc.). Like Pinterest, these were the topics that I would see when visiting their website. I did a bit of stumbling (that's what they call it), and promptly forgot about it. Because really, how many social networks can I be a member of ? Anyway, I must have signed up for emailed "highlights" because about once a month I'll get a message with links to what's hot in my categories. Usually I just glance, but recently something caught my eye. It was a skull scarf and a series of pictures showing how to make the skull. Cool. This is something I'm willing to stumble over to! After 15 frustrating minutes of trying to remember which version of my username and password I used I finally made it to the page. As it turns out, it was just a jpeg - with no link to the website or person who contributed it. But that's okay, because I just wanted to print the picture and try making the skull. Printing proved another challenge and required saving the image to my desktop and printing from there. I'm not so thrilled with my stumbling experience, but I am glad they delivered the skull picture to my inbox. I made the skull according to the pattern. It came out okay, but as I was making it I was thinking of all the things that I would do differently next time. After a few hours of trial and error I came up with my version of the skull - and this is what I am sharing with you today. Because next to pumpkins, what can be better in October than skulls!?! However, I realize that if it hadn't been for the creative person who posted their skull scarf on the internet, I wouldn't be sharing my version with you today. The original picture has a watermark on it for a face book group: ClubeDasCrochedeiras. After much searching, I was able to locate them and the original picture! It appears that the group is Portuguese. While I wasn't able to figure out exactly who posted the pattern, I was able to reach out to the group and say thank you. I know that there are only so many ways that you can make a skull motif, and that nobody would have ever known if I just posted my version without this story. But I know, and even though I could have come up with the pattern on my own by looking a pictures on the internet, someone in Portugal gave me a good foundation and made it a whole lot easier, and for that I am thankful! And so my dear friends, here in my version of the skull motif. I've been having a great time making them. Once you've done a few they're super quick. Like all motifs there are lots of ways you can use them. Link them together like our Portuguese friends to make a scarf, use them as coasters, hang them in your window as spooky decorations or just make them because they're fun. No matter what you do with them - Enjoy!! The Pattern 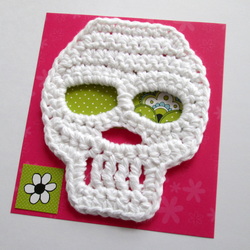 I used worsted weight cotton and an f/5 - 3.75mm hook for the white skull. I've made several and prefer this combination. The finished size is about 3 3/4" x 5". The cotton has nice structure for this kind of motif. However, use whatever you have on hand. Skulls are a great stash buster!! The first one I made was a little messy, by the fourth one I had the pattern memorized and they came out neat and even! Step 1: Ch 14, sl st in beg ch to form loop. Step 2: Ch 14 (again), sl st in 14th ch from hook to form another loop. Now you should have 2 loops that look like the number 8 or a pair of glasses. Step 3: Work 18 sc evenly around the first loop, then work 18 sc evenly around the second loop. Step 4: Using the yarn tail left at the end of the starting chain, wrap it snugly around the space between the eyes 3 or 4 times. Secure the end by pulling it through the loop you make while wrapping. This gives your skull a nice finished look. Now you’ll be working in rows to create the Top of the Skull above the eyes (the forehead!) Set Up Row: Sl st in the next 7 sts. This will get you from between the eyes to the top edge so you can start working in rows. Row 1: Ch 1, turn. 14 sc across top of eyes. Row 2: Turn (don’t ch 1), skip 1st sc, 12 sc across, leave last sc unworked. Row 3: Turn (don’t ch 1), skip 1st sc, 10 sc across, leave last sc unworked. Row 4: Turn (don’t ch 1), skip 1st sc, 8 sc across, leave last sc unworked. Row 5: Turn (don’t ch 1), sc in each sc across. (8 sc) Stop here and use stitch marker to hold your place. Cut yarn leaving about 36 – 48 inches. After finishing the lower portion of the skull you’re going to come back to the marker and use the extra long yarn tail to create the border around the skull. You can fasten off after Row 5 and the reattach the yarn for the border, but if you do it this way there are fewer knots and tails to weave in. Bottom of the Skull (the nose and teeth) Turn the skull upside down. Find the center under the eyes, count 7 stitches right and join the yarn in that stitch. Row 1: Sc in same st as join and in next 3 sc, ch 4, skip 6 stitches, sc in next 4 sc. (8sc, ch4 sp) Row 2: Ch 1, turn. 4sc, 4sc in ch 4 sp, 4 sc. (12 sc) Row 3: Turn (don’t ch 1), skip 1st sc, sl st in next 2 sc, ch 4 (counts as 1 tr ch), tr ch in next 5 sc, leave last 3 sc unworked. (1 unworked, 2 sl st, 6 tr ch, 3 unworked = 12 sts) Row 4: Ch 1, turn, sc in each tr ch across , sc in top of ch 4. (6 sc) Fasten off. Border around the Skull Go back to the top of the skull where you left off (at the stitch marker). Ch 1, then evenly sc all the way around the skull. Work 2 sc into the corners at the cheeks and bottom of the jaw for smoother transitions. (52 sc) Finish off with the invisible join or with a sl st into the starting ch. Weave in the ends, and lightly block to the correct shape. Enjoy!!
But first I decided that I should probably know just a little bit more about the tradition. I'm happy to report that the skulls are used as a way to recognize and remember loved ones who have passed on. Day of the Dead is celebrated in central and southern Mexico on November 1 & 2. The indigenous people believe that the gates of heaven are opened at midnight on October 31, and the spirits of all deceased children are allowed to reunite with their families for 24 hours. On November 2, the spirits of the adults come down to enjoy the festivities that are prepared for them. The sugar skulls, which are often adorned with the name of the deceased, are part of the alters that families prepare in anticipation of their loved ones visit. If you'd liked to read more about this interesting tradition visit MexicanSugarSkulls.com.
|
I'm Robin and this is Click to see what's new on the Craftsy Crochet Blog!
Follow Along
Tutorials and Patterns
On InstagramPlaces I Post
Archives
July 2015
Categories
All
Thank you for visiting!
My name is Robin. I am a wife, mother and strong believer in the power of faith. I'm a maker, a crafter and an artist. I love exploring new mediums and sharing my adventures with you. Did you enjoy your visit? Let me know by leaving a comment. I love knowing you dropped by, and hope to see you again soon! Be Blessed and Stitch & Read with Love! |
