|
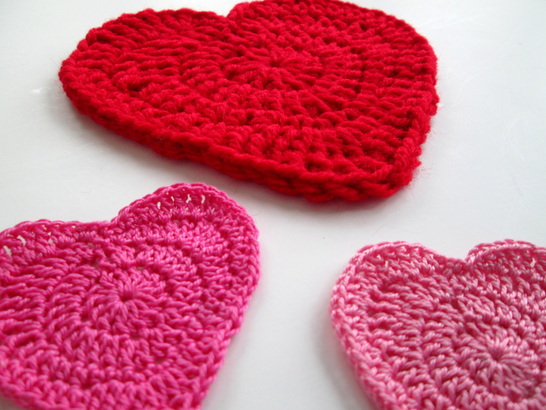
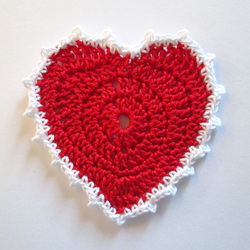
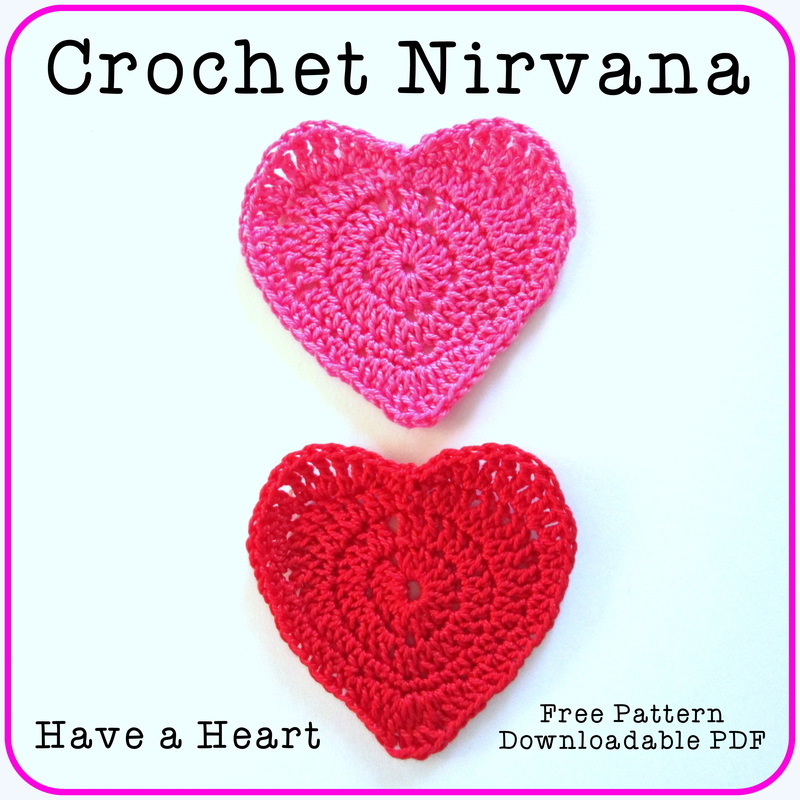
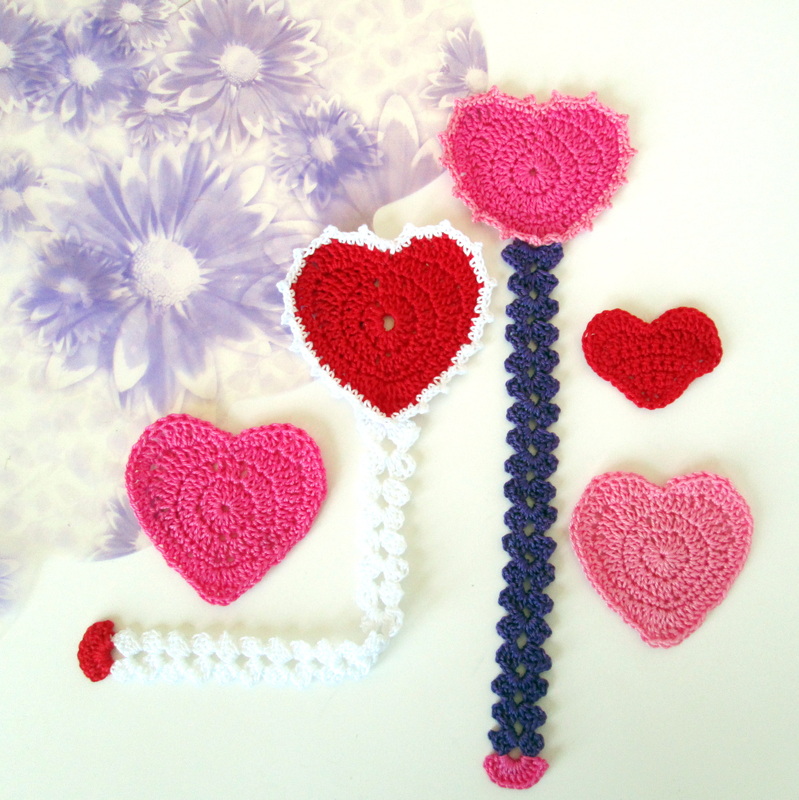
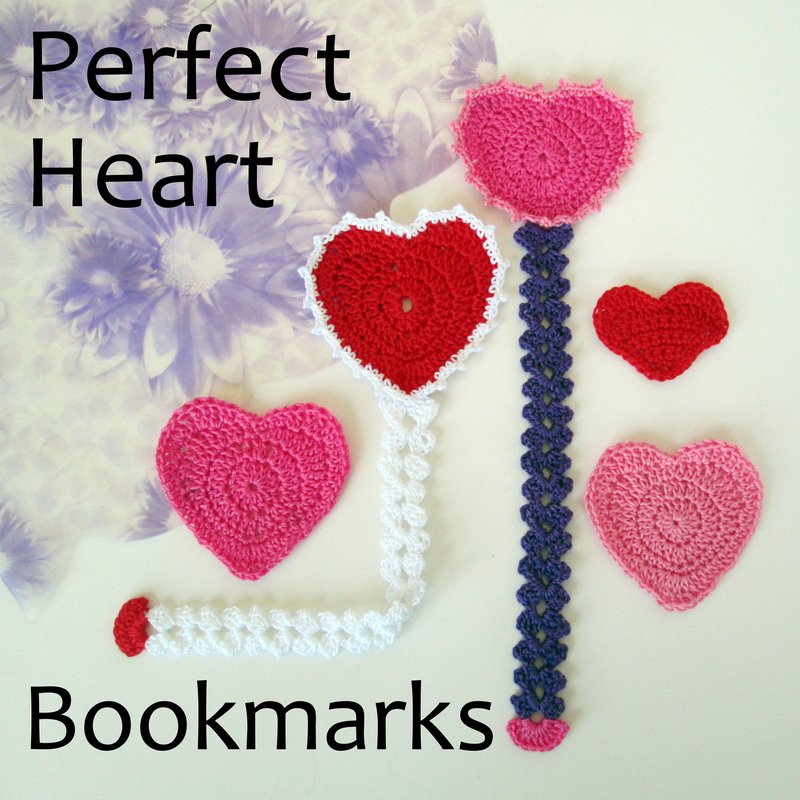
Hello Friends! Is it snowing where you are? Here in north central Massachusetts we are in the middle of the second big storm of the new year (a blizzardette you might call it). Of course snow days mean plenty of time for making. That's why I want to share this sweet little heart pattern with you. Made in just four rounds, you can crochet a whole pile of them in one snowy afternoon. The original pattern was posted a few years agoin this post. I found that no matter how many times I made it, I would loose my place in the pattern. To make it easier, I edited the instructions so they are written out stitch by stitch and line by line. Now it is much more user friendly! These hearts motifs are incredibly versatile and can be made with any yarn / hook combination. I've used worsted wool to make coasters, sewn two together to make sachets, and even made them out of thread and glued them to cardstock to make very special valentines! The possibilities are as endless as your imagination. Give it a try and have some fun! I'd love to see what you come up with. Be sure and share your creations with me on Facebook or Instagram. Thanks so much for stopping by and spending a bit of your day with me. Until next time friends, Be blessed and stitch with love!
3 Comments
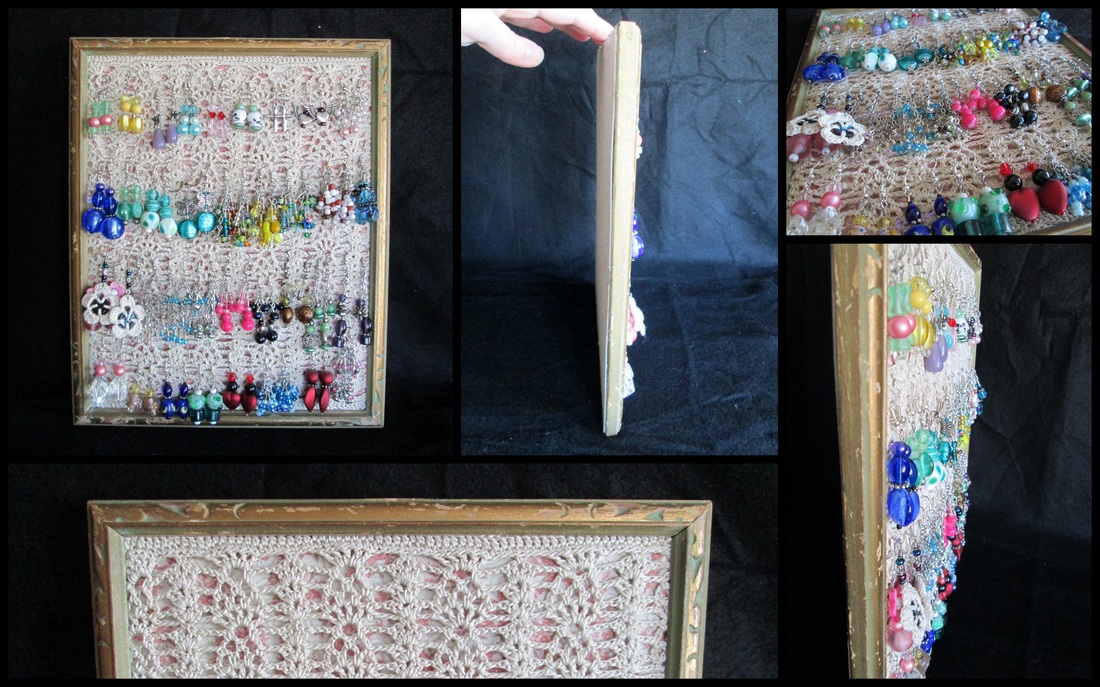
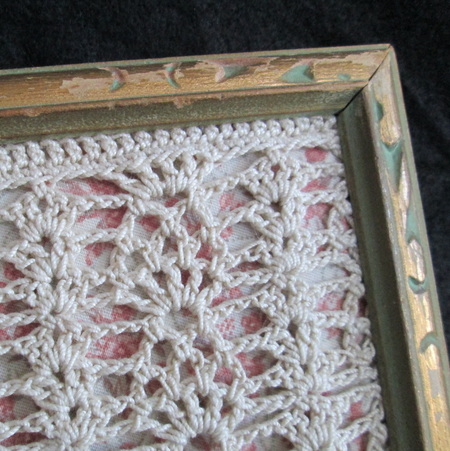
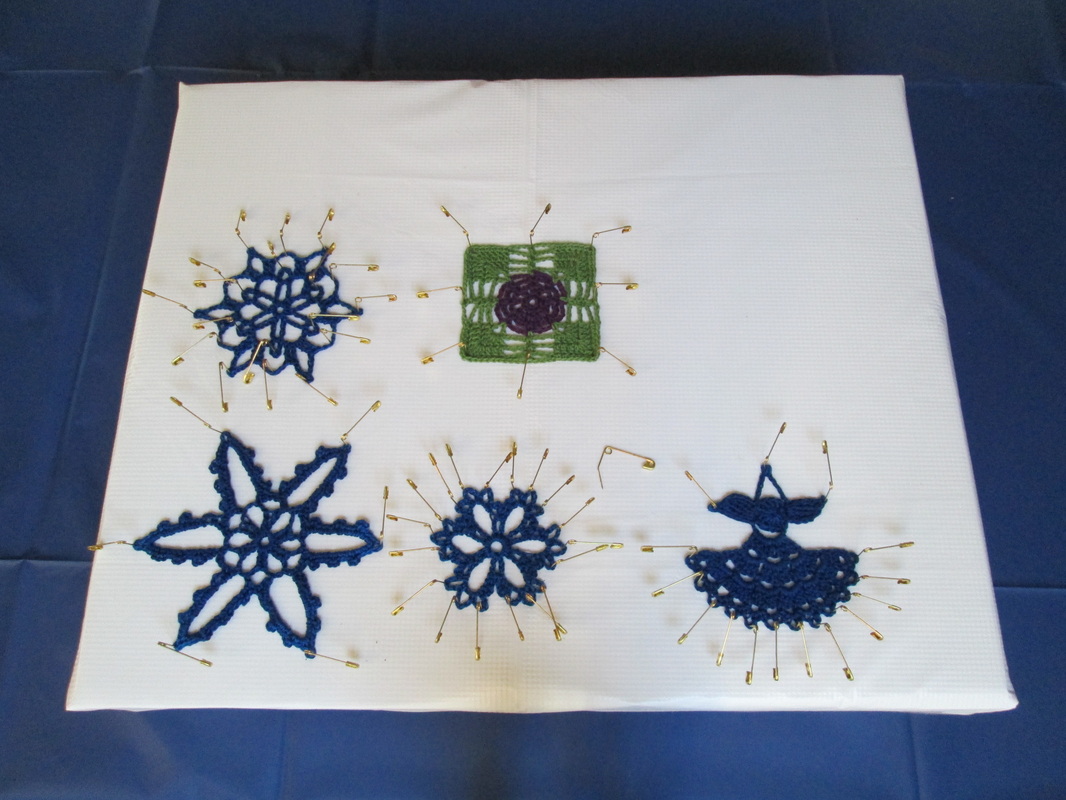
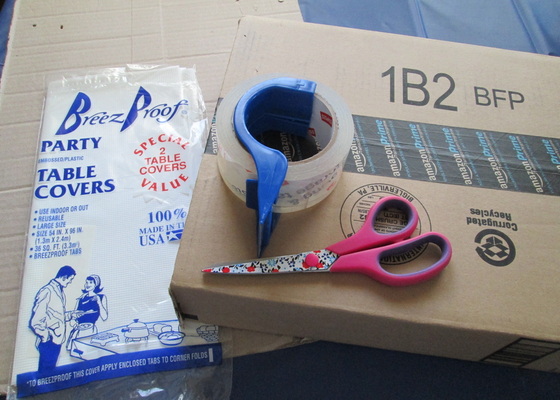
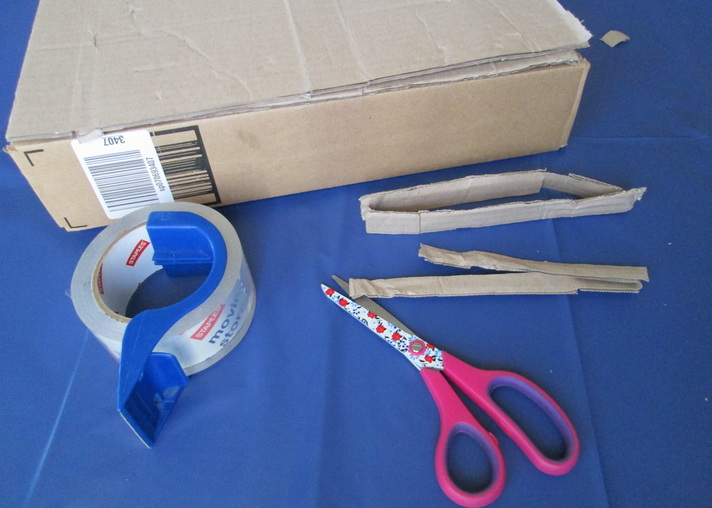
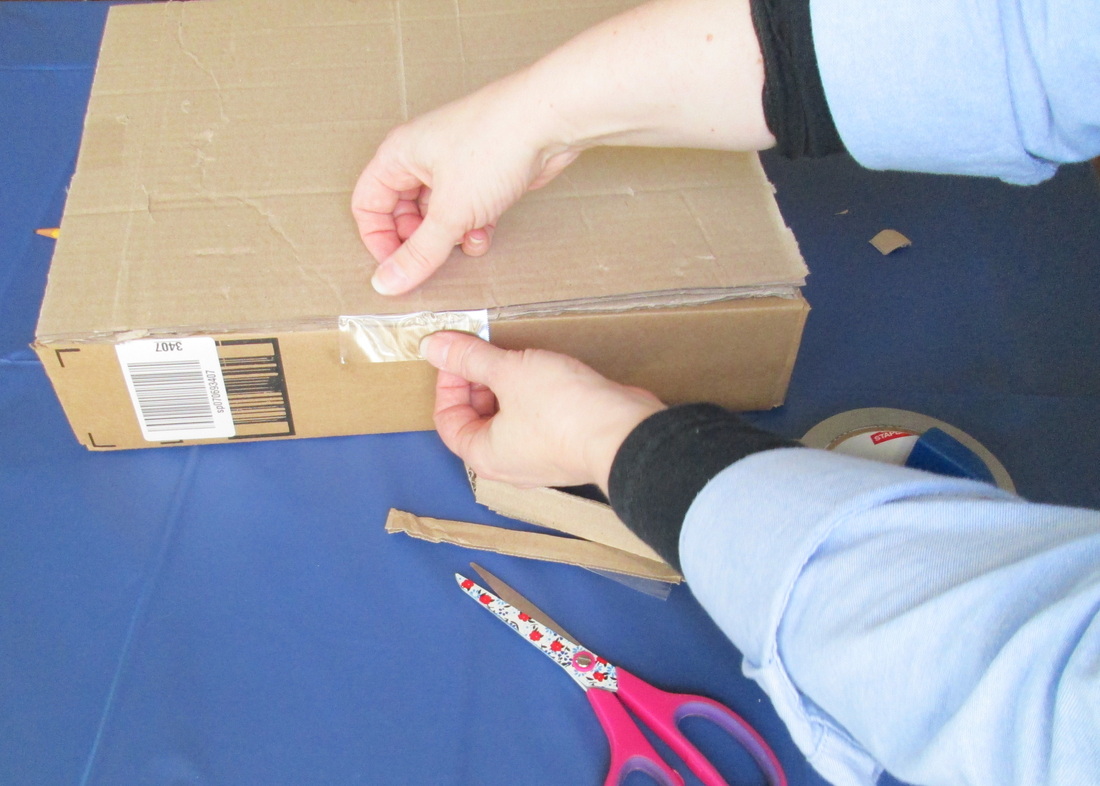
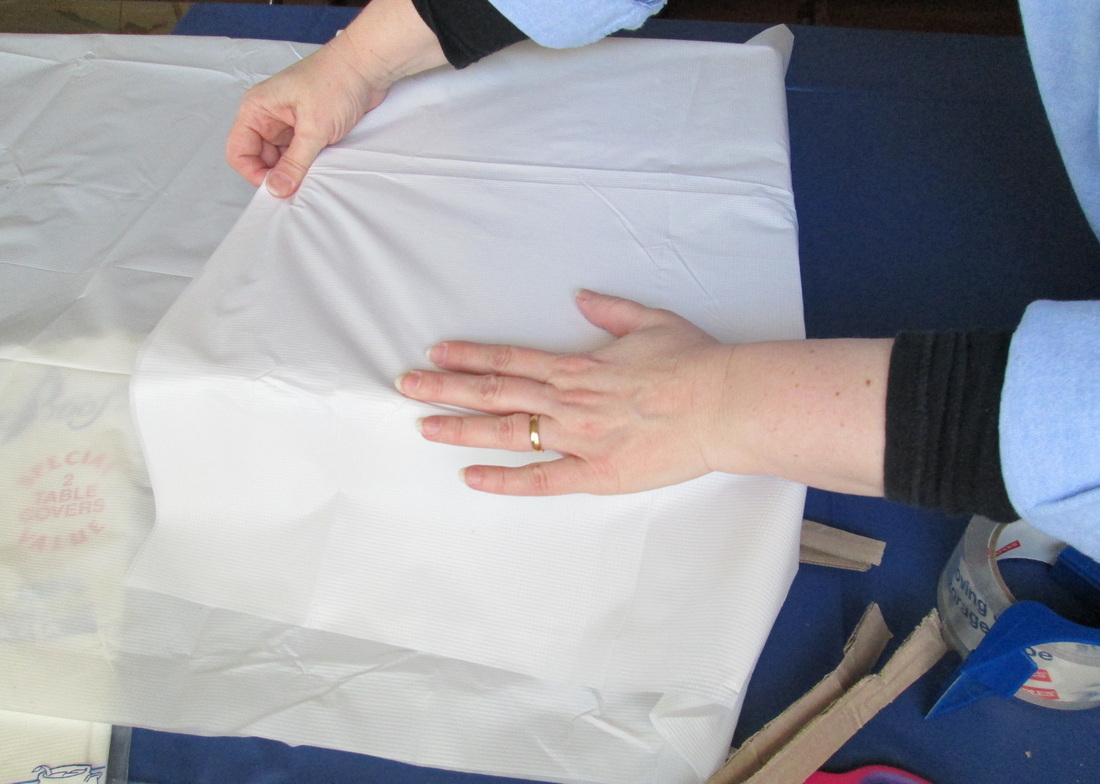
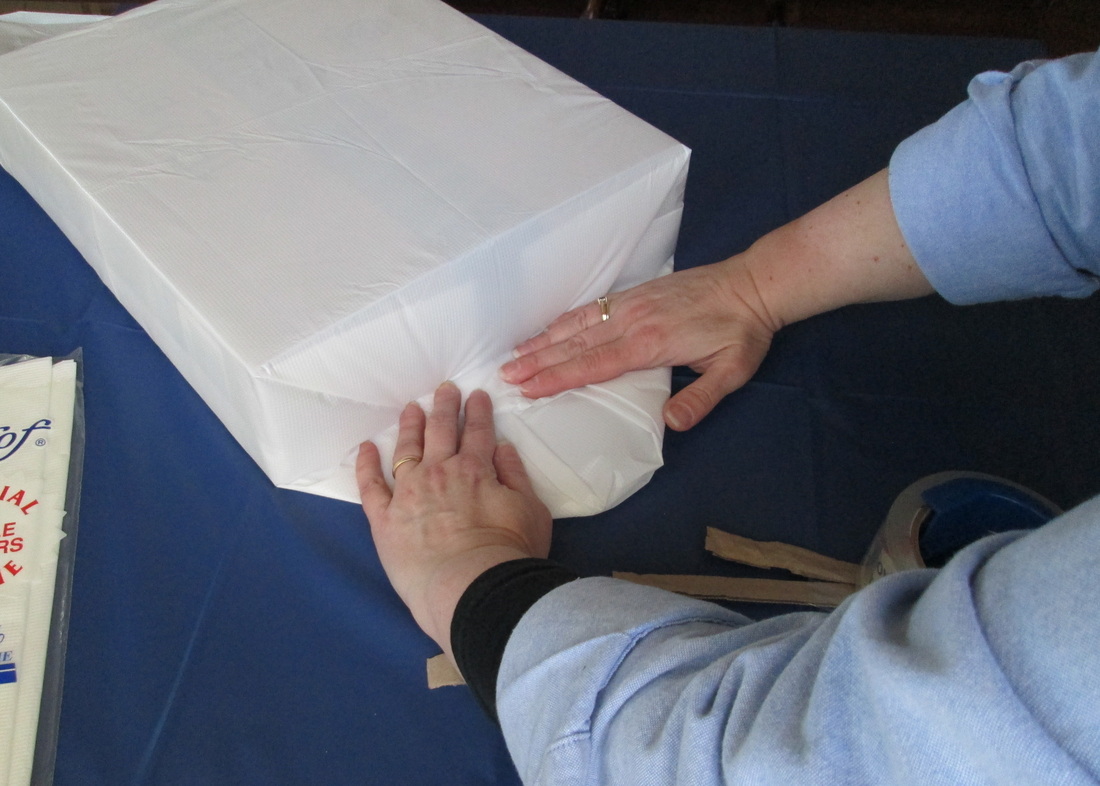
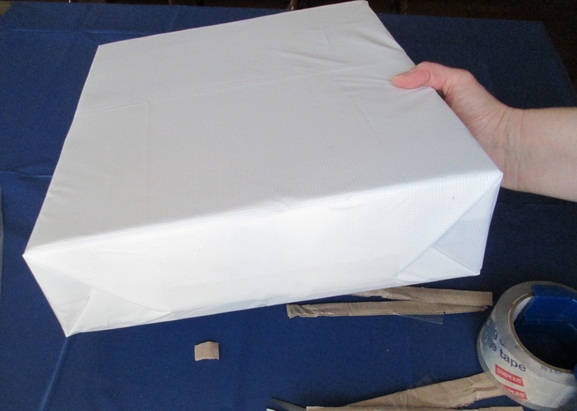
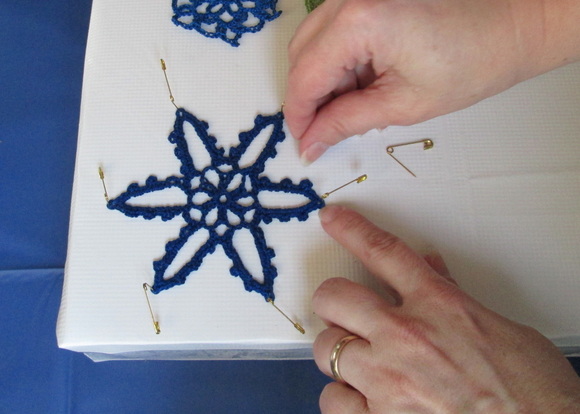
Greetings Friends! This is one of my favorite projects, and I know you're going to like it too! I'm all about finding new ways to use what I have around the house. I'm not really a hoarder, but I hang on to a lot of things that I think might have potential - someday. This earring holder is a perfect example of turning forgotten items into something special. For a long time I had the idea about making some sort of holder for all of the earrings that I have.using a picture frame. Writing an article for the Craftsy Blog about different ways that you can display your crochet work gave me a chance to do some experimenting. I tried wrapping string around cardboard and sliding it in a frame, but it didn't have the look I wanted. Eventually I stumbled across a piece of crochet lace. It actually is one of my early pieces of thread work that I had abandoned. A mistake in the border made it unusable for it's original purpose - a pillow top. But, when I held the lace together with one of the old frames I knew I was on to something. The glass was missing and the finish flaking off, but it had an undeniable charm. 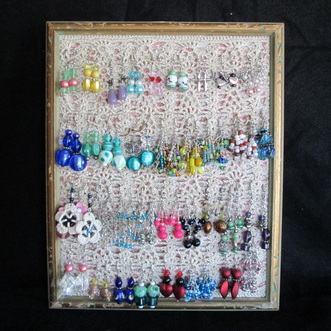 It really was easy to put together. I found a piece of fabric (actually an old skirt) that matched the lace. I wrapped it around a piece of cardboard I cut to fit inside the frame. Then I stretched the lace over the fabric and laid it inside the frame. It fit nice and snuggly. The front looked perfect, but the back was a big mess. No one will ever see it, but things like that really bother me! I secured everything with packing tape. Then I cut a piece of cardboard from a cereal box to cover the back. I used craft adhesive (a super strong epoxy like glue) to attach the cardboard to the frame. I clamped it all together and let it dry overnight. Now I have a lovely place to display all of my earrings. One of my favorite things about making jewelry is having pieces that match or complement pretty much everything in my wardrobe! My shabby chic lace holder now proudly sits on top of my bureau making all my earrings easy to see. Now the hard part is deciding what pair I want to wear! Thanks so much for stopping by and spending a bit of your day with me! Until next time friends, Be Blessed and Stitch with Love! Using things you have at home, make a mini blocking board that's perfect for stiffening your small crochet lace pieces!Greetings Friends! Having the right tools is important to any craft or hobby. However, that often means spending money! If you're like me, that's not always an option. and even if you have the means to buy what you need, that doesn't help you when you want it right now! When you're blocking or stiffening crochet lace you don't need a giant blocking board. You also may not want to get the stiffening solution all over your "good" board. Why not make one? I've used this method throughout the years with great results. Here's what you do:: 1) Gather your materials. You need: A flat(ish) box - maybe a few inches high. The size of your box, is the size of your board, so consider what you'll be blocking. Some extra pieces of cardboard (I cut up another box). Make sure it's the nice corrugated cardboard, not the flat stuff from a cereal box. Scissors, tape and a disposable plastic table cloth. For some reason I have a stash of these table clothes. Not sure why, but there you go! Don't have one? Don't worry, I've also used aluminum foil, wax paper and plastic wrap. 2) Cut your extra cardboard the same size as your box. This gives your board stability and makes it easier to push the pins into. I used two layers and then secured them with tape on each side. 3) Wrap your box. Cut your table cloth so it will cover the box a few times. (If you're using foil, plastic wrap or wax paper use a few layers. They'll last for several uses, just make sure you secure it tightly.) Wrap it up just like a present! Tape the ends firmly and voila! you're ready to get busy blocking those ornaments! That's all there is to it. I think having the right tools is important, but it's so easy to stress over having the same one that the "professionals" are using. Let's not get caught up in the gadgets! We're creative people, right? and when we can make our own that does the same thing - I say hooray! After all. it's about the making and the end result., not about the tools!
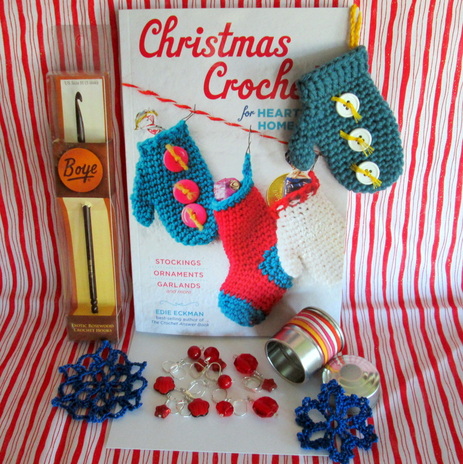
Thanks so much for stopping by and spending a bit of your day with me! Until next time friends, Be Blessed and Stitch with Love! Greetings Friends! Welcome to the Christmas season! Now that Thanksgiving (in the US) is only a few weeks away we are feeling it in earnest. In this (sometimes) overly politically correct world I often feel afraid to say the "C" word! Since I work with the public, I'm conditioned to say, "Happy Holidays" and "Enjoy the Season"! So boy am I excited to have the opportunity to shout it out loud in today's post about Edie Eckman's new book Christmas Crochet for Hearth, Home & Tree. Rest assured you'll find projects that cross over and would be appropriate in any holiday home, but for the most part this one is about decking the halls for the big day - December 25! What's inside: stockings, ornaments, garlands and more Edie is one of my favorite designers. I've come to rely on her books for their bounty of information and consistent quality. This collection does not disappoint. Although there are only 18 patterns, they lend themselves to being made with different yarns in various colors for unlimited versions of the original. This is a pattern book - not a how to book, and while the lesser known stitches are clearly explained, a basic knowledge of crochet is needed. The Hearth section features 9 unique stocking patterns. It is my experience that many crocheters underestimate their skill level and shy away from anything not labeled "beginner". The small size of these projects offers a great opportunity to be bold and try something new! The Peppermint Pinstripes Stocking has the look of complex colorwork and is actually made using just the single crochet and chain stitch! The Flame Stitch Stocking is intriguing and looks quite complicated, but according to the instructions it is, "easy to learn and works up in a snap!" Here's a look at what I made: I always like to try at least one pattern from a book I'm reviewing. This time I made a few! I started with one of the mini mittens from the Advent Garland. This is such a fun pattern. Mini mittens and stockings to count down the days to Christmas! I found it easy to follow and an excellent way to use bits and scraps of leftover yarn. 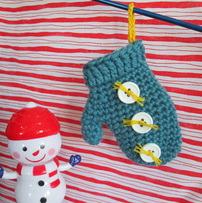 Next I made snowflakes. There are several to choose from. Some are made with thread and others with yarn. This is another example of the flexibility of the patterns. I love to make snowflakes and then stiffen them with glue. I use them as ornaments for the tree, to decorate gifts, or include them with cards. Charts are included with all of the snowflakes, as well as with many other patterns. Finally I made the Small Angel Ornament. Although the pattern calls for 2 strands of extra fine merino held together I opted for thread. As you can see, she came out just fine. A wee bit smaller, but lovely just the same.
Are you ready for some Christmas Crochet? |
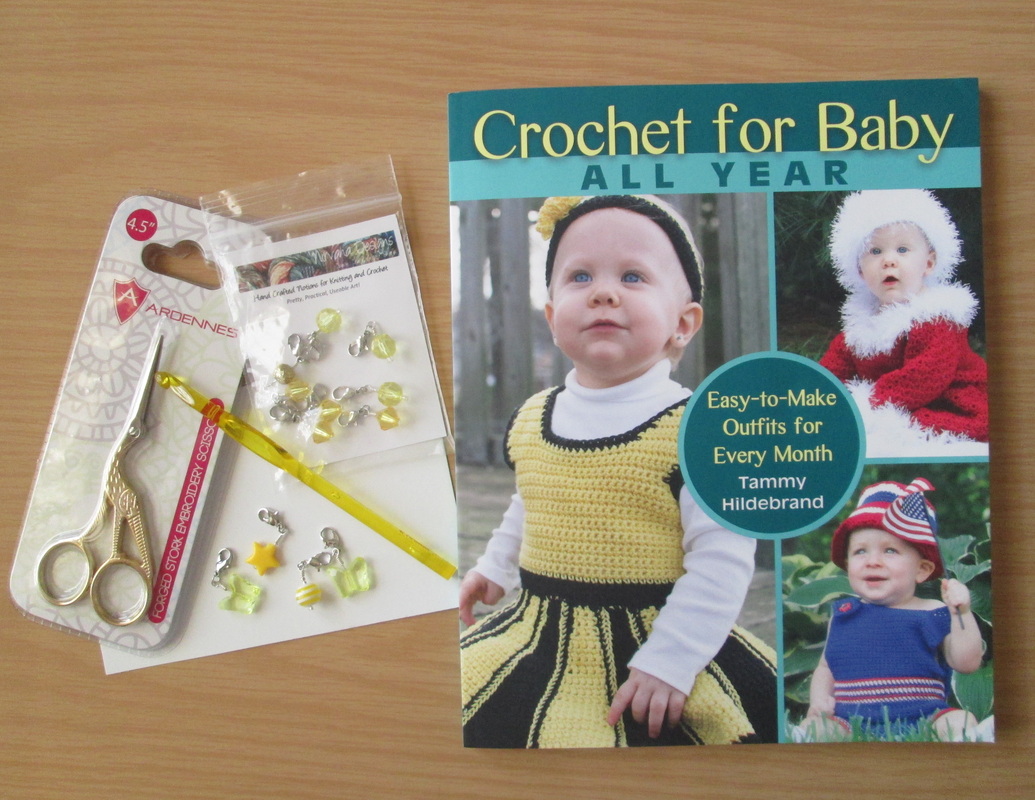
| Greetings! Before I get started I want to take a moment to thank all of you who participated in the recent giveaway. I'm very thankful for the relationships that I've established with the various publishers. Through their generosity I've been introduced to many talented designers and I love being able to "pay it forward" by sharing with you not only the books but notions that I make and collect. It's always a great experience and has helped me connect with some amazing people! |
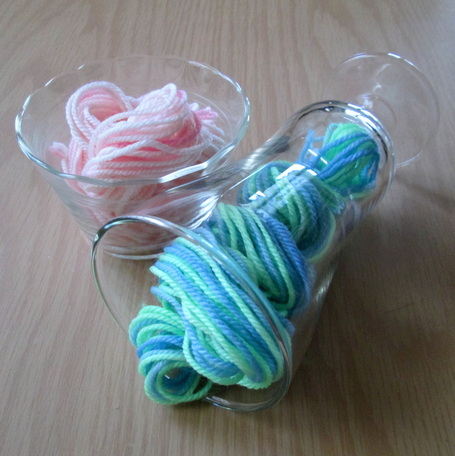
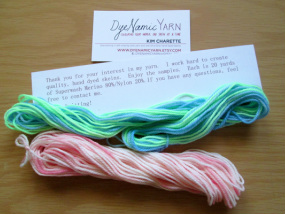
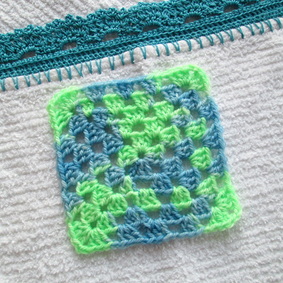
Well, through Facebook I became friends with DyeNamic Yarns, (who I recently learned is a lovely woman from Canada named Kim)! We don't really know each other, but I enjoy looking at the pictures that she shares of her hand dyed sock yarns. A few weeks ago Kim posted a status indicating that she would send a sample of her sock yarn to the first 10 people who responded. I just happened to be in the right place at the right time so of course I responded. Who am I to pass up the opportunity to sample hand dyed yarn? Kim immediately messaged me for my address - and to ask if there was any color that I absolutely hate! There's that niceness again!
Let me say that I am by no means a yarn expert. In fact it is only recently that I have found myself in a position to sample and purchase what I consider to be gourmet fibers. Most of my projects are made from acrylics, cottons or commercially produced wool blends that you find at department and craft stores. My new obsession with knitting socks has brought me knee deep (sorry!) into the word of sock yarns! What I am learning is 1) there is a huge, amazing on-line sock community; 2) there are spinners and dyers who specialize in sock yarn; 3) self-striping yarns are incredible - color changes without changing yarn! 4) because you generally only need one skein to make a pair of socks it is an affordable way to indulge yourself with a special yarn.
I am very thankful to Kim at Dyenamic Yarns for sharing her wares with me. When I'm ready for my next sock yarn purchase I'll be visiting Kim's shop, that is if her FaceBook posts don't tempt into an impulse buy first! You can find her on Etsy at DyeNamicYarn and on FaceBook as - you guessed it - Dyenamic Yarn! Stop by and tell her Robin sent you!
Thanks so much for stopping by and spending a bit of your day with me!
Until next time,
Be Blessed and Stitch & Read with Love!
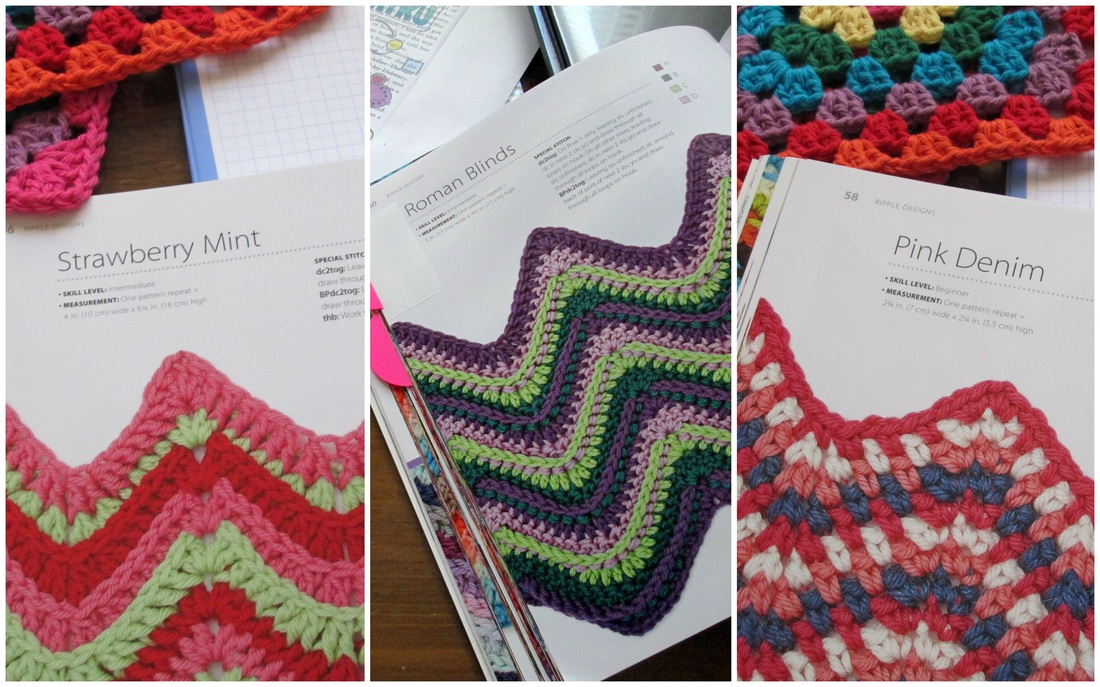
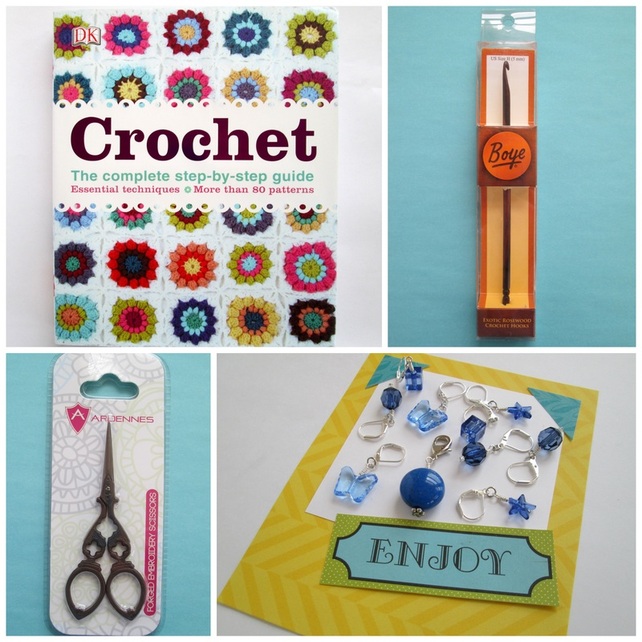
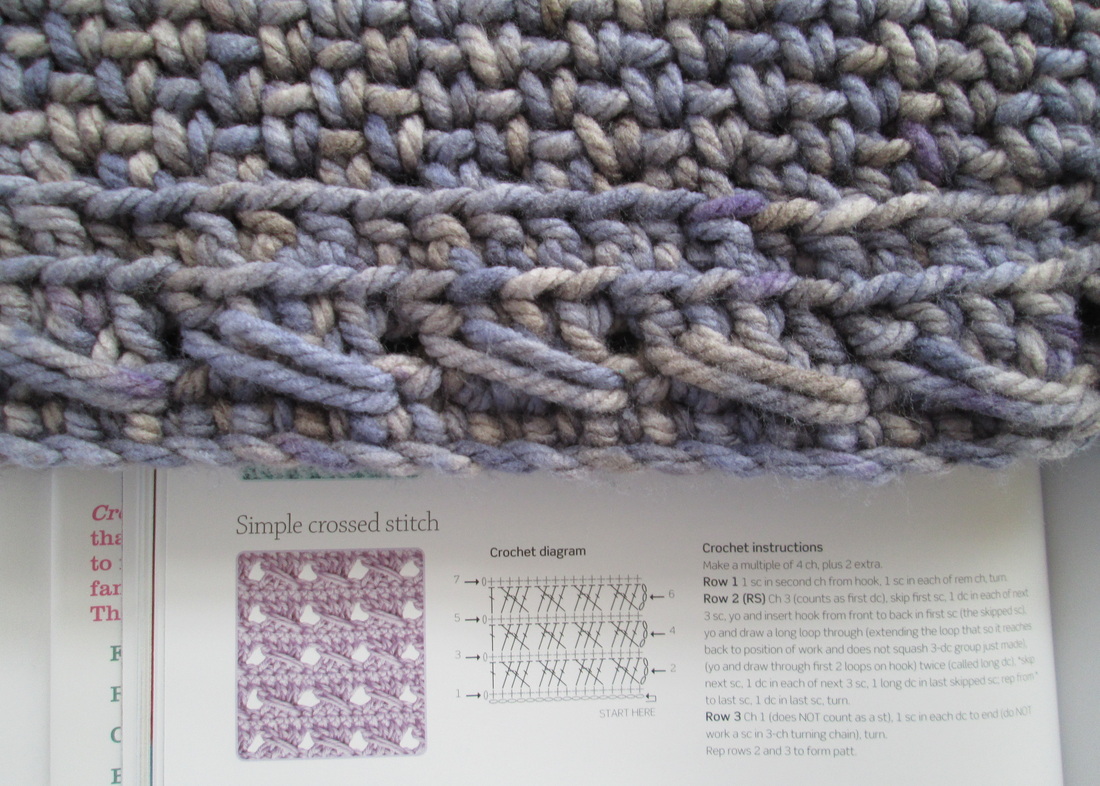
Oh have I got something special for you! It's a new book called Crochet: The Complete Step-by-Step Guide from DK Publishing. If you crochet - you should have this book in your library. If you can't afford it (it's an oversized hard cover so it is a bit pricey), you should put it on your wish list and in the mean time, borrow it from your library! I know you're wondering what is so special about this book? I made a list! Let me say this first though... I am a bit fanatical when it comes to books, and even though I have a soft spot for all of them I don't love them all. I love this one. Not because the publisher sent me a free copy, but because in my opinion it excels in all of the areas a crafting book should. Here we go...
The photography is outstanding. This is a big book, printed on quality paper. The pictures are sharp, vibrant and dynamically capture the beauty of the yarns and stitches. There is a lot to look at making this as much a coffee table book as a how to guide. As the title claims, there truly are step-by-step instructions, wonderfully photographed and clearly worded for a bounty of crochet techniques.
This is a reference guide plus. Here is a partial list of topics covered: following a crochet pattern, including reading charts; stitch techniques, embellishments, working crochet edges, open work and Filet crochet; colorwork; unusual stitches; unusual yarns (wire, t-shirt, plarn and string); making toys / amigurumi. Chances are if you are working on a project and come across a stitch or technique you're not sure how to execute, you'll find what you need here. It's that kind of book!
Then there are the patterns. More than 80. Most of the techniques are accompanied by a pattern so you can see it in action. Classic is the word that comes to mind when trying to think of how to describe them to you. There is nothing really advanced. I think a beginner could do most, and certainly intermediate skills would be sufficient to follow all of the patterns. Like all of the other information in the book, the patterns are clearly written with easy to follow, complete instructions.
One of my favorite things about the patterns in this book is all of the yarn recommendations are generic. Instead of telling us that some obscure, expensive yarn that you can't find or afford is used, these all say things like: Any DK merino can be used for a similar effect; An aran weight yarn will suit this project; or You can use any wool or wool mix 4-ply sport weight yarn for this project. I think that's awesome since choosing and substituting yarns is something I struggle with (and I bet lots of you do too!).
Good Luck!!
Until next time,
Be Blessed and Stitch and Read with Love!
Working on multiple projects simultaneously makes me happy. It keeps me from getting bored. Plus it generally ensures that I have something that I want to work on handy. Mostly these days I've been doing a lot of knitting. The one problem that I have with knitting is that I can't do it when I'm tired. Well I can, but I'm prone to making mistakes. And fixing mistakes in knitting is way harder than it is in crochet. I've learned that it's better to set it aside than try to squeeze out one more row.
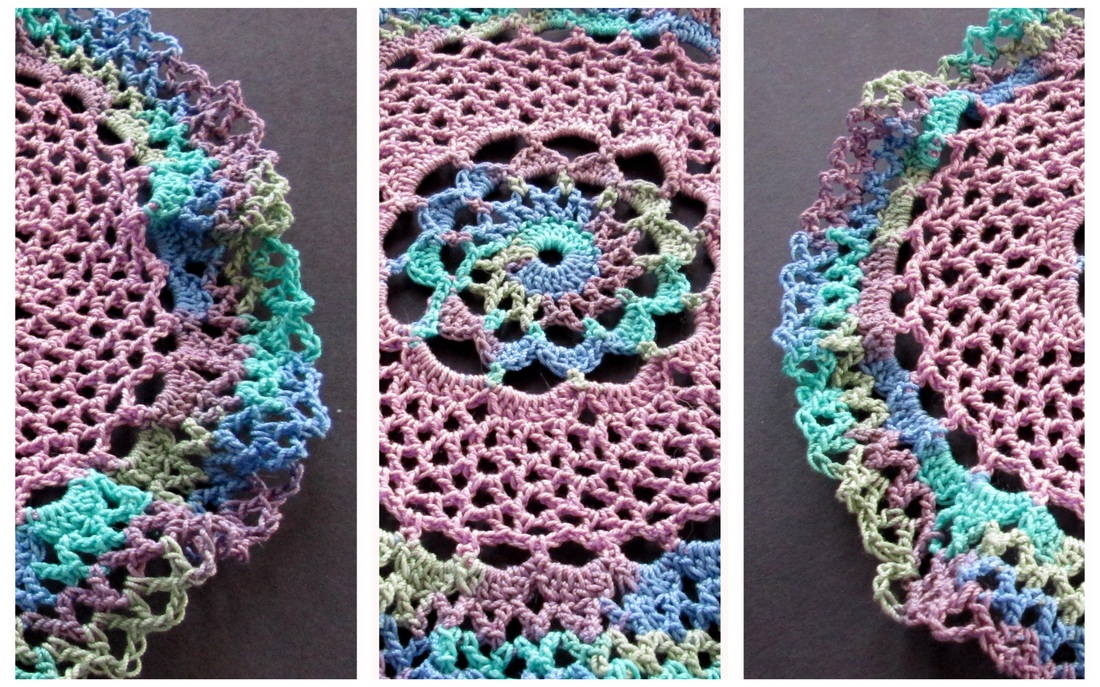
This is the Reflections Doily. I found the pattern in the June 2013 issue of Crochet World magazine. It struck my fancy because I had recently purchased a ball of Aunt Lydia's crochet thread in Monet. It's not often that I actually have the exact yarn (or thread) that a pattern calls for on hand. Being a fan of crochet lace and doilies in general it seemed like destiny.
I started with a flourish, but quickly lost motivation. If memory serves, and history repeats - I got bored. The majority of this project is a simple V-stitch (dc, ch 3, dc). And so, like many other projects it was stashed on a shelf and pretty much forgotten. For months it languished, until last week. I needed something that I could pick up and put down without a lot of hassle. Turns out that this is just that kind of project. It also fits well in my travel bag. We'll see how long I stick with it! For right now though it's my "in between" project and any progress I make is a good thing!!
Thanks so much for stopping by and spending a bit of your day with me!
Until next time friends,
Be Blessed and Stitch & Read with Love!
- Greetings!
I'm Robin and this is
Crochet Nirvana, where
laughter is essential,
learning is supported,
creativity is nurtured, and sharing is encouraged.
Thanks for stopping by,
I hope you
enjoy your visit!
Follow Along
Tutorials and Patterns
On Instagram
Places I Post
Archives
July 2015
June 2015
February 2015
January 2015
December 2014
November 2014
October 2014
September 2014
July 2014
June 2014
April 2014
March 2014
January 2014
December 2013
October 2013
September 2013
August 2013
July 2013
June 2013
May 2013
April 2013
March 2013
February 2013
January 2013
December 2012
November 2012
October 2012
September 2012
August 2012
July 2012
June 2012
May 2012
April 2012
March 2012
Categories
All
4kcbwday1
4kcbwday2
4kcbwday3
4kcbwday4
4kcbwday5
4kcbwday6
5 Minute Friday
Accessories Home
Accessories - Home
Afghans
Amigurumi
Art
Bags
Beads & Beading
Blogging
Blog Reviews
Blogtoberfest 2012
Blog Week Iv
Book Reviews
Books
Cables
C A L
Cardigan
Chevron Lace
Class Review
Coasters
Cowl
Craftsy
Creative Friday
Crochet
Crochet Lace
Doily
Doodles
Downloadable Files
Earrings
Fabric
Fiber Arts Friday
Fingerless Gloves
Flowers
F O Friday
Giveaways
Granny Square Project
Granny Squares
Guest Post
Hats
Holiday Stashdown
How To
I Love Yarn Day
Inspired Crochet
Jewelry
Kcco
Knit Lace
Knitting
Library
Mittens
Nirvana Designs
Patterns
Pincushions
Projects
Recipes
Sewing
Shawl
Shrug
Socks
Socs
Stash
Stitch Markers
Thread Crochet
Tunisian Crochet
Tutorials
Videos
Watercolors
Wip Wed
Wrap
Wrist Warmers
Writing In The Raw
Yarn
Yarn Along
Year Of Projects
My name is Robin. I am a wife, mother and strong believer in the power of faith. I'm a maker, a crafter and an artist. I love exploring new mediums and sharing my adventures with you.
Did you enjoy your visit? Let me know by leaving a comment. I love knowing you dropped by, and hope to see you again soon!
Be Blessed and
Stitch & Read with Love!
