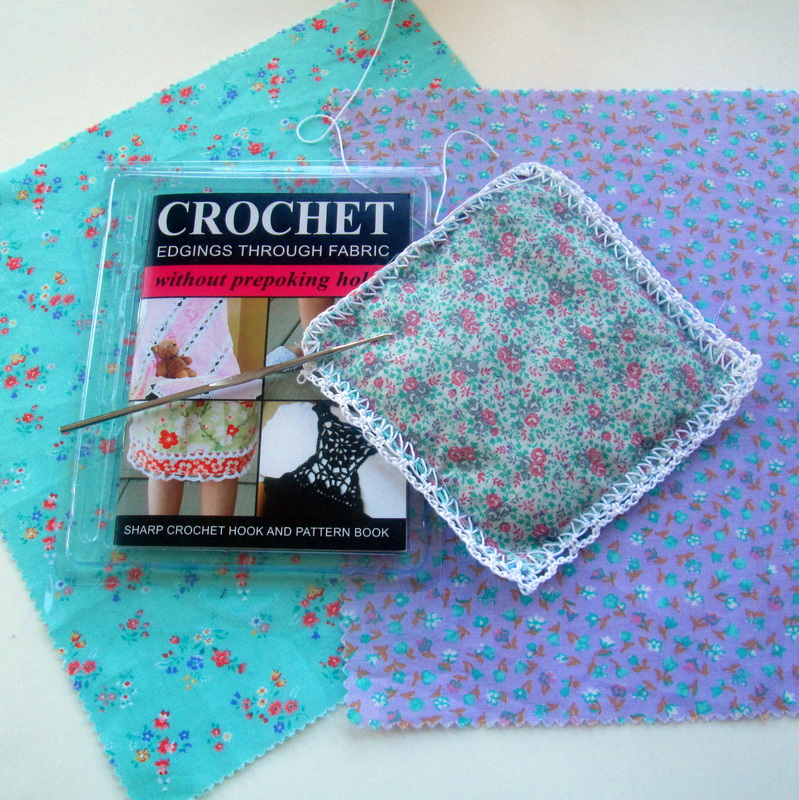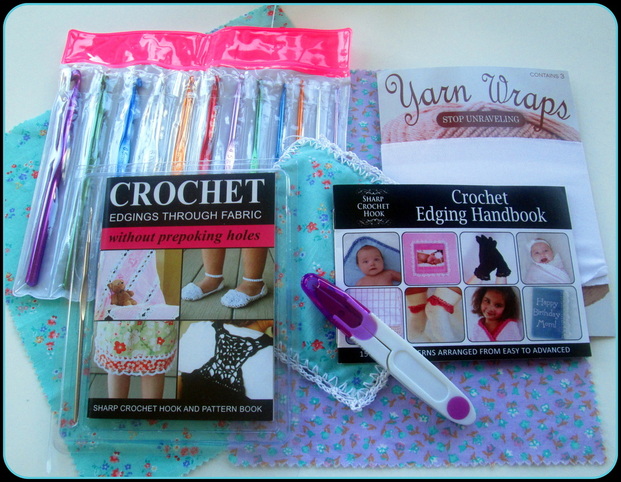
Greetings friends and Welcome! I feel like it's been ages since we've gotten together. I've been working hard on holiday projects and as much as I love celebrating with family and friends I'm looking forward to settling down in the new year and getting back to a regular blogging schedule. Today I have something cool to tell you about - it's called the Sharp Crochet Hook. A handy little hook that makes adding crochet edging to fabric a breeze. It allows you to work on the fly without pre-poking holes or sewing a round of the blanket stitch onto your fabric. I've been working with thread a lot lately, but I had never tried to add lace trim to a piece of fabric. That is until Jessica Taufer got in touch and asked me to give her product a try. Jessica sent me the Starter Pack. It arrived in a simple white envelope shortly after our conversation. The picture above shows what I received. The packaging is professional and it's clear that a lot of thought was given to the layout and design of the printed materials. The Pattern Book has 18 different projects for apparel, accessories and items for babies & kids. The Edging Handbook contains 15 trim patterns that range in complexity from easy to advanced. I was a bit surprised that neither book provided a section on how to use the sharp hook. All of the patterns seem to start with "SC around the fabric". While that is pretty self explanatory, as a newbie to edging I was hoping for a bit of guidance. Especially when it comes to determining how many stitches I would need to make a particular pattern repeat work. (More about that in a minute.) As for the rest of the items, there is the hook itself. It's a steel hook that does indeed have a more significant point than any of the ones I have, but not so much that it feels dangerous. I'm not sure what size hook it is as it doesn't have anything stamped on it. In the booklet it says, "Always use the Sharp Crochet Hook to crochet through fabric and paper, then switch to a size 3 (2.1 mm) crochet hook and continue using size 3 crochet thread, which is used throughout this book, or switch to a larger hook and use the yarn of your choice to complete the project." I used size 10 thread and switched to a size 4 hook for my projects with no problems.
There is a set of 12 crochet hooks that range in size from 2.00 mm to 8.00 mm. The common US letter sizes are not indicated, but I don't think that should be a problem since most patterns list both the letter and the mm size. The hooks seem to be good quality and make a nice collection for a beginner (or starter) who want to have a selection of sizes to choose from. I'm quite taken with the sewing snips and dropped them into my travel bag straight away. Scissors with a cap are a plus in my book. The Yarn Wraps are a nice way to round out the kit. They're just stretchy fabric sewed in loops, but they do the trick and I haven't had to worry about my balls of thread coming undone when I carry them back and forth to work. Overall I am pleased with the entire presentation. I'd like to see greater detail in the instructions, but that can be remedied easily enough with a simple flyer about "Getting Started". I found that Jessica's web site provides additional information in the form of FAQs. The most important question though is how did it work? 
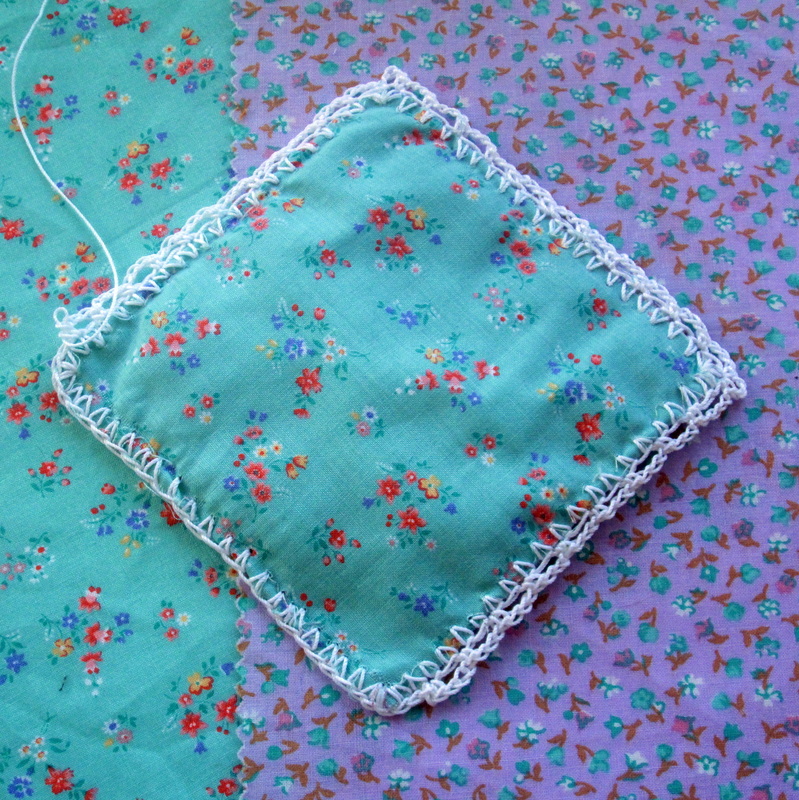
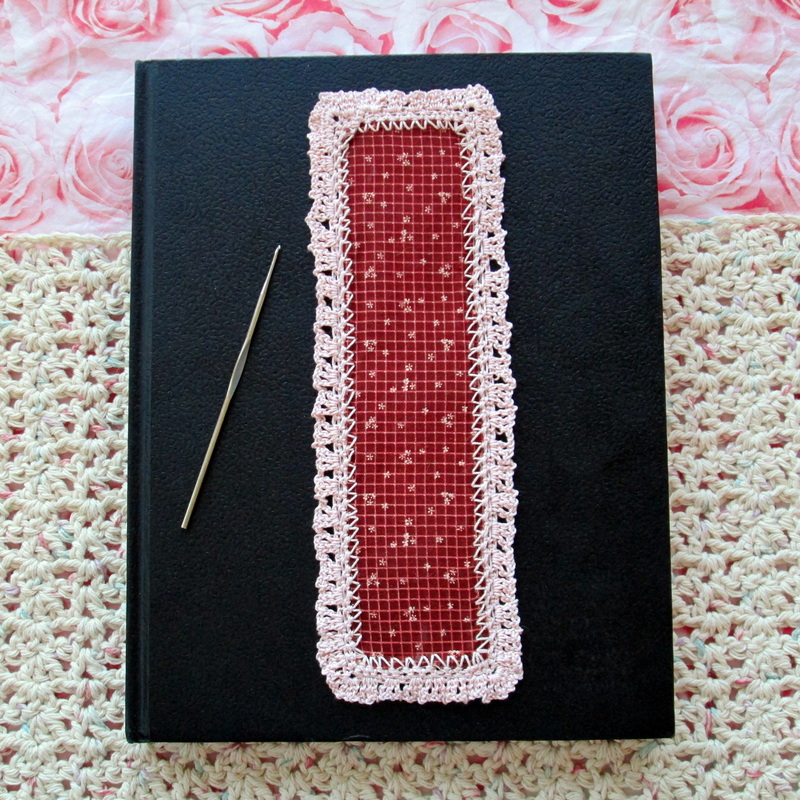
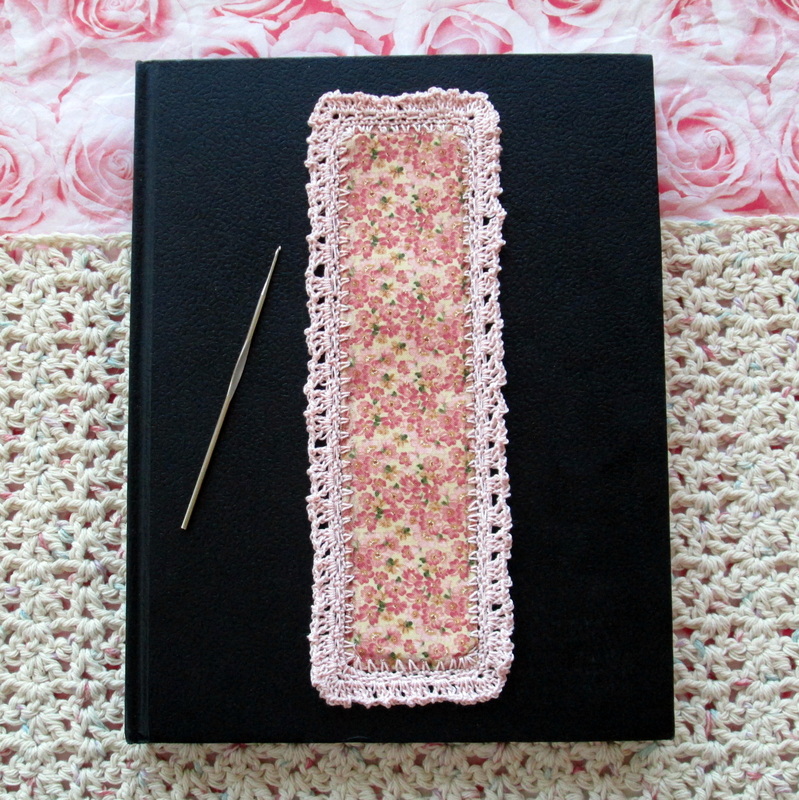
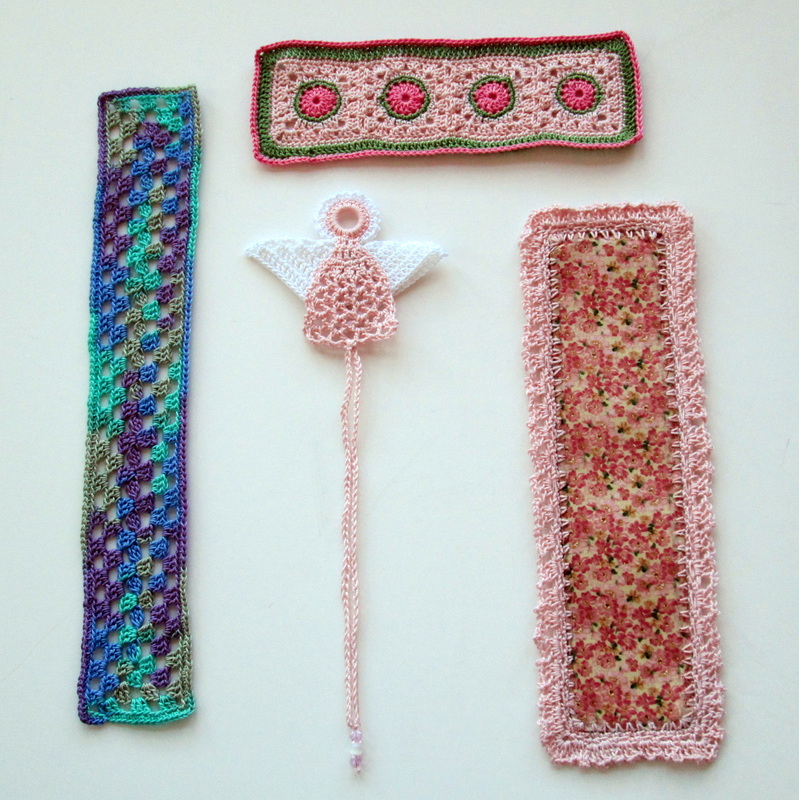
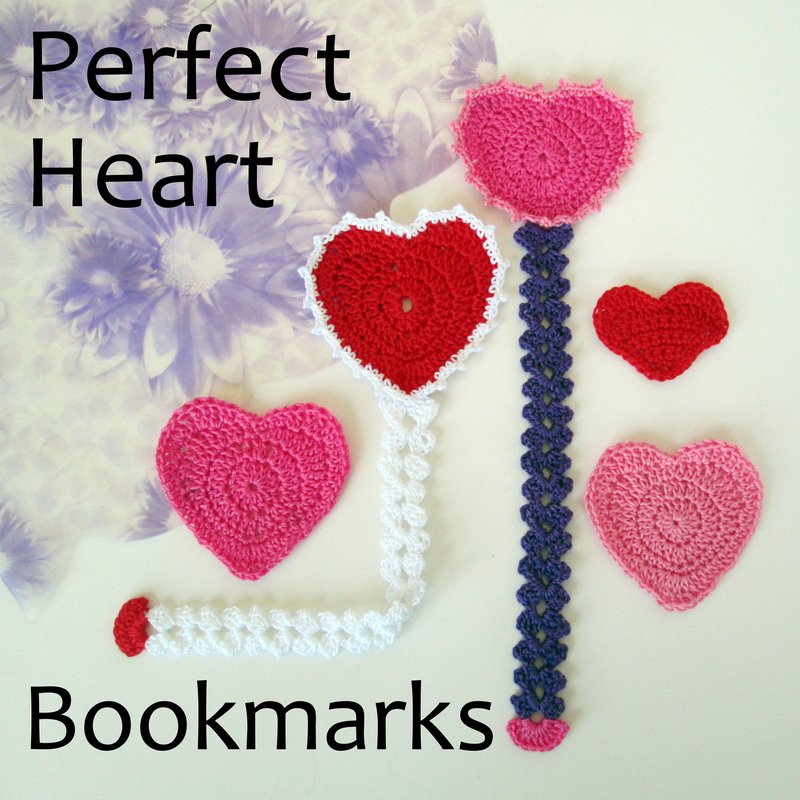
The answer is really well, once I decided what I was going to make! To start with I made a coaster. I had a bunch of cotton fabric hanging around so I cut a few squares. I started at the edge and worked the single crochet across. It was so easy that I thought, I wonder if I can crochet two pieces of fabric together to make a thicker coaster? I grabbed two pieces and gave it try. Imagine my surprise when I was easily able to poke through both layers at the same time! I worked the single crochet along one edge. I went back and counted my stitches and then worked that many on each of the three remaining sides. I ended up selecting my trim pattern from the book Around the Corner by Edie Eckman. Mainly because in Edie's book she tells you how many multiples the patterns are worked in so it was easy to pick one that would fit. Once I completed the coaster I was ready to give something else a try. I've been working on bookmarks and thought one made of fabric would be a great idea. Turns out I was right and it wasn't hard at all. I cut two pieces of fabric the same size. Then I cut a piece of cardboard from a cereal box a little smaller than the fabric rectangles. After I pressed the fabric I used a glue stick to hold the fabric and cardboard sandwich together. Using the sharp hook I worked a single crochet all the way around using the same number of stitches on the short ends and the long sides. For the lace edging I worked (3dc in the same sc, ch 2, skip next sc) along each side and 5 dc in each corner. Voila! A nifty double sided bookmark to go along with all the others I've been making!
 Whether you are a seasoned thread crocheter looking to add trim to fabric, or you are a beginner interested in learning this beautiful and timeless technique the Sharp Hook is easy to use and makes a great addition to your crochet tool box. I already have plans for adding trim to a vintage hanky, a denim jacket, and an apron. With just a little time and effort you can easily turn a plain item into an one of a kind heirloom. For more information you can visit Jessica on the Web and check out her full line of products.
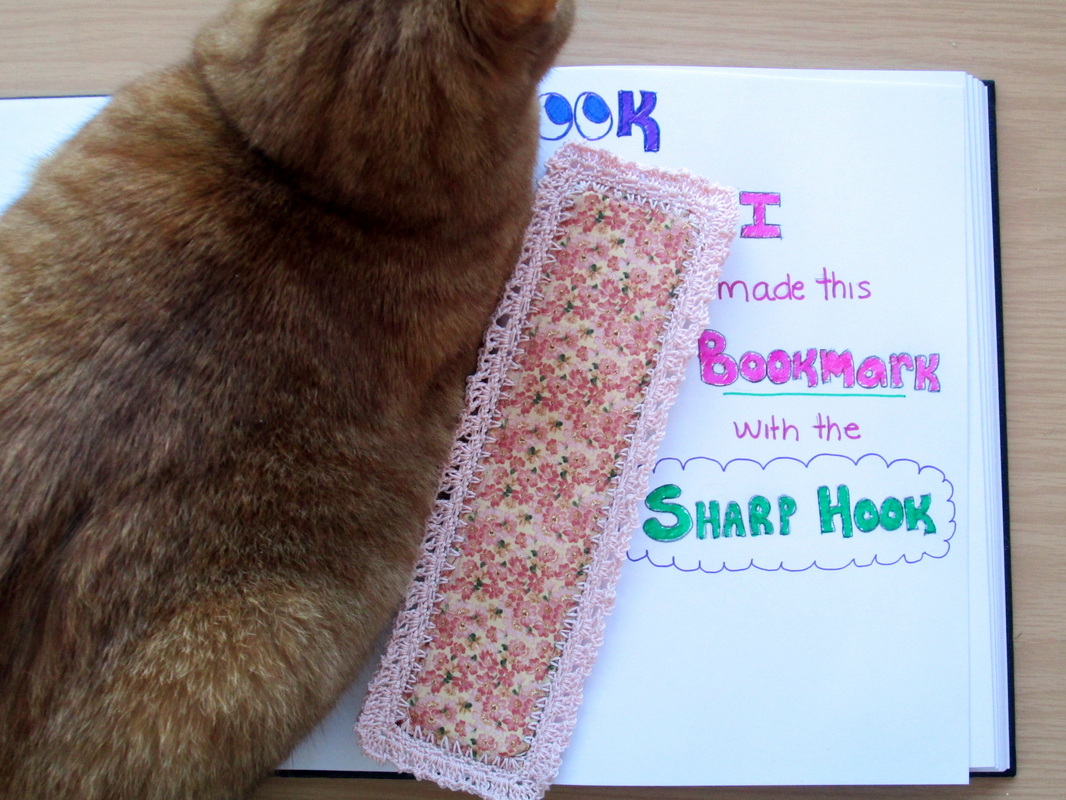
I couldn't resist including this picture of our kitty getting in on the action. She always has to be the center of attention! Thanks so much for stopping by and spending a bit of your day with me. I hope that you'll come back and see the awesome projects I've been working on. There's lots of thread crochet, hats, gloves, and accessories for the home. I'll share patterns I designed and finally finish up the Granny Square Project. In the mean time, I hope your holidays are wonderful! Until next time friends, Be blessed and stitch & read with love!
6 Comments
|
I'm Robin and this is  
Click to see what's new on the Craftsy Crochet Blog!
Follow Along
 Tutorials and Patterns


On Instagram 
Look for me, I'm RobinBrz


Places I Post
 Archives
July 2015
Categories
All
 
Thank you for visiting!
My name is Robin. I am a wife, mother and strong believer in the power of faith. I'm a maker, a crafter and an artist. I love exploring new mediums and sharing my adventures with you. Did you enjoy your visit? Let me know by leaving a comment. I love knowing you dropped by, and hope to see you again soon! Be Blessed and Stitch & Read with Love! 
|